Loading model...
Best Nano Banana Pro prompts
153 prompts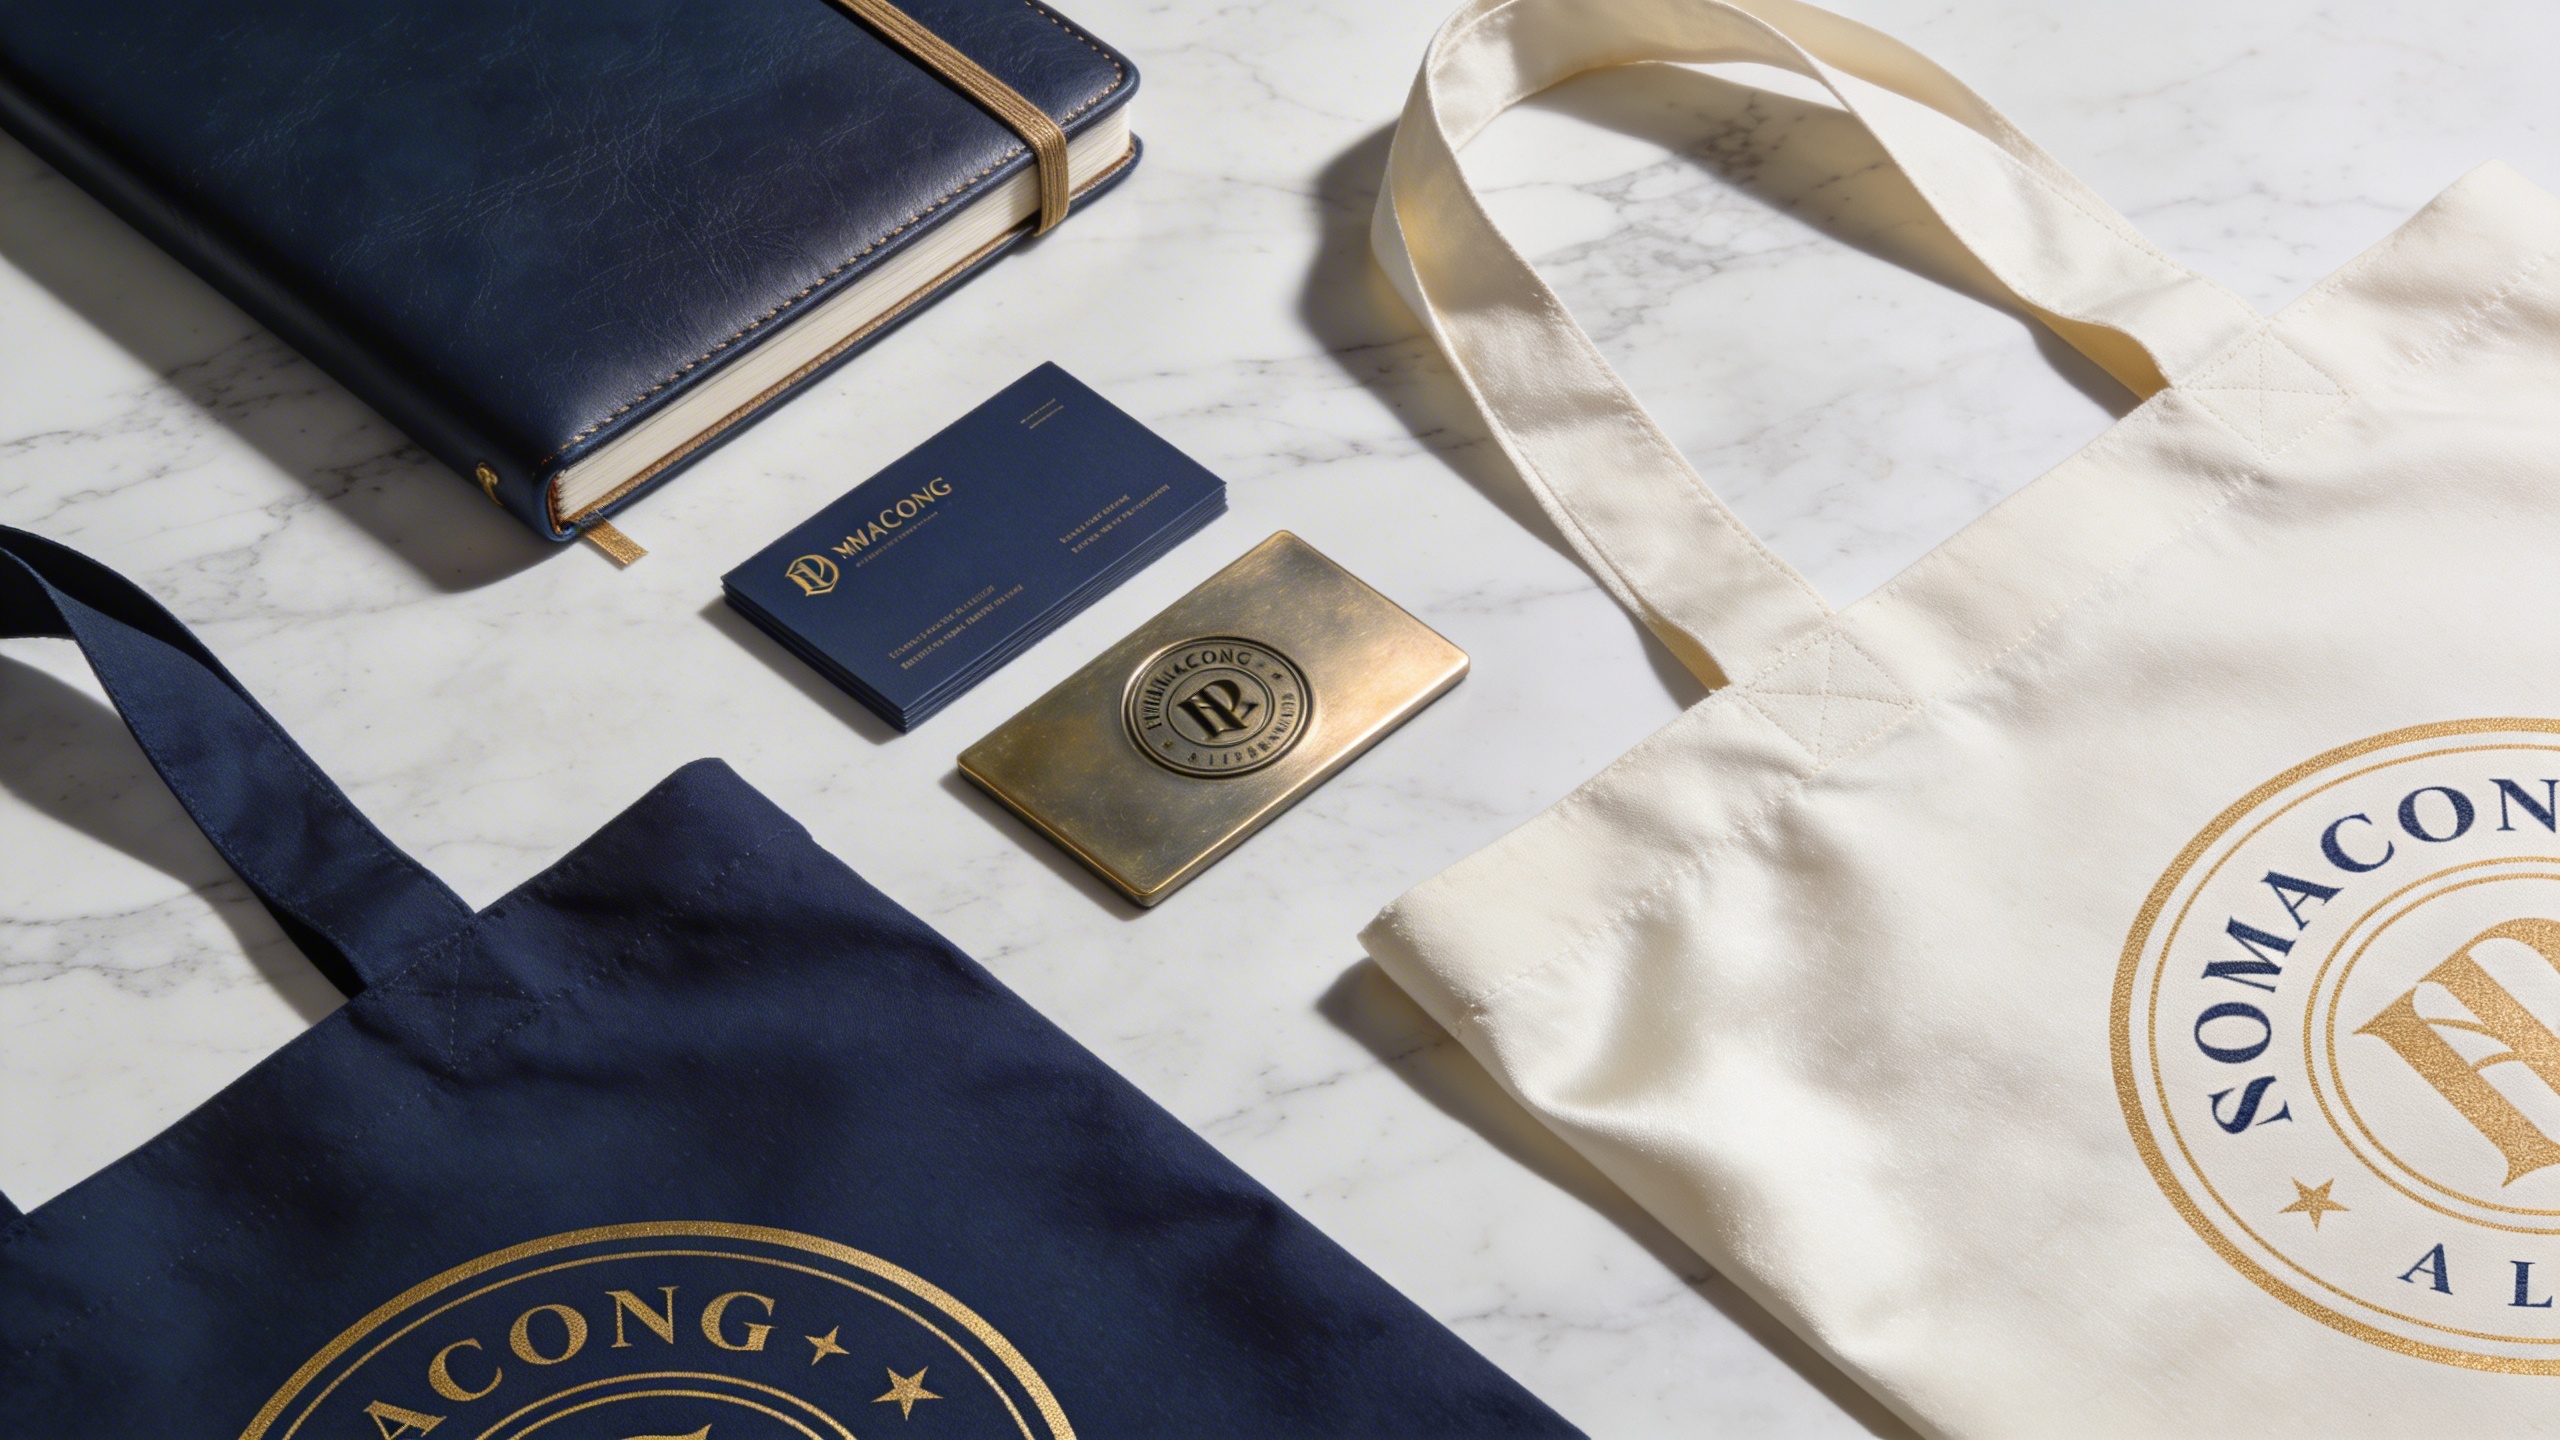
Image
Marketing
Professional Brand Identity Mockup Kit
This prompt is a brand identity mockup generator, creating photorealistic business cards, letterheads, packaging, and devices on a clean surface. It stages a premium flat-lay photography mockup with your chosen items arranged neatly on a surface material, the palette tinted by your brand colors, and corporate staging with sharp focus at 8k resolution. The result has the high-ticket, agency-level feel that elevates a pitch without 3D rendering software. What you can customize Mockup Items — the objects in the kit; the default is two stacks of matte business cards, a ceramic coffee cup, and an open textured notebook Surface Material — the desk or backdrop, such as a smooth terrazzo stone desk Brand Colors — the dominant palette, such as deep forest green and cream white Lighting & Shadows — three options: Soft Natural Light, Harsh Studio Lighting, or Moody Ambient Lighting Best for Client presentations, portfolio showcases, and brand guideline documents. Graphic designers, brand strategists, creative directors, and founders can visualize a brand's physical presence before sending anything to print and present it to investors, stakeholders, or customers. Tips for the best results Lighting is key. Choose soft natural light for organic brands (soft shadows from a nearby window) and harsh studio lighting for tech. Be specific about materials in the item and surface fields: matte paper, gold foil, organic textured cardboard, or sleek frosted glass all improve realism. Keep the objects cohesive so they make sense together for the industry you are representing. Avoid mixing too many unrelated or oversized items that break the flat-lay perspective. Do not describe complex, highly detailed logos; the engine excels at scene and mood rather than perfect typography.
236 ViewsTemplate
Image
Marketing
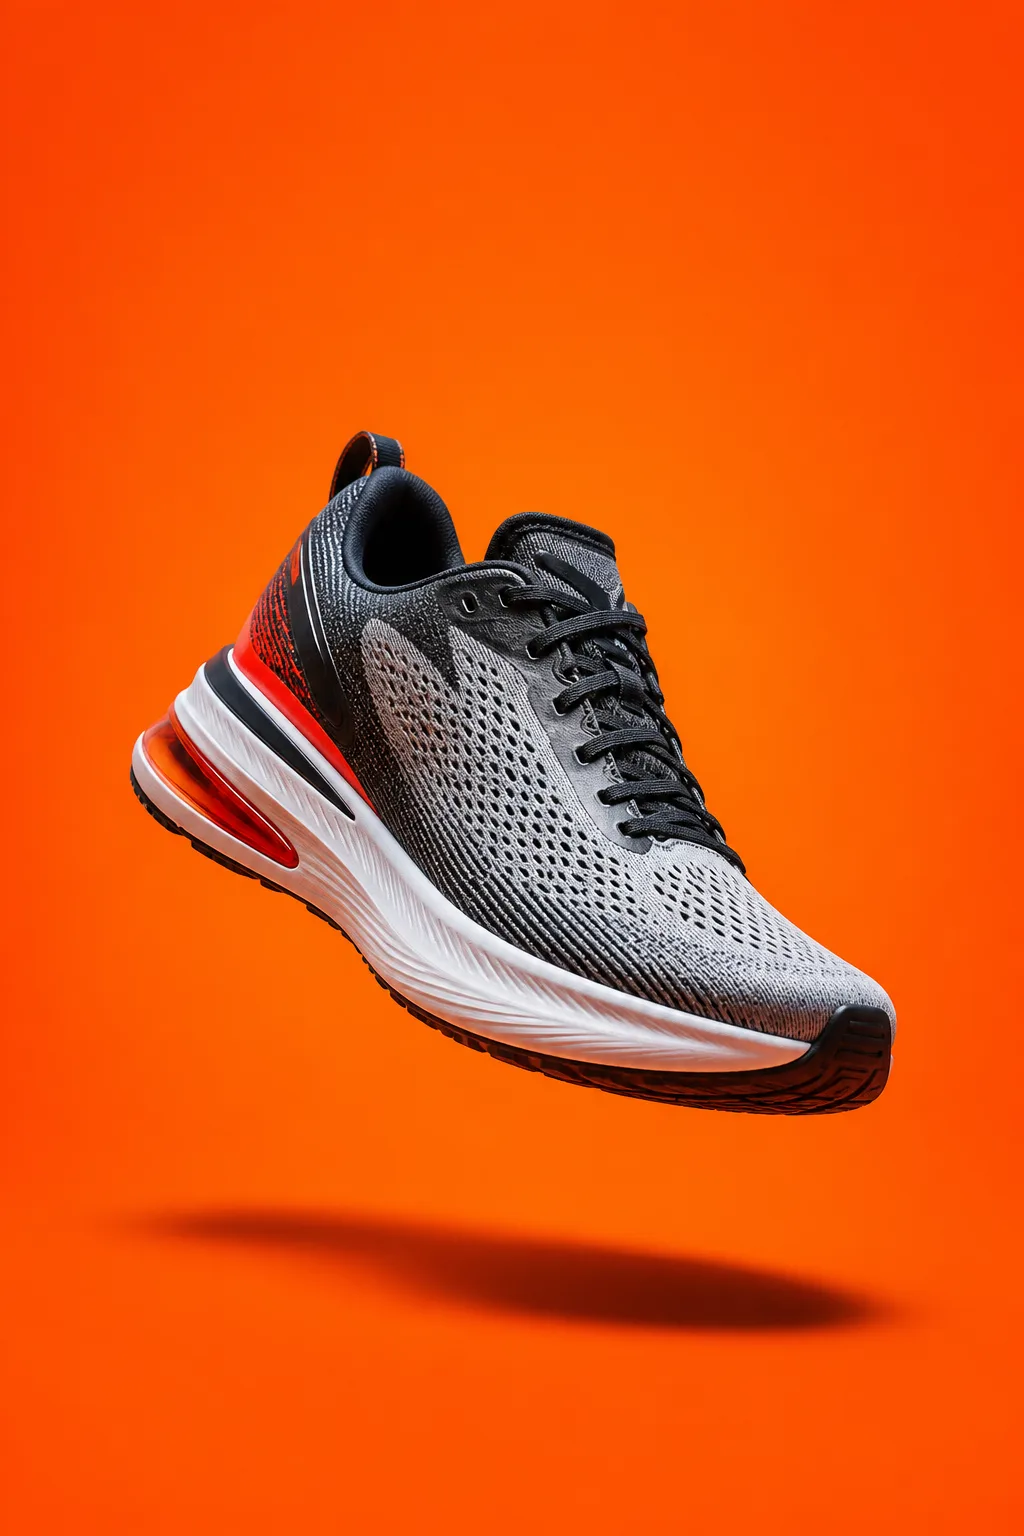
High-Converting Facebook Ad Creative
This versatile prompt generates optimized, visually arresting ad creatives tailored for digital marketing channels like Facebook, Instagram, and TikTok. The subject is centered and hero-lit against your background, with high contrast, crisp shadows, and saturated color designed to pop in a busy feed. The prompt reserves clean negative space for your headline and leaves that area empty of text, logos, and watermarks, delivering a bold, photorealistic 8k asset ready for copy. What you can customize Product / Main Subject — the hero object; the default is a high-performance running shoe hovering mid-air with a dynamic tilt Background Setting — the backdrop, such as a smooth, vibrant neon-orange studio backdrop Lighting Style — the light character, such as hard directional flash lighting Ad Style — five options: Bold Studio Product, Lifestyle In-Use, Splash / Dynamic, Flat-Lay Top-Down, or Luxury Minimal Negative Space Position — four options: Top Third, Left Side, Right Side, or Bottom Third Best for Performance marketing campaigns, social media advertising, and promotional announcements. Digital marketers, media buyers, e-commerce brand owners, and ad agencies can generate A/B testing variations by tweaking the subject or background to find winning combinations without photoshoots or stock images. Tips for the best results Keep it simple: define the focal product or service clearly so it stands out immediately. Use bold, contrasting colors in the lighting and background to stop the scroll. Plan for text overlays. Set the negative space position so there is room for headlines and calls to action. Avoid cluttered environments that distract from the main subject. Do not write contradictory prompts (a "minimalist neon maximalist" scene, for example); they can confuse the Nano Banana Pro engine and produce muddy visuals.
Image
Productivity
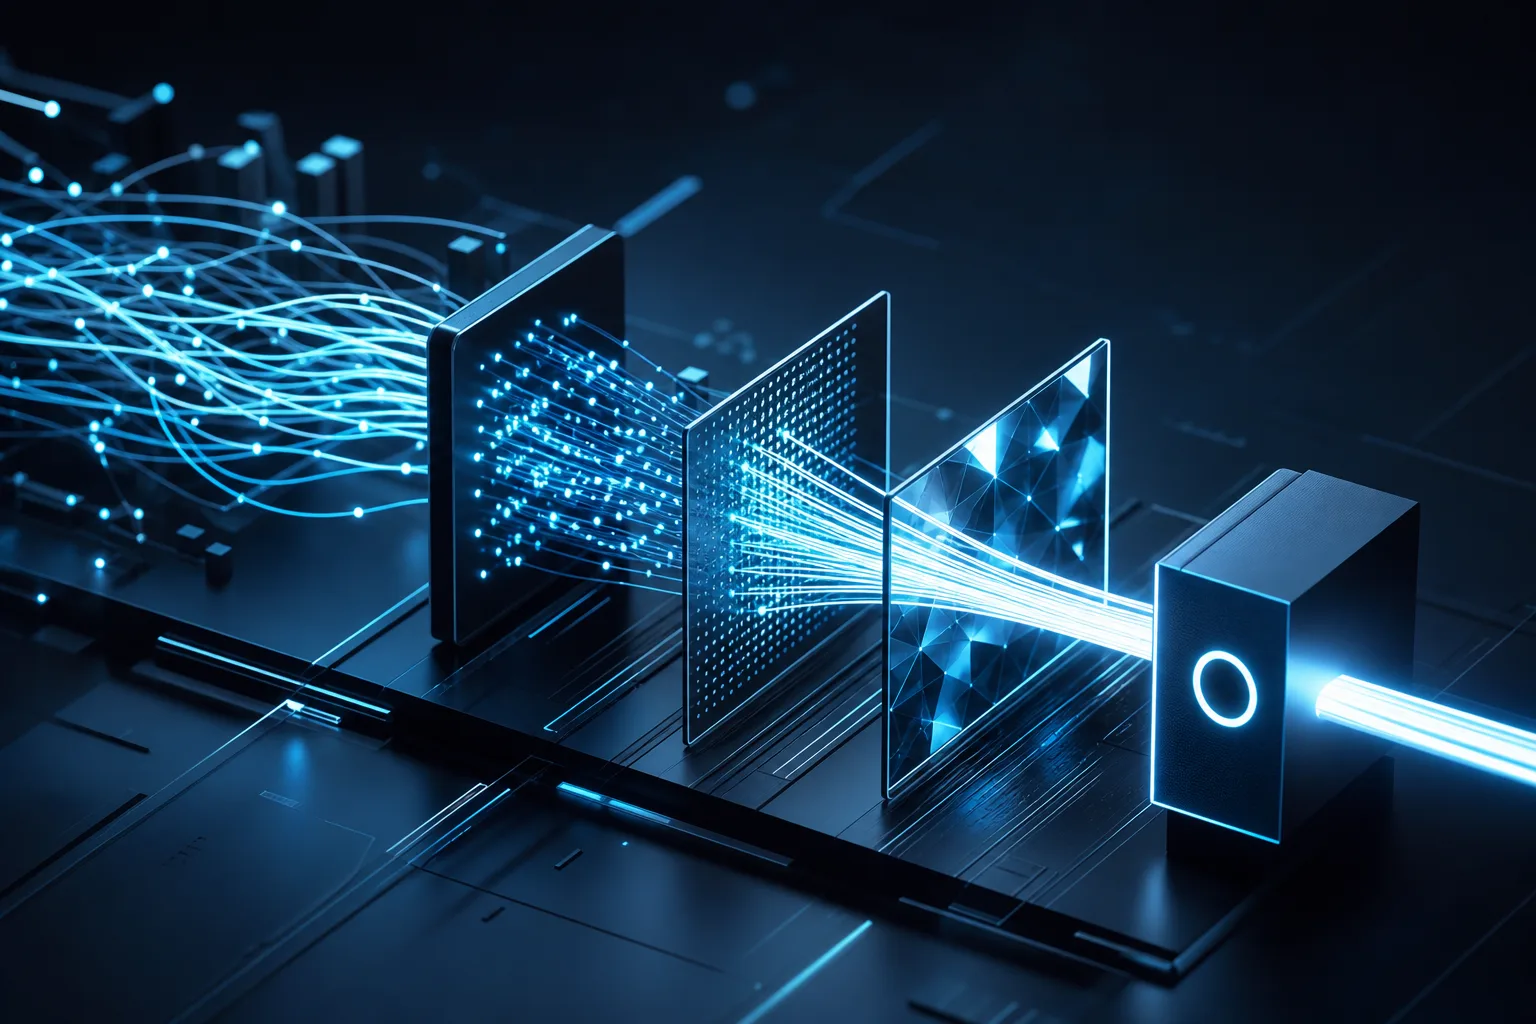
Minimalist Workflow Diagram Visualization
A highly effective and visually stunning tool for generating conceptual visualizations of workflows, data networks, or abstract organizational structures. It turns traditional charts into abstract 3D art: a clean, organized, forward-moving flow built from your visual metaphor, passing through sleek geometric nodes and gates that convey structure and progression. A minimalist palette of glowing elements against a dark background, soft depth of field, and a premium 8k render with no text or watermark complete the corporate tech aesthetic. What you can customize Workflow Concept / Idea — the process being represented, such as data being filtered and optimized into a streamlined process Visual Metaphor — the imagery carrying the flow; the default is glowing fiber-optic threads weaving from scattered strands into a single organized channel Primary Glowing Color — the highlighted hue, such as electric cyan and clean white Render Style — five options: Isometric 3D, Front Flow Diagram, Glass & Neon, Blueprint Wireframe, or Particle Network Best for Slide decks, corporate presentations, landing page hero images, whitepapers, and technical blog headers that need to explain systems, processes, or software architecture. Product managers, technical writers, business consultants, developers, and marketing teams can convey connectivity and workflow without sterile diagramming tools. Tips for the best results Abstract the concept. Glowing nodes connecting, interlocking geometric shapes, crystalline data streams, or cascading dominoes create far more impact than literal flowchart shapes. Inject your company's primary and secondary brand colors into the glowing color field for brand consistency. Keep the background dark, matte, or extremely clean so the visualization pops. Do not ask for literal text labels, arrows, or precise flowchart boxes; AI struggles with text layout and strict schematic logic. Add your own overlays in post-production. Avoid overly complex node structures that look chaotic; aim for clean, intentional lines of movement.
Image
Fashion & Beauty
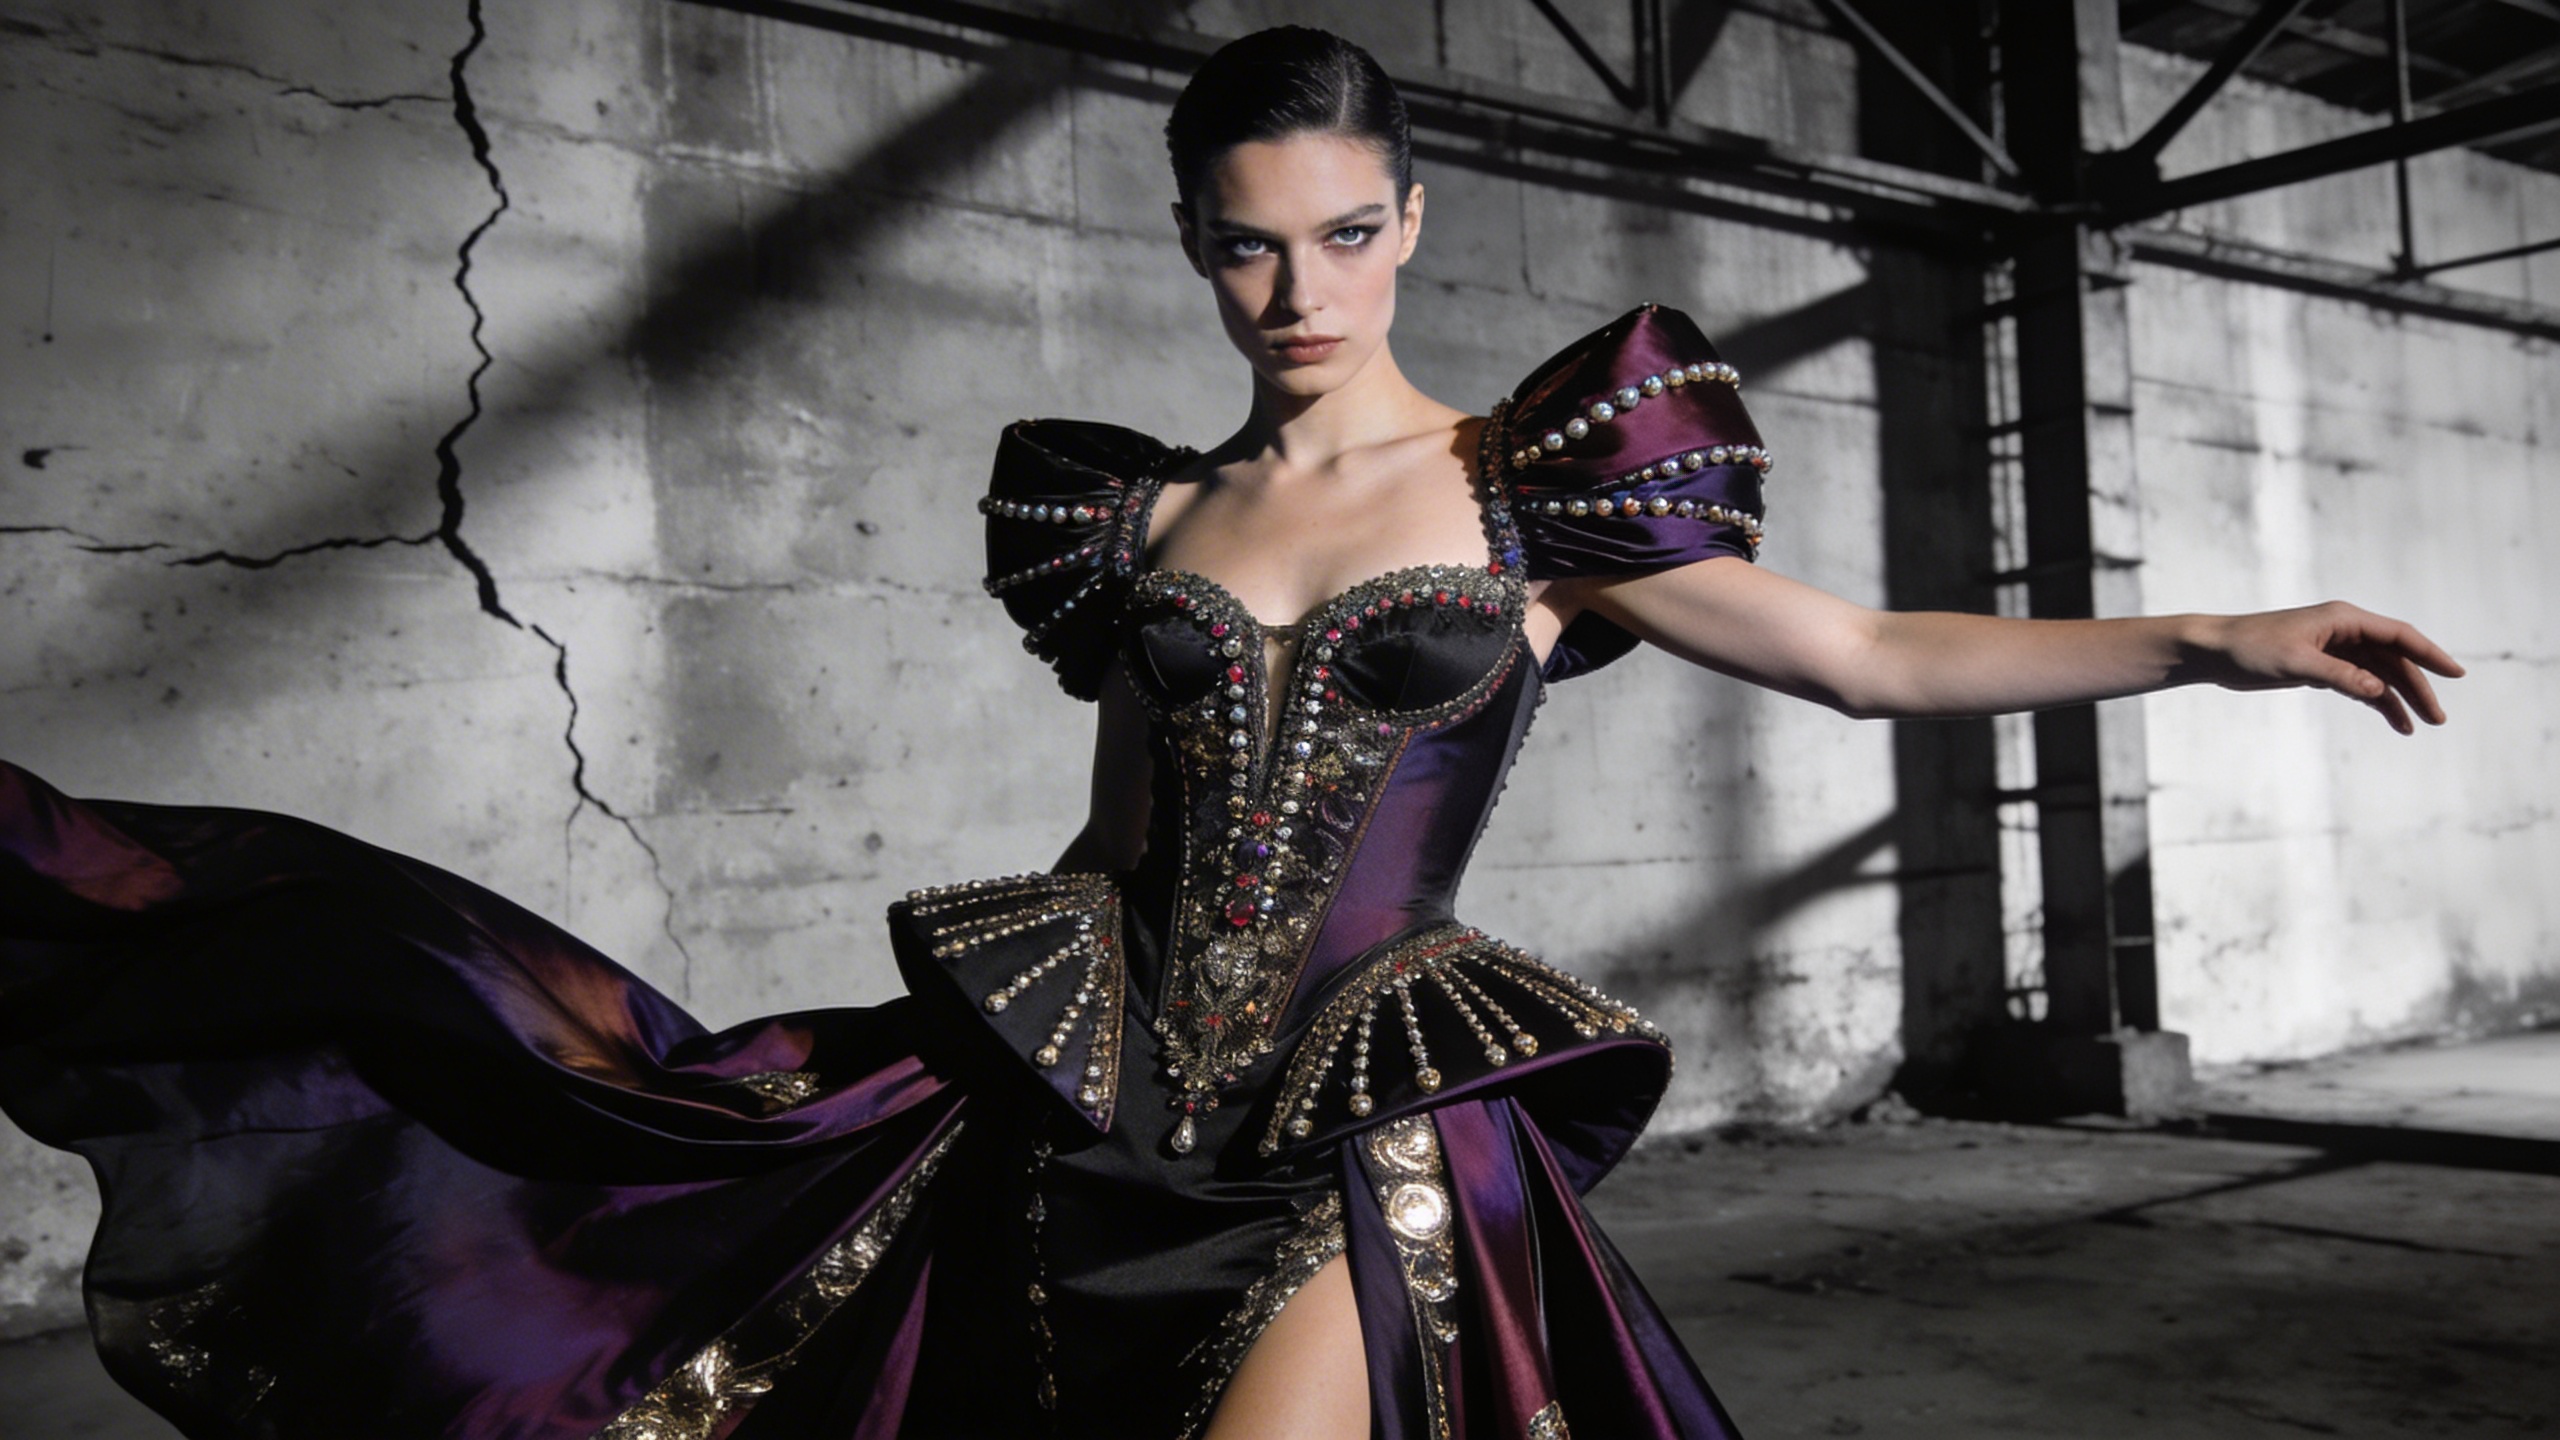
High Fashion Editorial
Generate striking, Vogue-level fashion editorial photography. The prompt renders a high fashion magazine editorial shot with a striking pose, dramatic directional lighting and haute couture detail, finished as an incredibly detailed 8k photograph. It is ideal for visualizing haute couture outfits, distinctive model looks and dramatic photography sets before anyone books a studio. What you can customize Model Look / Traits — the face, hair and presence of the model. The default is striking angular features with slicked-back silver hair; try freckles and a buzz cut, or long braids and bold brows. Outfit Style — the garment concept, which carries the editorial. The default is an avant-garde dress made entirely of reflective shattered glass; structured tailoring, feathers or liquid latex all read well. Backdrop — the set behind the model, from the default stark minimalist red studio background to a brutalist stairwell or a wind-swept dune. Best for Fashion lookbook concepts, designer mood boards, magazine cover mockups, styling portfolios and campaign pitches where you need a couture image fast. Tips for the best results Spend the most words on the outfit; material, silhouette and texture are what make the shot feel couture. Pick a backdrop color that contrasts the garment so the directional lighting carves out the shape. Keep the model description to two or three defining traits rather than a full biography. Avoid naming real designers or models; describe the look instead.
Image
Anime & Manga
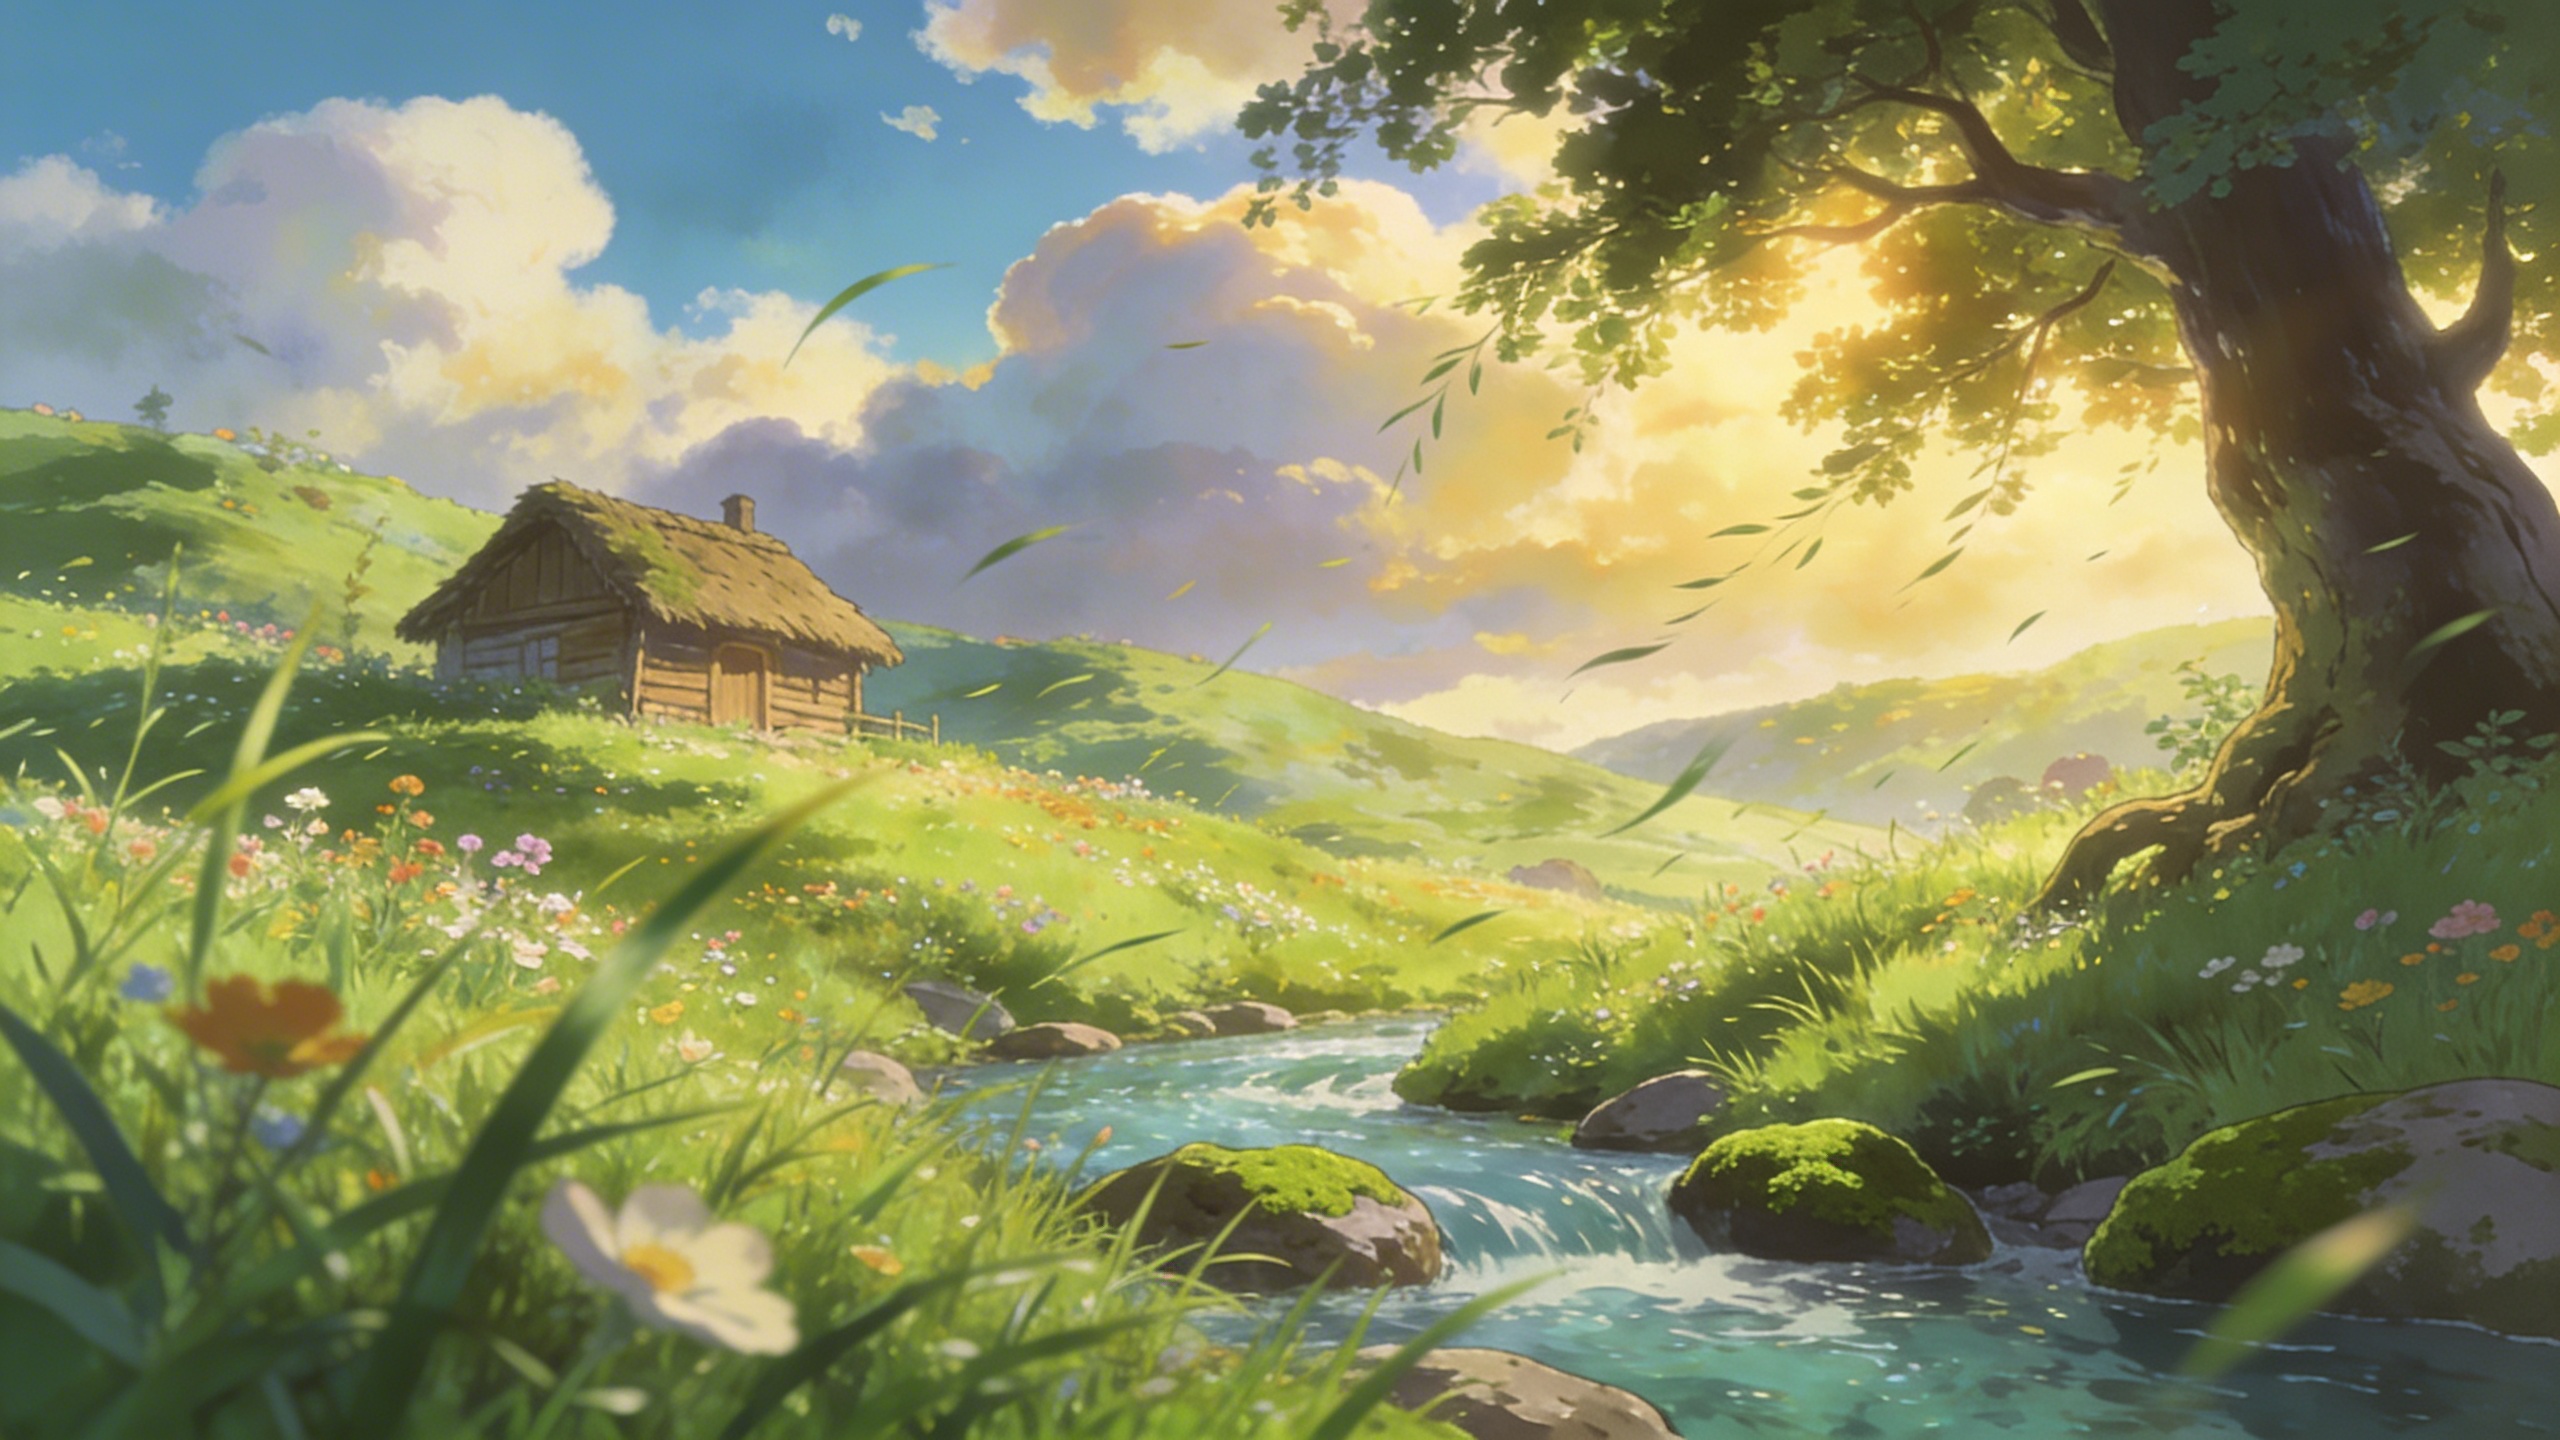
Ghibli-Style Anime Landscape
Tap into the nostalgic, painterly beauty of classic anime films. The prompt produces an anime-style landscape inspired by Studio Ghibli: lush green grass, painterly clouds, vibrant colours and wind blowing through the scene. It is framed as peaceful background art with highly detailed cel-shading, so the result feels like a still from a film rather than a character illustration. What you can customize Landscape Features — the subject of the scene. The default is a forgotten overgrown train station covered in vines with wildflowers everywhere; rural roads, seaside towns or hilltop shrines suit the style well. Sky Condition — the sky above it, from the default vibrant blue with towering cumulus clouds to sunset, drizzle or a starry night. Best for Stunning animated-style landscapes with lush greens, fluffy clouds and peaceful atmospheres. Use it for wallpapers, visual novel backgrounds, storyboard establishing shots, prints and nostalgic social content. Tips for the best results Lead the Landscape Features with something man-made and slightly abandoned, such as a station, a bridge or a farmhouse; the contrast with nature is what gives the style its nostalgia. Big cumulus clouds are the signature look. Keep the Sky Condition generous rather than flat or overcast if you want the classic feel. Mention grass, flowers or trees in the features so the wind-blown motion has something visible to move. Avoid characters and text; the prompt is tuned for background art and figures tend to render inconsistently.
Image
Cinematic & Film
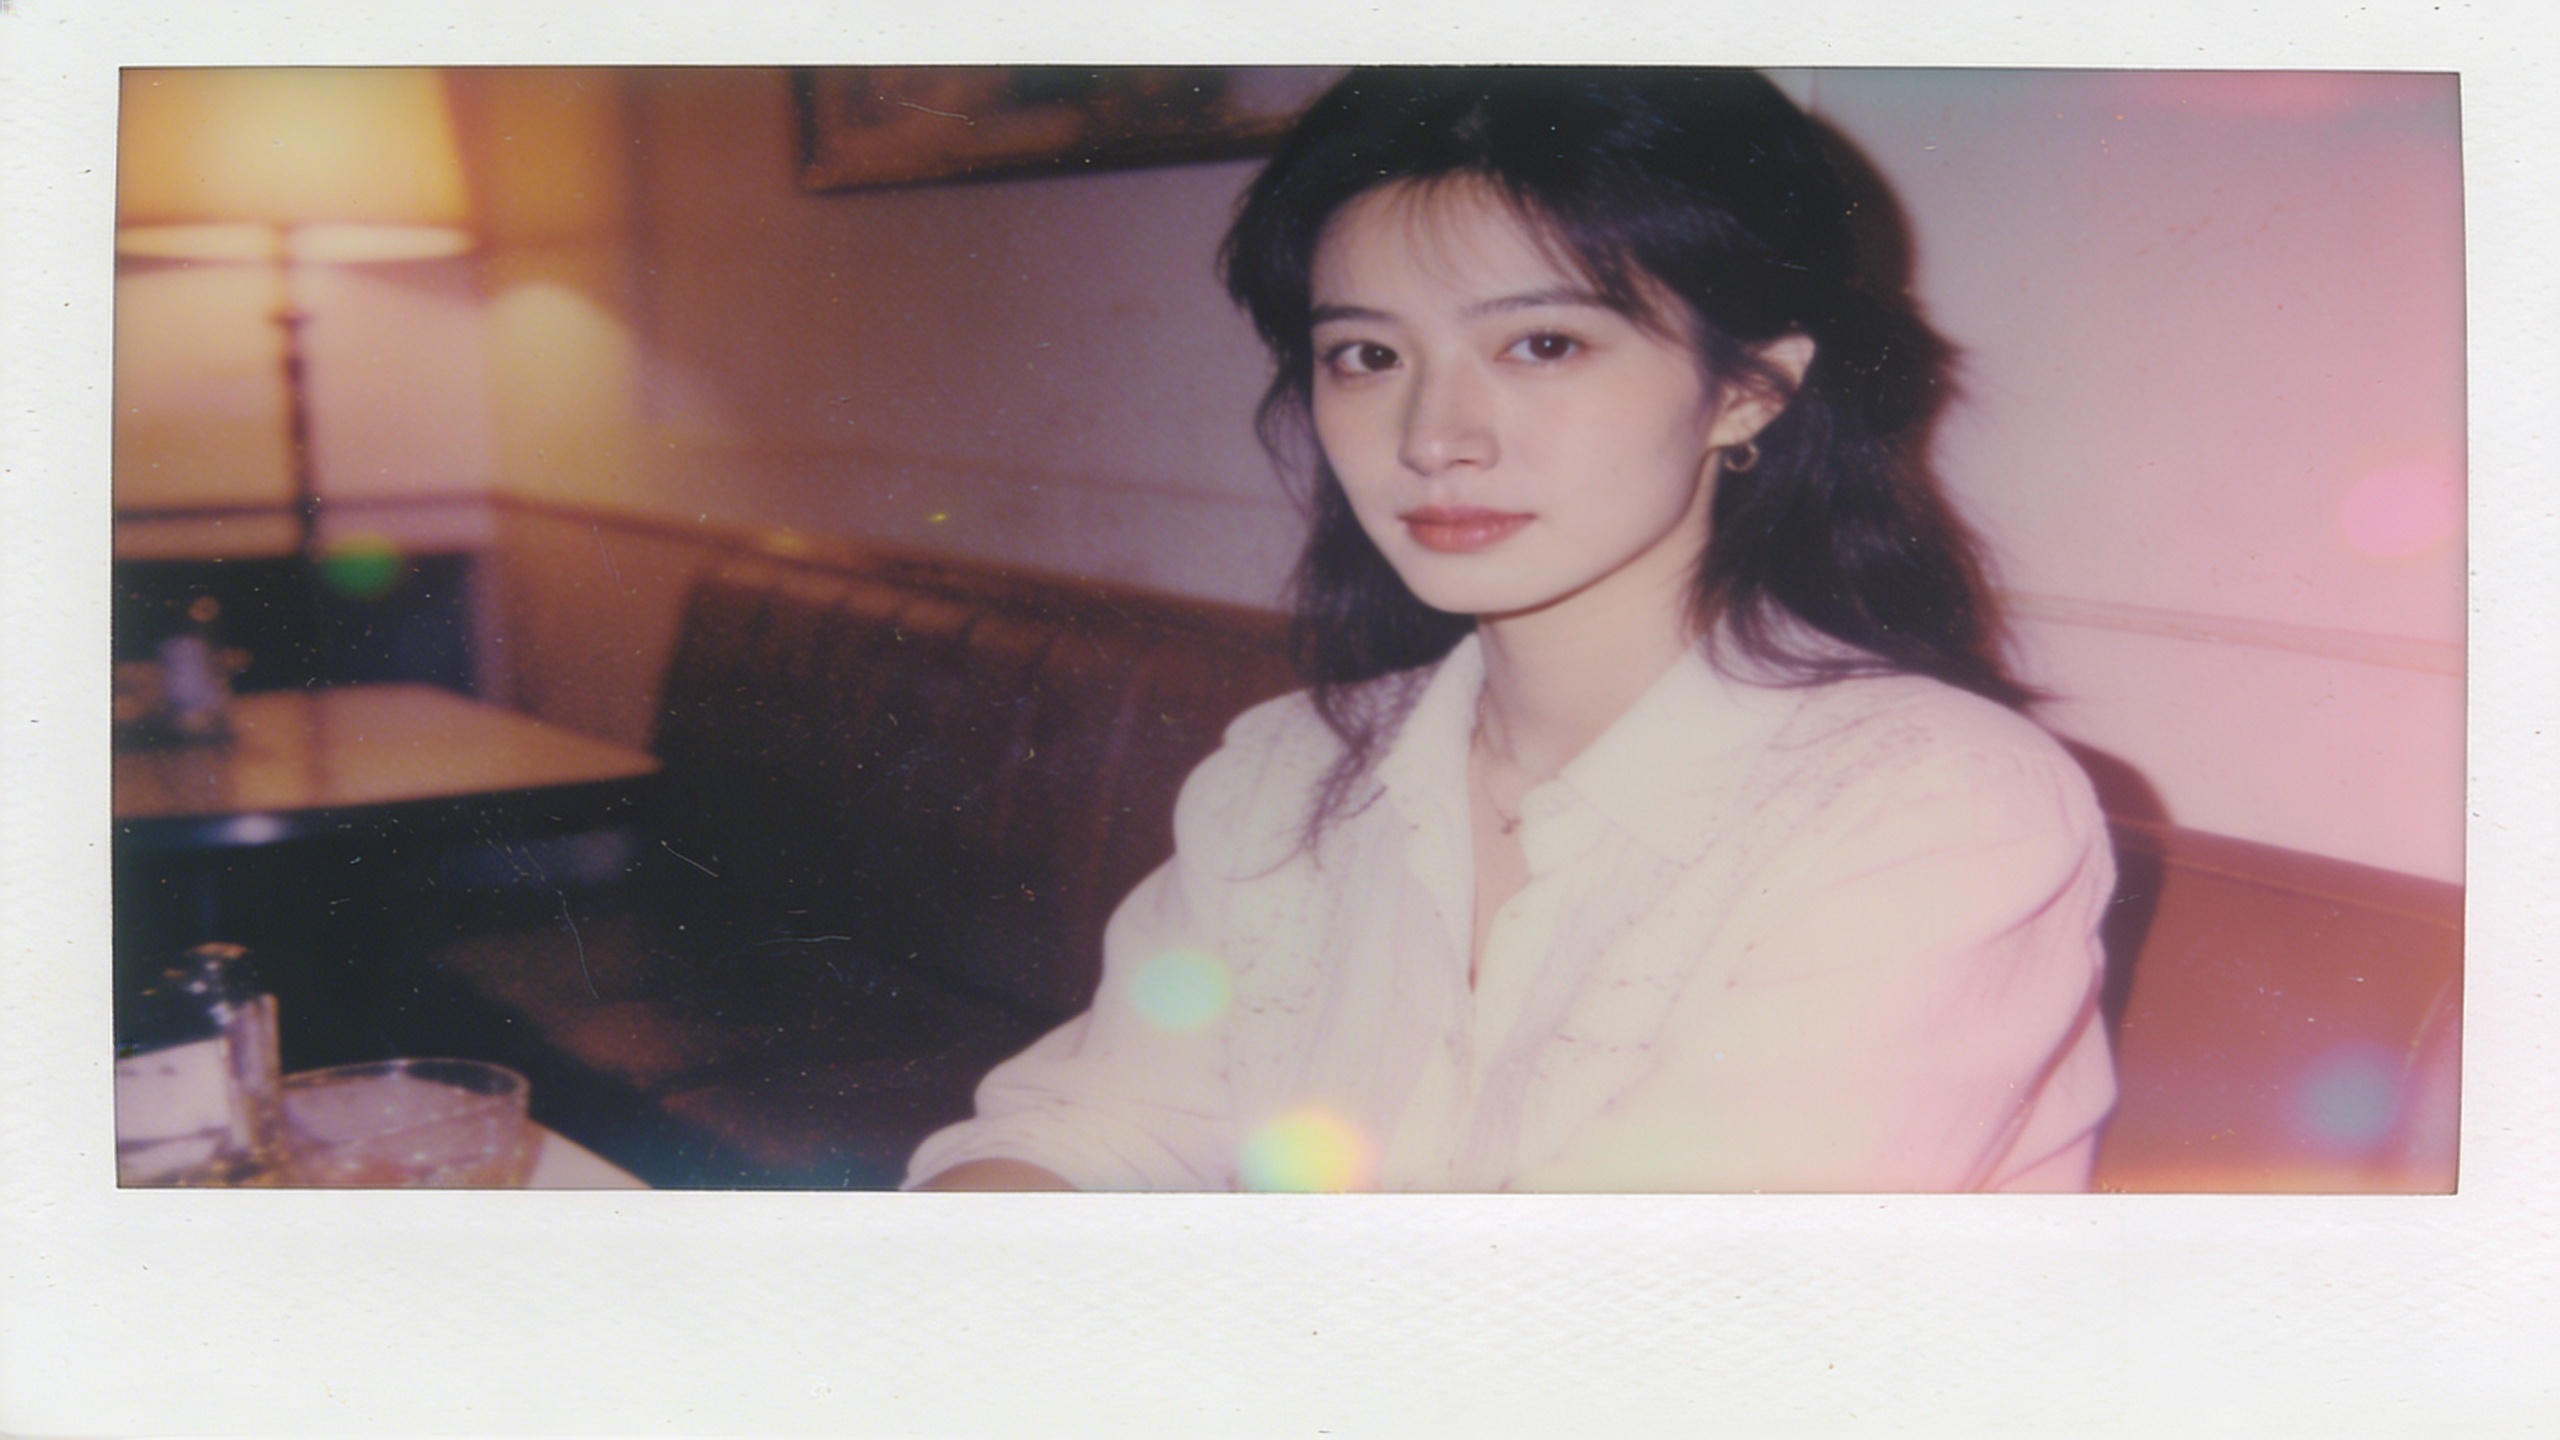
Vintage Polaroid Aesthetic
Instantly apply a highly realistic nostalgic 1980s polaroid film aesthetic to any subject and location. The prompt produces a slightly faded vintage polaroid with film grain, light leaks, soft focus and retro 1980s color grading, complete with authentic polaroid borders visible at the edges. The result feels like a found photograph rather than a filtered render. What you can customize Photo Subject — who or what is in the frame. The default is a group of friends laughing on a classic red pickup truck bed; a couple at a diner or a dog on a porch fit the era just as well. Location — where the photo was taken, such as the default dusty desert highway at sunset, a roller rink or a wood-paneled living room. Best for Mood boards, retro marketing campaigns, social media posts and carousels, album and zine artwork, and nostalgic throwback visuals for events. Tips for the best results Pick subjects and props that belong to the 1980s; modern phones or cars break the illusion. Warm, low sun locations amplify the faded color grading and light leaks. Keep the subject simple and candid, since soft focus blurs fine detail. Do not ask for sharp, high-resolution output; the charm is in the grain and imperfection.
Image
Architecture & Interior
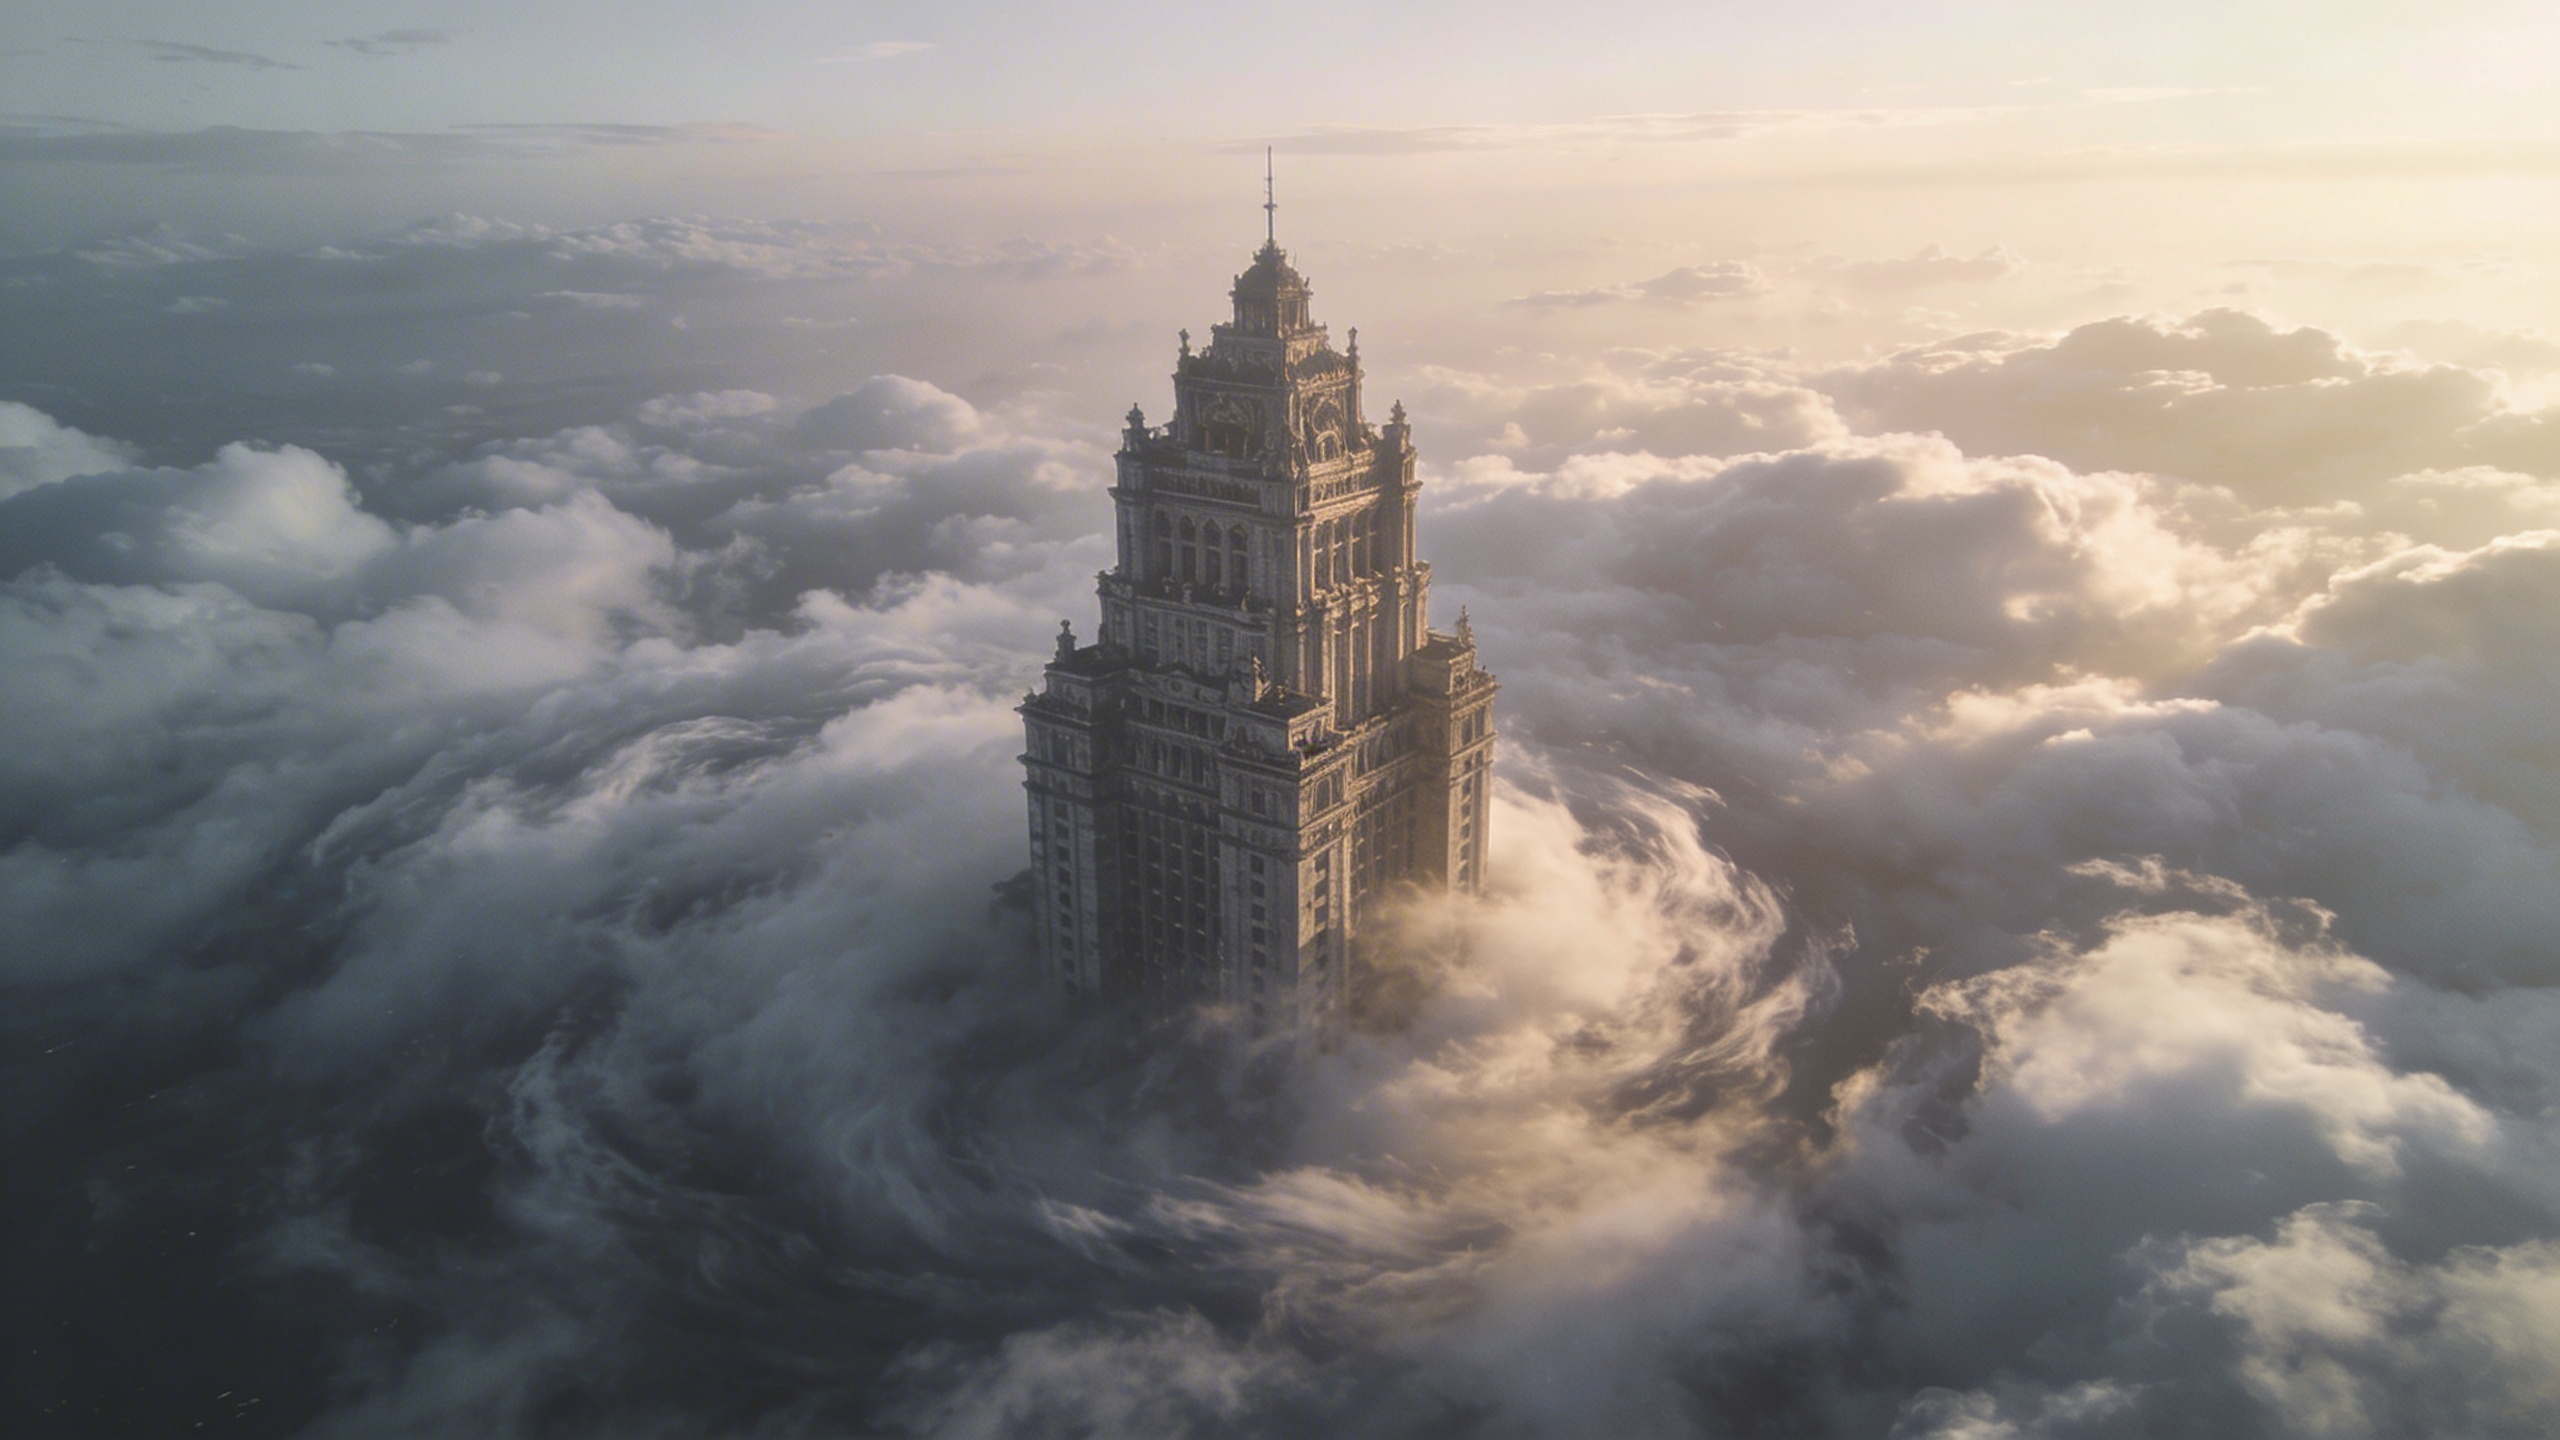
Surreal Cloud Architecture
Create imposing, dreamlike structures piercing through seas of clouds. The prompt is written as surreal architectural photography: a single structure rises majestically out of a dense sea of clouds at colossal scale, with ethereal lighting and a liminal space aesthetic. The result is a highly detailed render that feels both monumental and empty. What you can customize Building Style — the structure itself. The default is a colossal brutalist concrete pyramid; try a glass cathedral, a stepped ziggurat or a lone tower block. Time of Day — the sky and light colour. The default is a vibrant pastel dawn with pink and orange hues; noon, blue hour or a stormy dusk all change the mood. Best for A trending aesthetic that combines liminal spaces with epic architectural scale. Use it for album art, editorial illustration, sci-fi and fantasy concept art, desktop wallpapers and moodboards for large-scale architectural visions. Tips for the best results Give the Building Style a material and a form ("weathered concrete", "pyramid") so the structure has texture against the soft clouds. Describe one structure. Several buildings dilute the sense of scale that makes the image work. Use Time of Day to set the palette; pastel dawns and dusks produce the dreamlike gradients, while flat midday light reads more like a straightforward photograph. Avoid adding people, vehicles or busy detail; the liminal quality depends on stillness and emptiness.
Image
Landscape & Nature
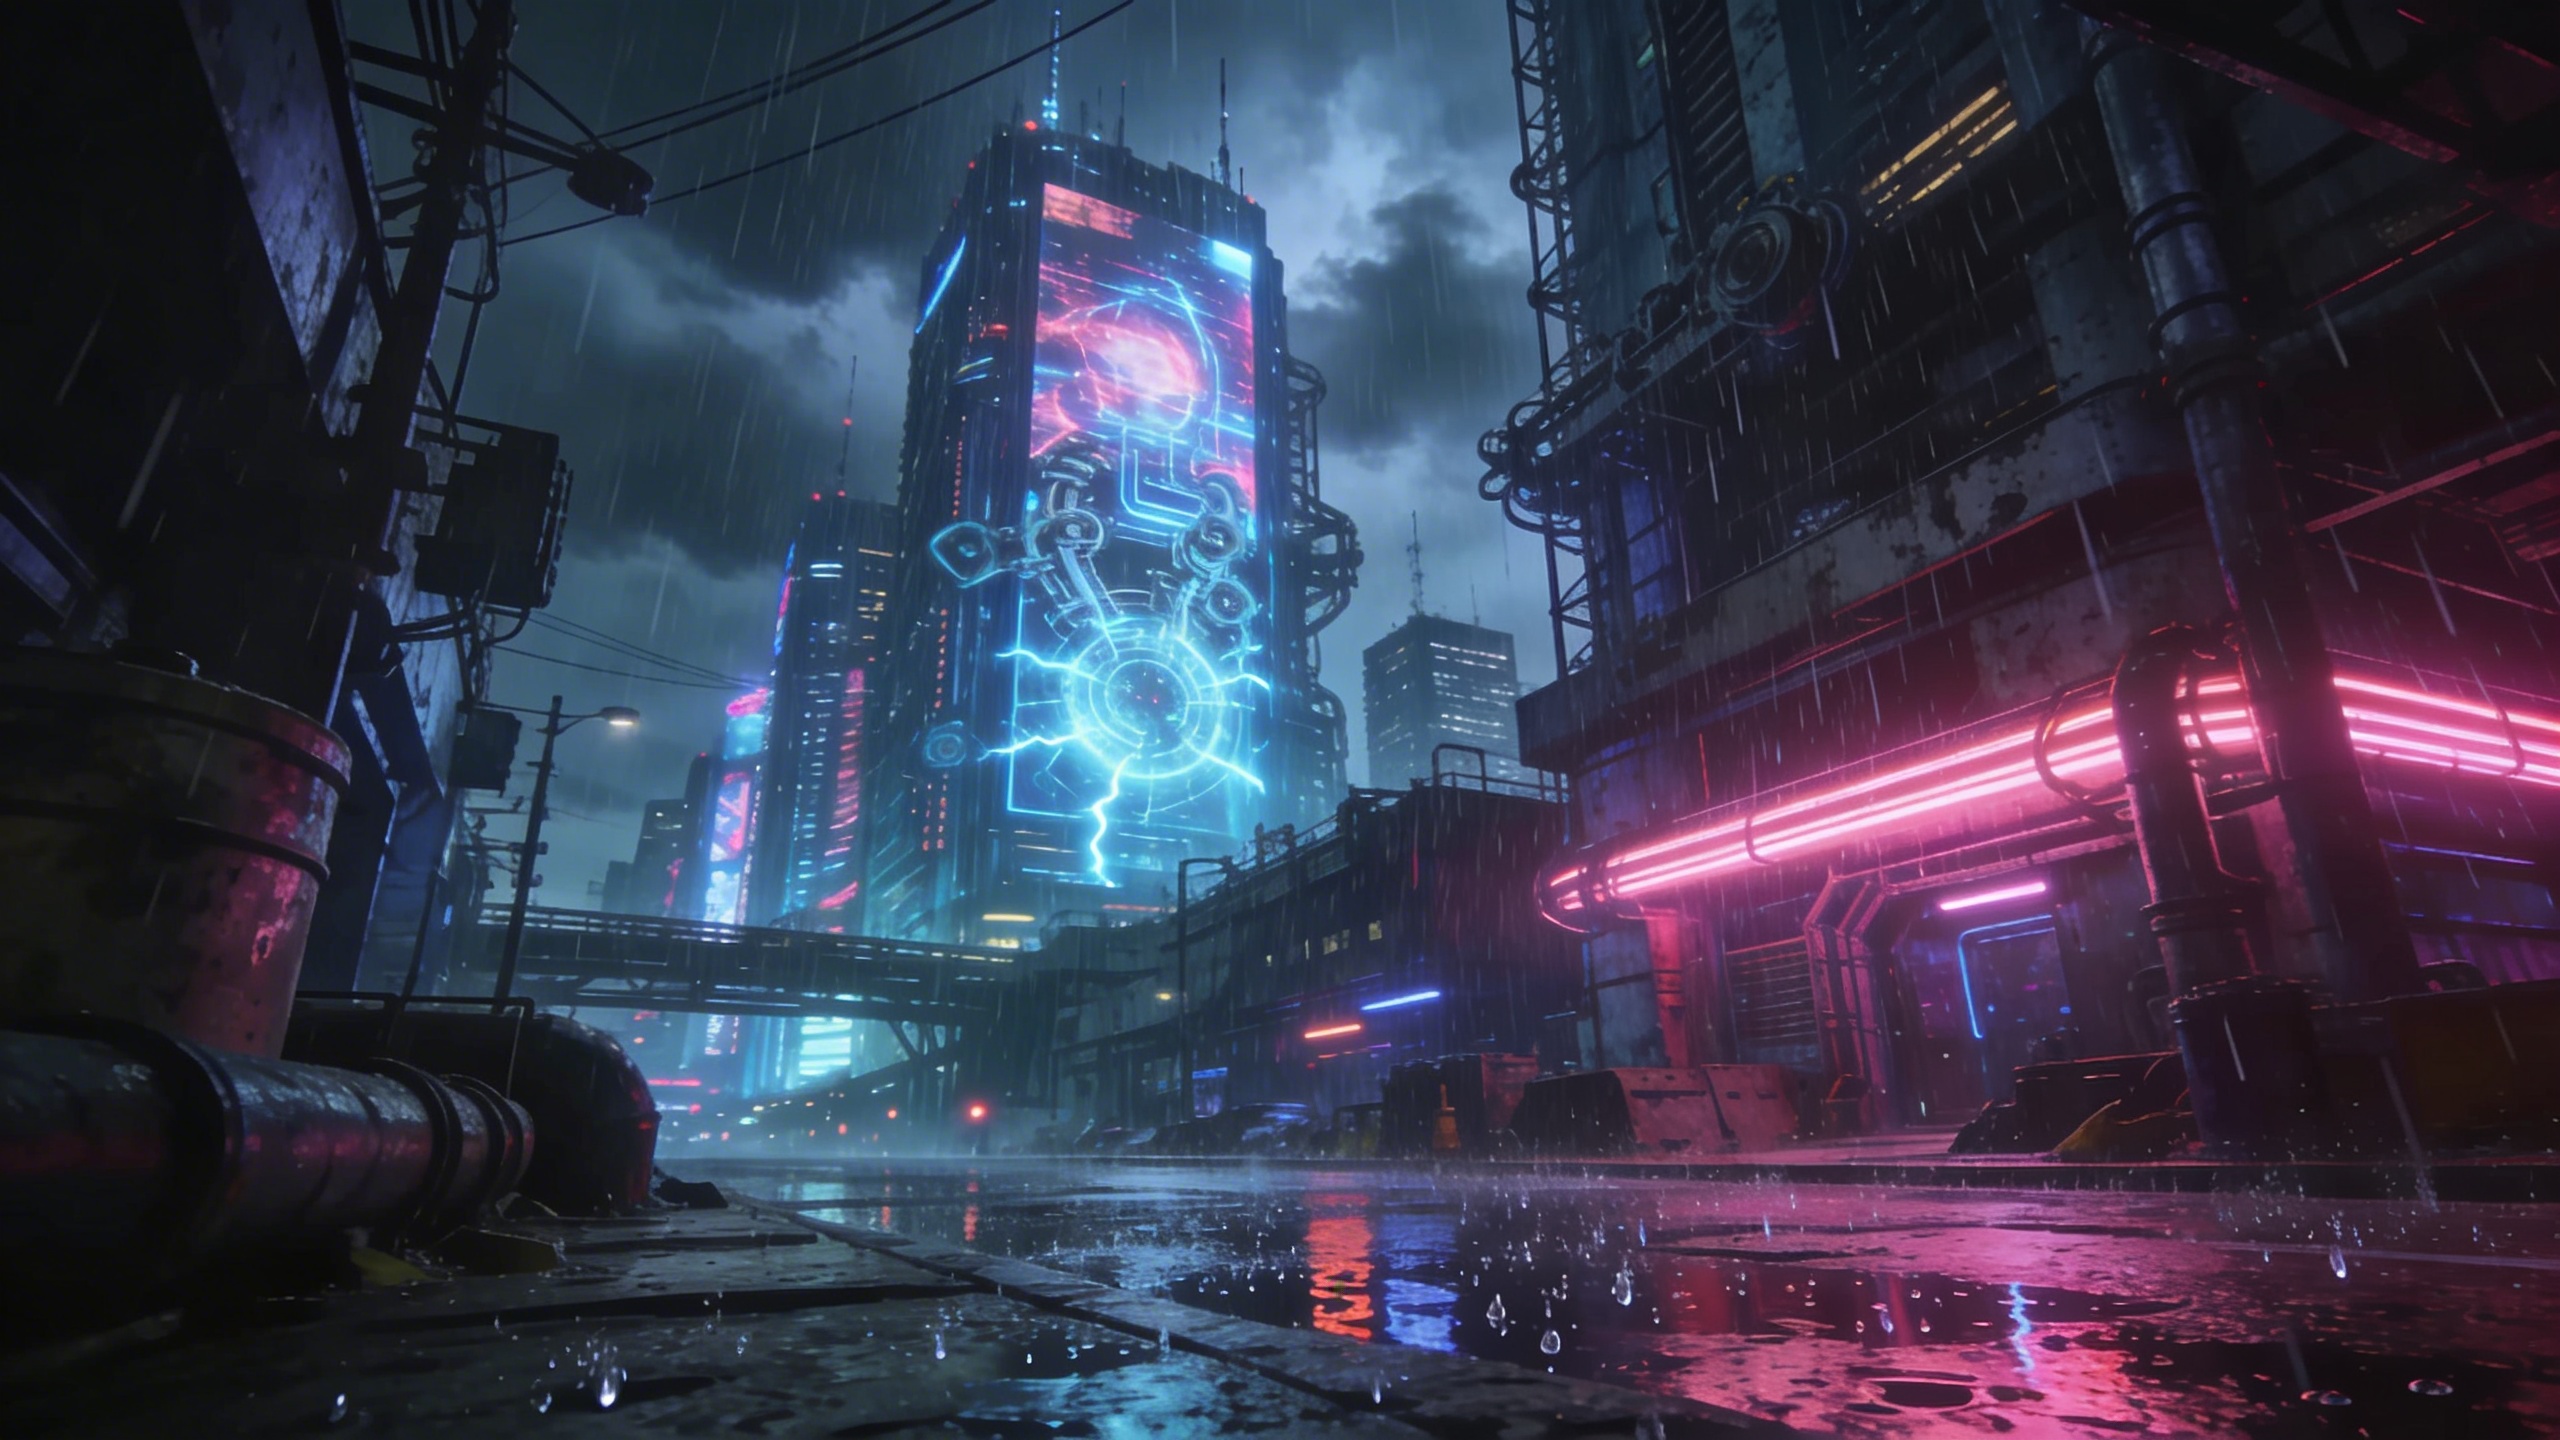
Cyberpunk Cityscape Generator
Create stunning, highly detailed cyberpunk cityscapes with complete control over the theme, lighting colors, and time of day. The prompt renders a city illuminated by neon in your chosen colours and contrasting hues, with heavy rain reflecting off gritty streets. Cinematic composition, hyper-detailed architecture, glowing billboards and a dynamic camera angle are built in. What you can customize City Theme — the defining features of the skyline. The default is towering megastructures and flying cars; try a canal district, a market alley or a rooftop view. Primary Neon Color — the dominant neon palette, such as the default cyan and magenta, red and gold, or green and violet. Time of Day — three options: Midnight, Cyber Dawn or Dusk. This sets the sky and how strongly the neon competes with ambient light. Best for Concept art, backgrounds and sci-fi world-building. It also works for game environment studies, book covers, music visuals and desktop wallpapers. Tips for the best results Name two neon colours at most; the prompt adds contrasting hues on its own, and a longer list turns the palette muddy. Midnight gives the strongest neon-on-wet-asphalt look. Cyber Dawn and Dusk add sky colour that softens the contrast. Use the City Theme to state a vantage point ("street level", "aerial") so the dynamic camera angle has a clear starting position. Avoid asking for clear weather; rain reflections are part of the prompt and removing them flattens the image.
Image
Fantasy & Sci-Fi
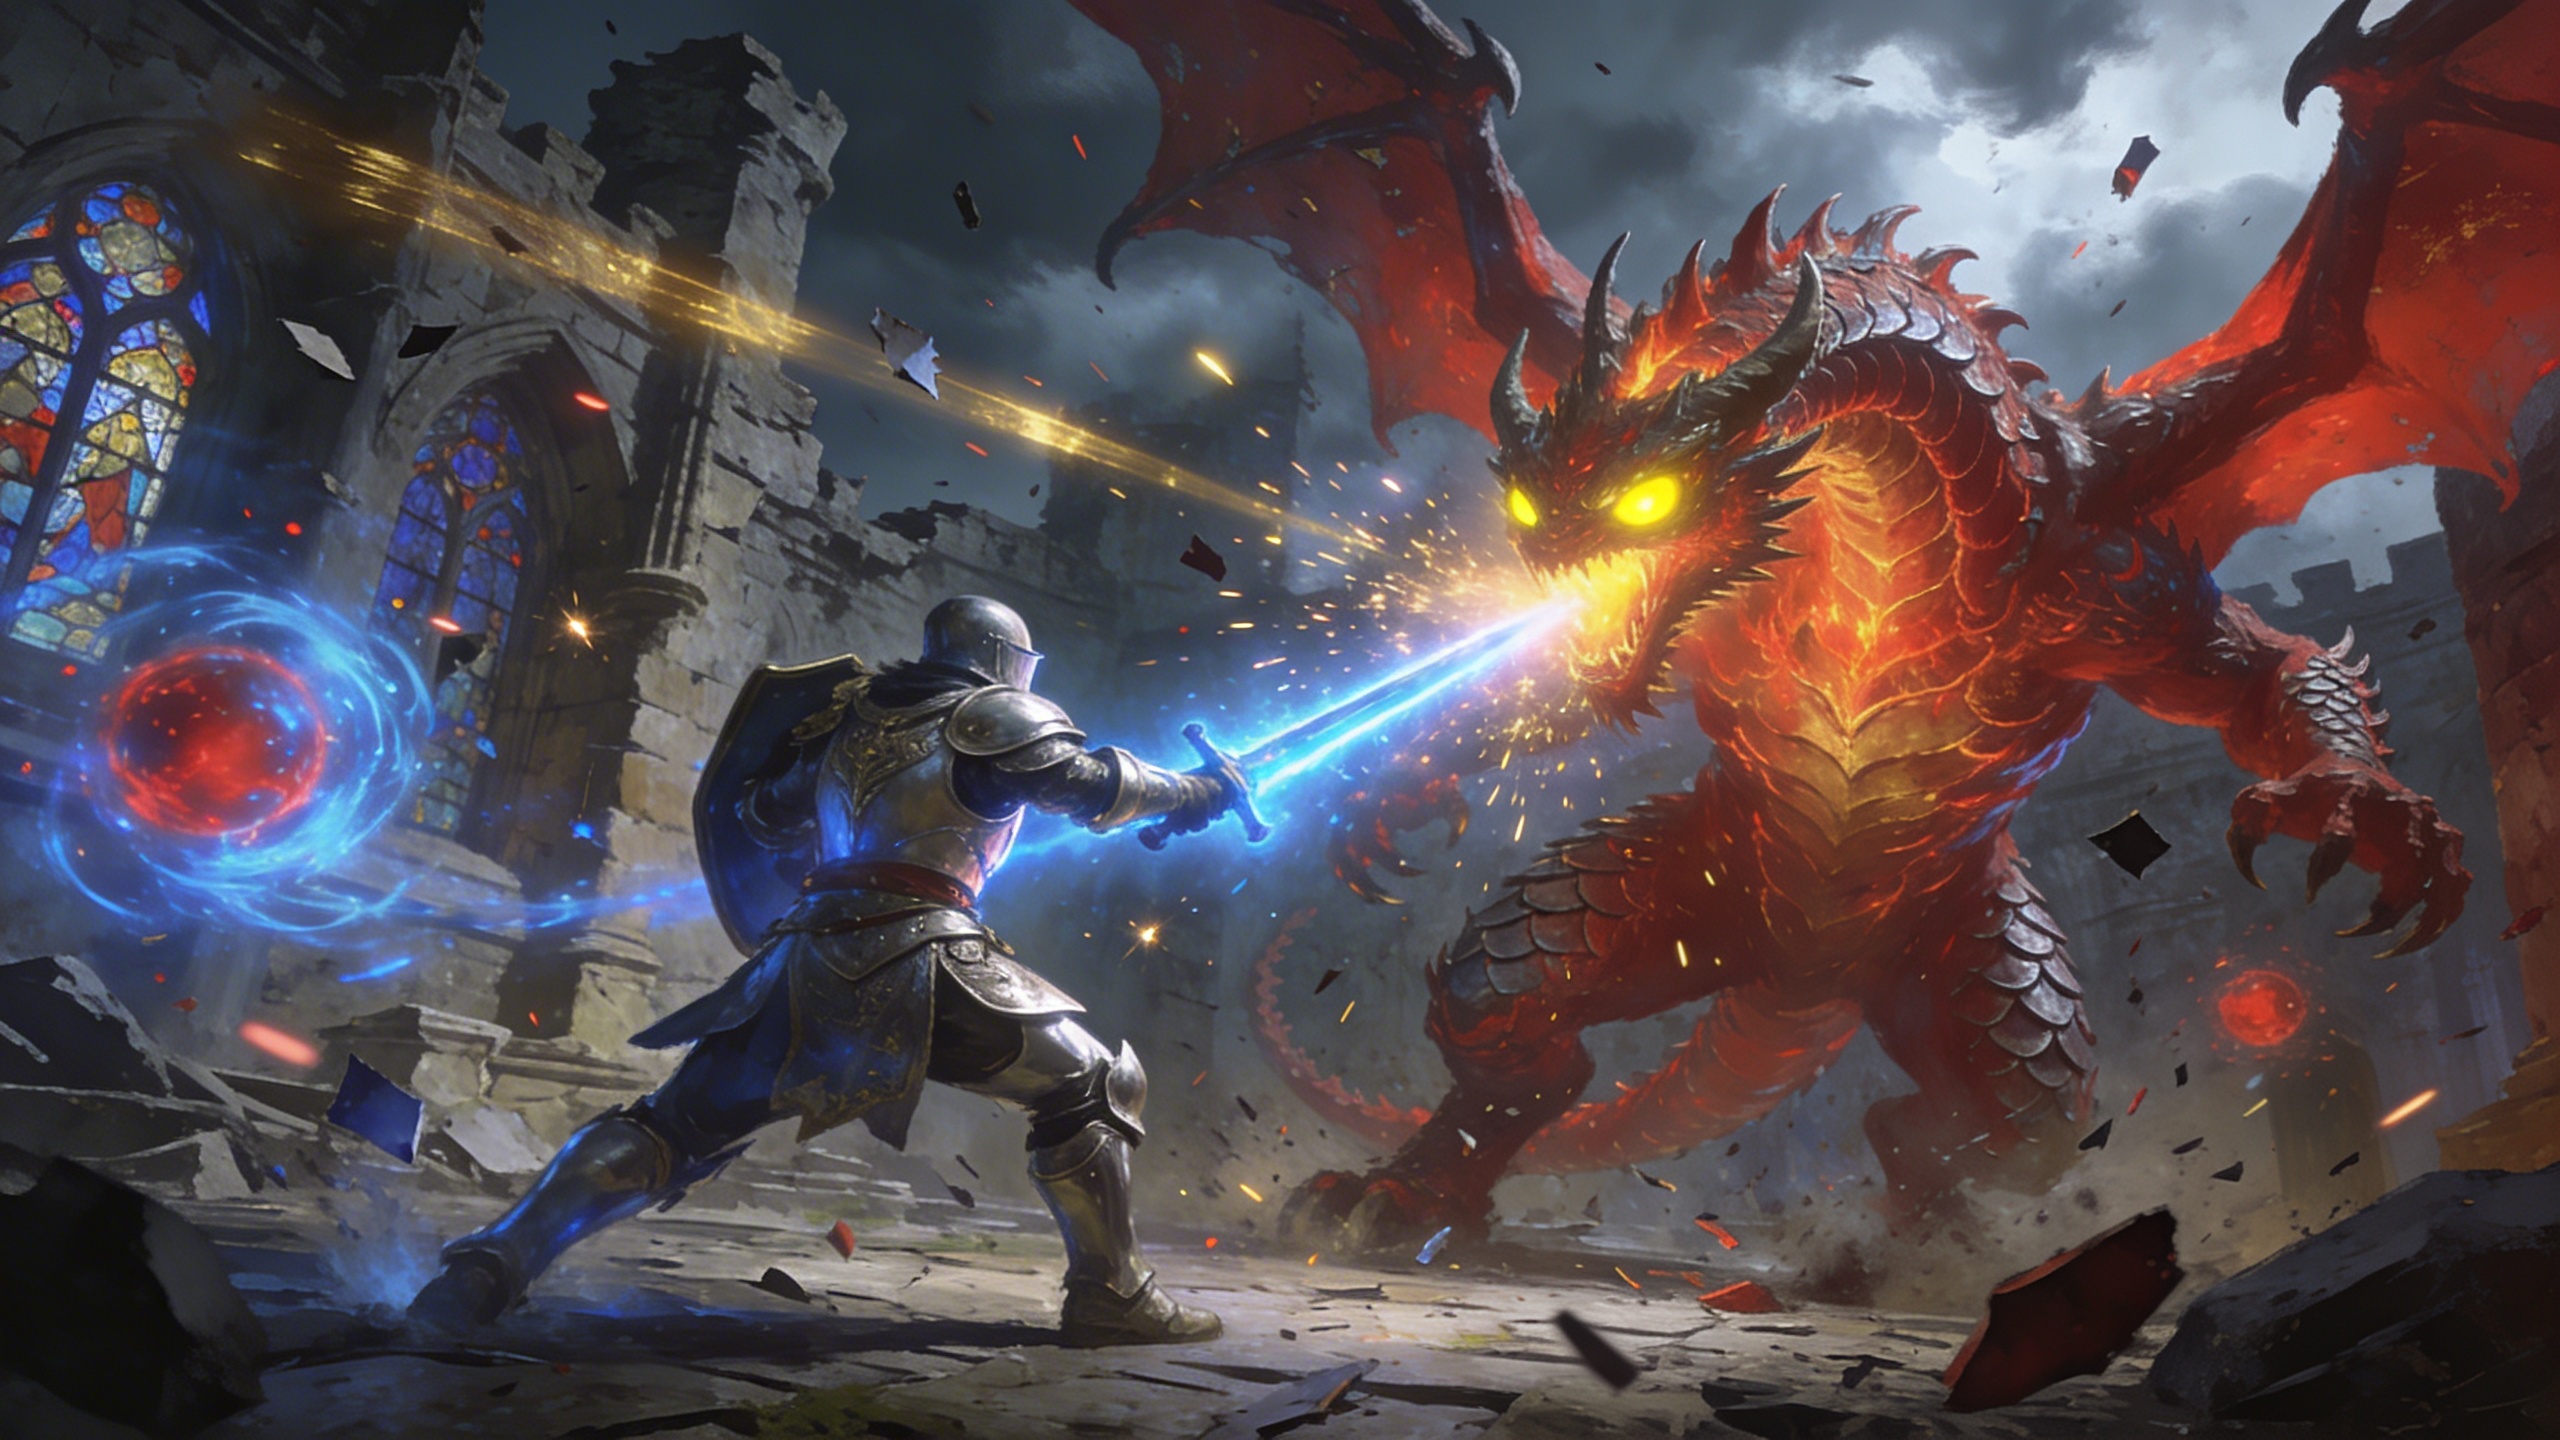
Epic Fantasy Battle
Construct dynamic, explosive fantasy battle scenes. The prompt stages a cinematic fantasy illustration of a hero clashing with an enemy in a setting you define. It calls for a dynamic action pose, intense magical particle effects, dramatic lighting and a sweeping camera angle, rendered as a highly detailed digital painting. What you can customize Hero Description — the protagonist, their armour, weapon and any visible magic. The default is a valiant heavily-armored paladin wielding a glowing golden broadsword. Enemy Description — the opponent. The default is an enormous shadow-demon wreathed in dark purple flames; dragons, liches or rival warriors all work. Battle Environment — where the fight happens. The default is the crumbling ruins of an ancient gothic cathedral during a thunderstorm. Best for D&D campaigns, fantasy novel covers and intense concept art full of magic and action. It also suits character reveal art, TTRPG session recaps and key art for indie games. Tips for the best results Give the hero and enemy contrasting colours, such as gold against purple flame, so the two figures separate clearly in the composition. Include scale cues in the Enemy Description ("enormous", "towering") if you want the hero to look outmatched; the prompt already frames the enemy as imposing. Pick an environment with weather or light of its own, such as a thunderstorm or lava glow, because it feeds the dramatic lighting directly. Describe one hero and one enemy. Crowded armies produce muddled action and lose the clean hero-versus-villain framing.
Image
Fantasy & Sci-Fi
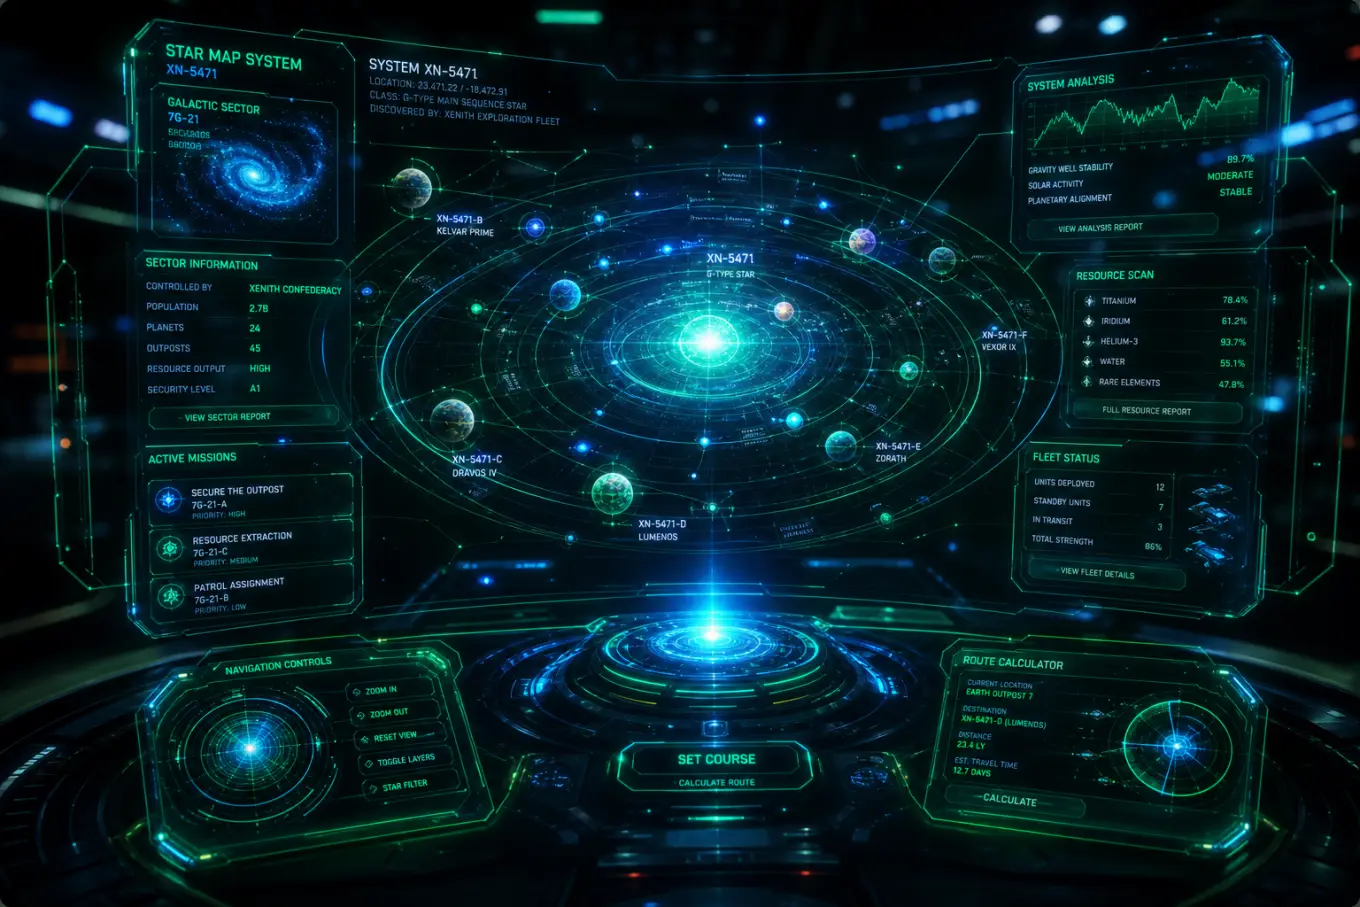
Holographic Tech UI
Generate intricate, glowing heads-up displays and holographic user interfaces. The prompt builds a futuristic holographic UI projection floating in mid-air, with layered translucent panels, data nodes and connection lines, futuristic typography, luminous line graphs and a central focal element such as a 3D map, model or core visualization. Volumetric light, glowing crisp edges, shallow depth of field and a dark cinematic background are rendered at 8k with clean, legible interface text. What you can customize Interface Purpose — what the UI is for, which decides the focal element. The default is navigating an interstellar star map with planets, routes and fleet data; a reactor control room or a genome browser change the whole layout. Base Glow Color — five palettes: Emerald & Electric Blue, Cyan & White, Amber & Orange, Magenta & Purple and Red Alert. UI Style — five aesthetics: Cyberpunk Sci-Fi, Clean Minimal HUD, Military Tactical, Medical / Bio and Iron-Man Style. Best for Sci-fi concept art, film and game pre-visualization, futuristic pitch decks, tech product backdrops and hero images for software landing pages. Tips for the best results Write the purpose as a concrete task with data types; that is what shapes the graphs and the central element. Pair color and style deliberately: Red Alert with Military Tactical, Cyan & White with Clean Minimal HUD. Do not expect readable real words; the prompt asks for legible text, but treat it as decorative. Leave the background dark; adding a bright room defeats the volumetric glow.
Image
Abstract & Artistic
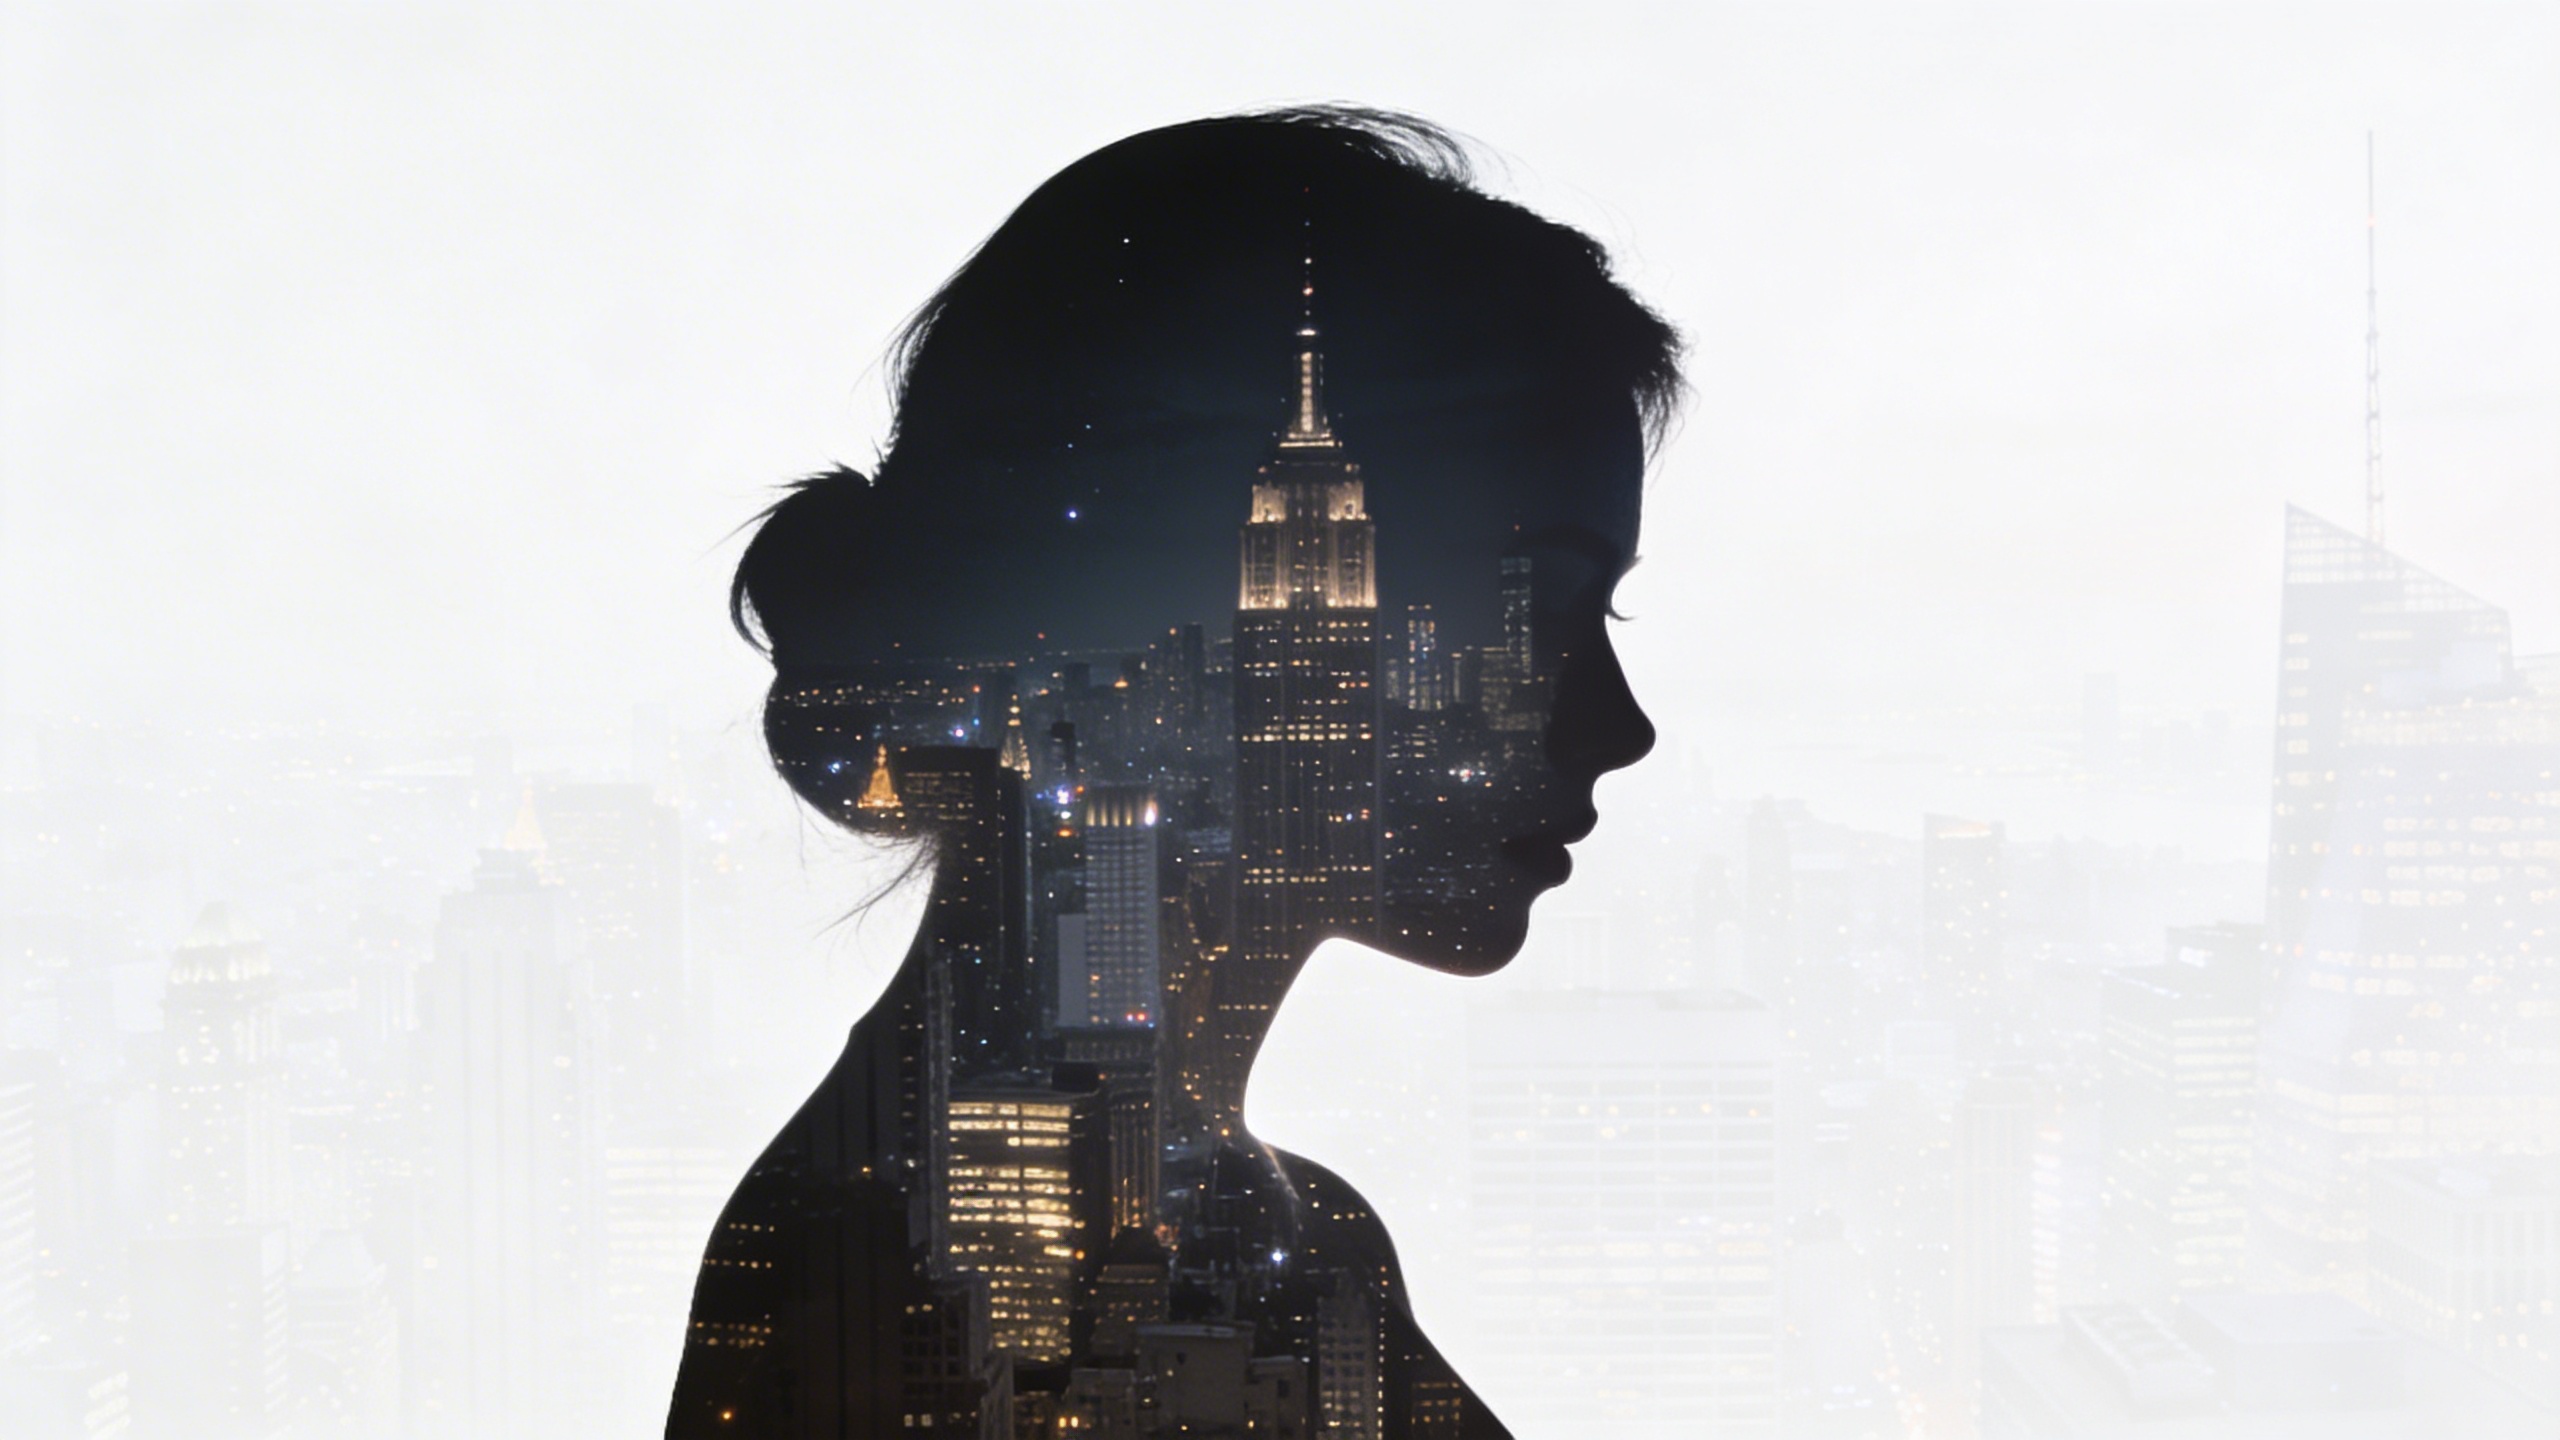
Ethereal Double Exposure
Combine a character silhouette with breathtaking landscapes or scenes using this fine-art double exposure template. The prompt creates a masterful double exposure portrait in which a scene is seamlessly blended inside a primary silhouette. High contrast, a clean white background and an ultra-detailed, poetic and dreamlike finish give it a fine art photography quality that is widely popular for album covers, editorial art and artistic profiles. What you can customize Main Silhouette Subject — the outer shape that frames everything. The default is the profile of a serene woman looking upwards; a stag, a hand or a figure in a hood all give strong outlines. Inner Blended Scene — the landscape or moment inside the silhouette, defaulting to a misty pine forest blending into a starry night sky. Ocean waves, city lights or a desert dune each tell a different story. Best for Album and single artwork, book covers, editorial illustration, artist and musician profile images, poster art and tattoo concept references. Tips for the best results Choose a silhouette with a clear, recognizable profile; busy poses lose their edge against the white background. Pick an inner scene with a natural gradient, like forest into sky, so the blend has somewhere to fade. Keep both fields short and visual; mood words such as misty or starry matter more than plot. Avoid adding a colored or textured background, which undercuts the high-contrast fine art look.
Image
Fantasy & Sci-Fi
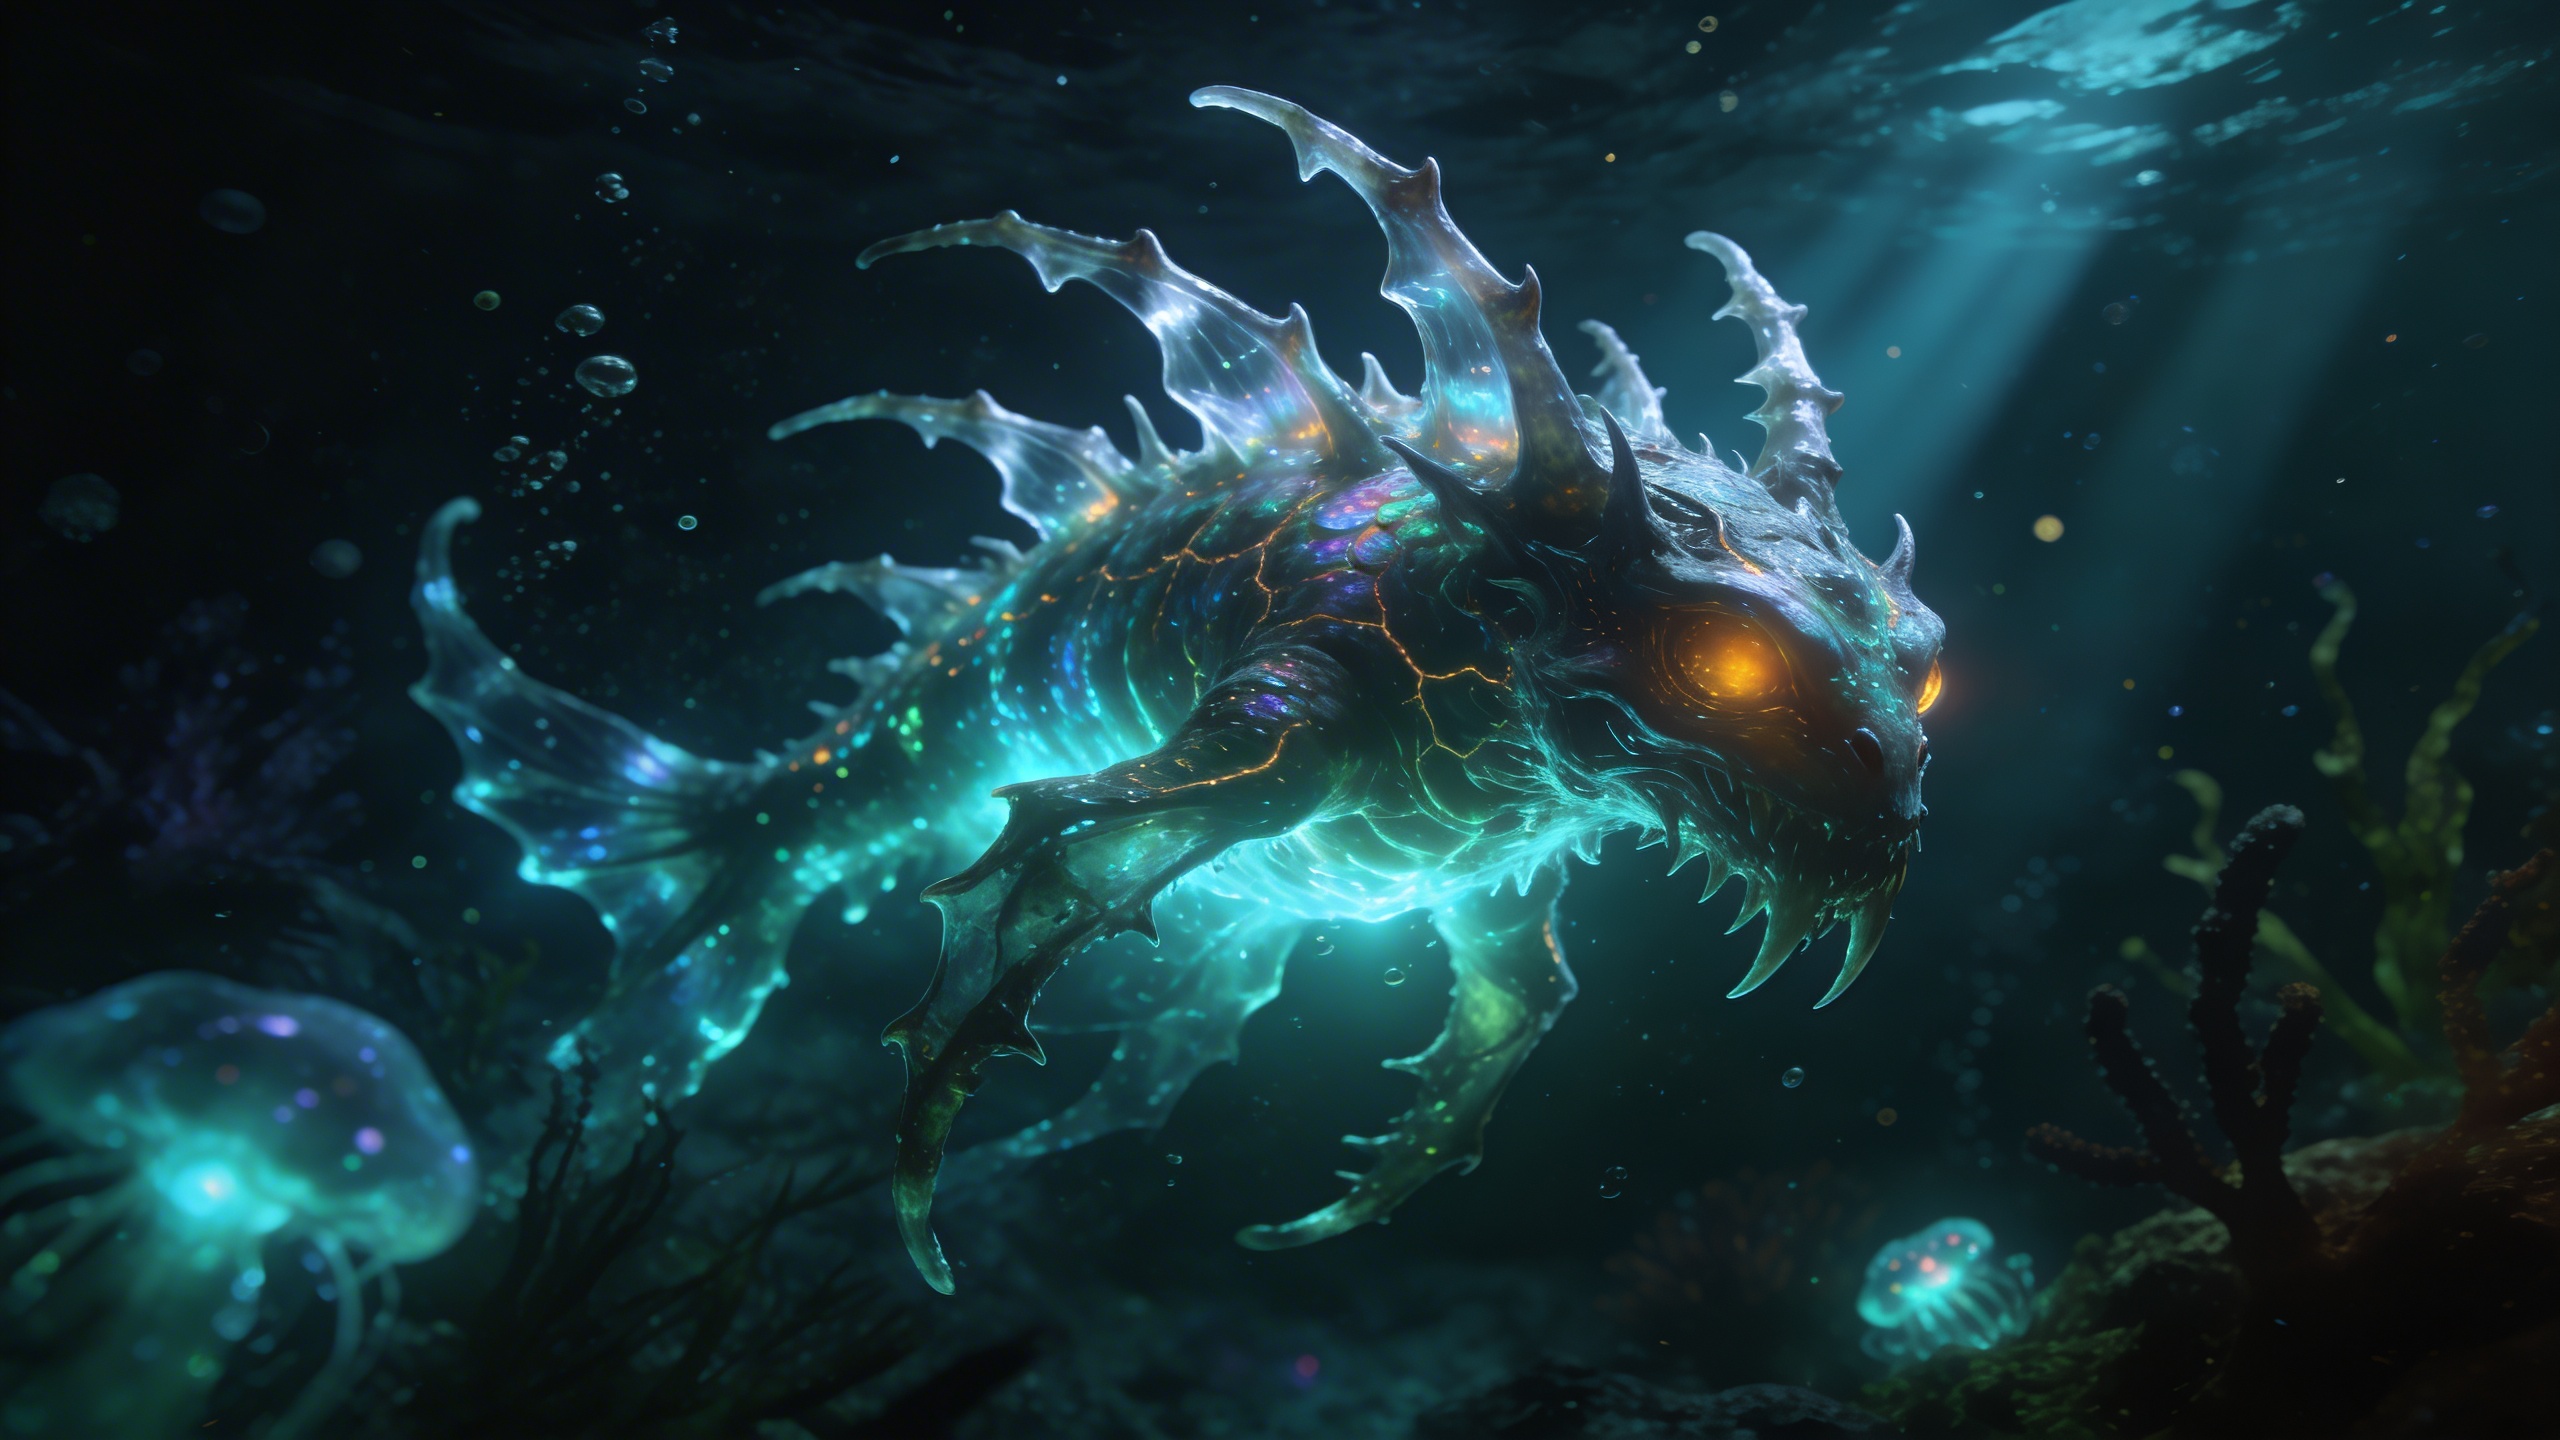
Bioluminescent Deep Sea
Explore the terrifying and beautiful depths of the ocean with this bioluminescent creature generator. The prompt stages an alien deep-sea environment around a beautifully terrifying creature whose glow illuminates the dark, murky water. Floating particles, volumetric light rays and a hyper-realistic 8k finish give it a National Geographic underwater photography feel. What you can customize Creature Type — the anatomy and scale of the animal. The default is a translucent jellyfish-like leviathan with sweeping tentacles; anglerfish hybrids, eel-like serpents or colonial siphonophores all suit the setting. Glow Color — the bioluminescent hue, defaulting to neon cyan and electric purple. Amber, acid green or pale pink change the temperature of the whole scene. Best for Creature design and concept art, sci-fi and horror world-building, immersive aquatic wallpapers, aquarium and museum exhibit visuals, and game environment references. Tips for the best results Describe where the light comes from on the creature (tentacle tips, a lure, ribs) so the glow shapes its body. Use one or two glow colors; more than that flattens the darkness the prompt relies on. Add a scale cue such as a diver or submersible if you want the leviathan to feel enormous. Avoid bright surface water or daylight; the composition depends on murk and volumetric rays.