Loading model...
Best Nano Banana 2 prompts
124 prompts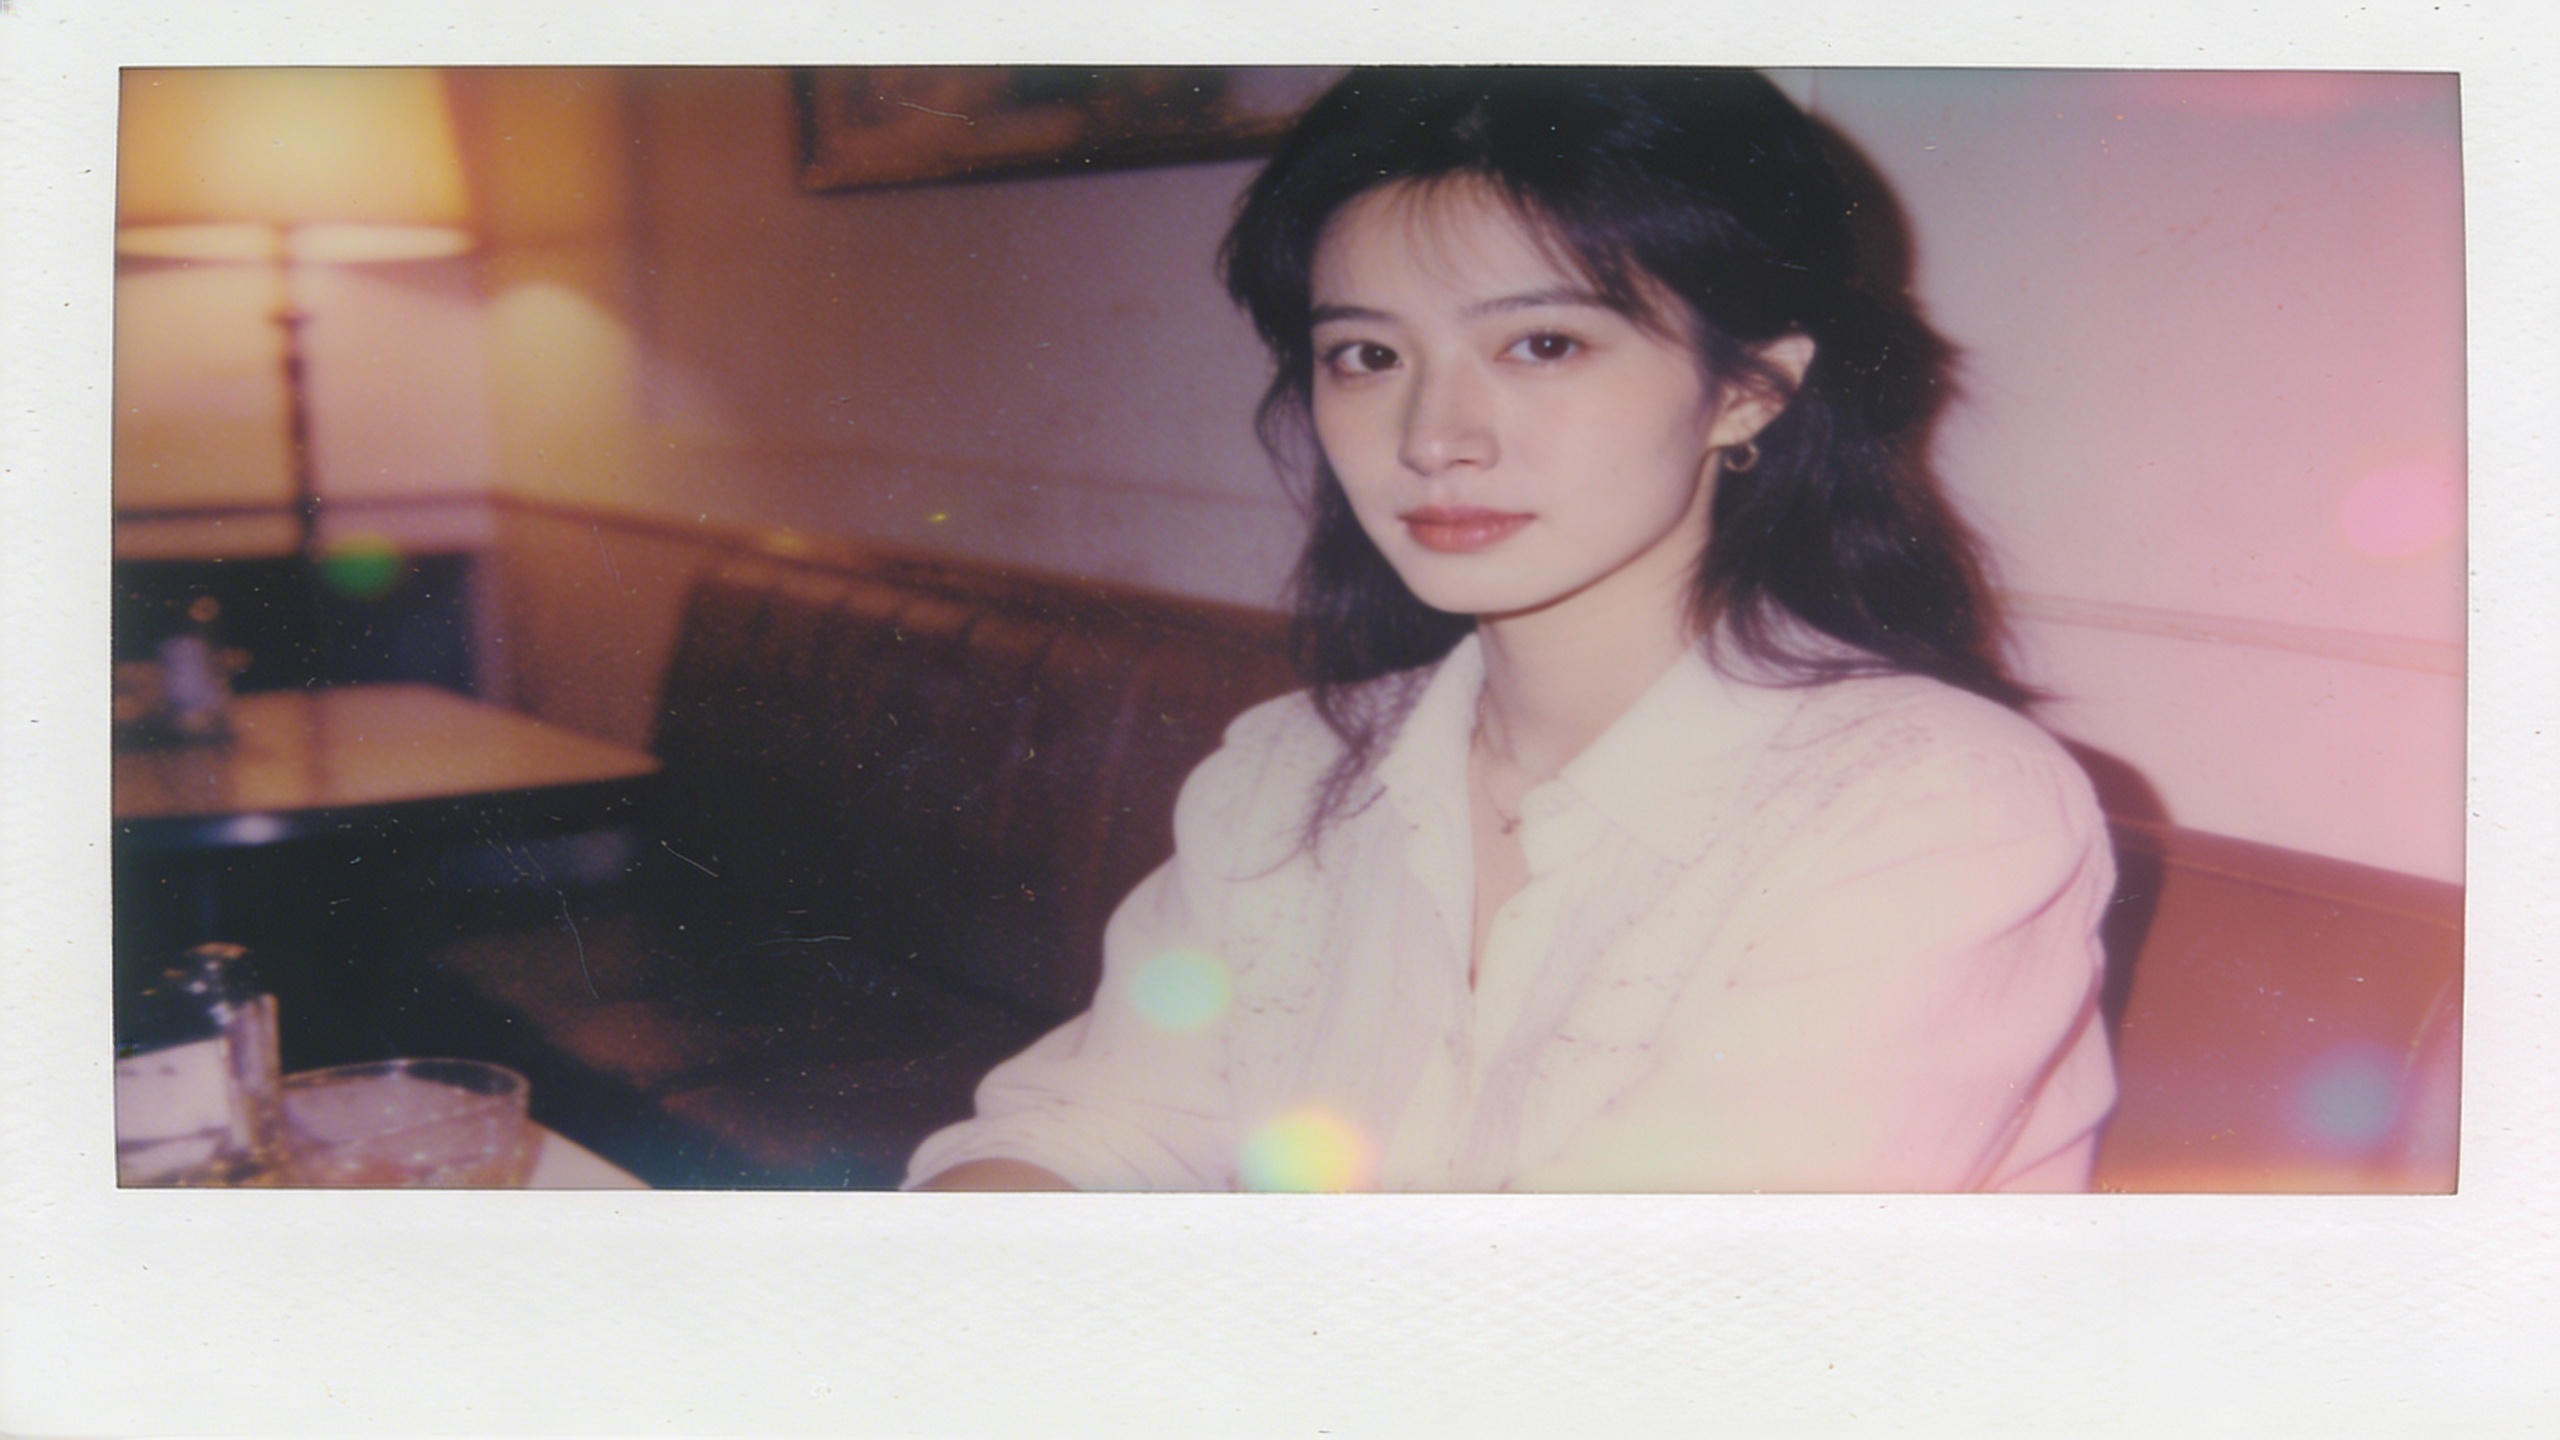
Image
Cinematic & Film
Vintage Polaroid Aesthetic
Instantly apply a highly realistic nostalgic 1980s polaroid film aesthetic to any subject and location. The prompt produces a slightly faded vintage polaroid with film grain, light leaks, soft focus and retro 1980s color grading, complete with authentic polaroid borders visible at the edges. The result feels like a found photograph rather than a filtered render. What you can customize Photo Subject — who or what is in the frame. The default is a group of friends laughing on a classic red pickup truck bed; a couple at a diner or a dog on a porch fit the era just as well. Location — where the photo was taken, such as the default dusty desert highway at sunset, a roller rink or a wood-paneled living room. Best for Mood boards, retro marketing campaigns, social media posts and carousels, album and zine artwork, and nostalgic throwback visuals for events. Tips for the best results Pick subjects and props that belong to the 1980s; modern phones or cars break the illusion. Warm, low sun locations amplify the faded color grading and light leaks. Keep the subject simple and candid, since soft focus blurs fine detail. Do not ask for sharp, high-resolution output; the charm is in the grain and imperfection.
264 ViewsTemplate
Image
Architecture & Interior
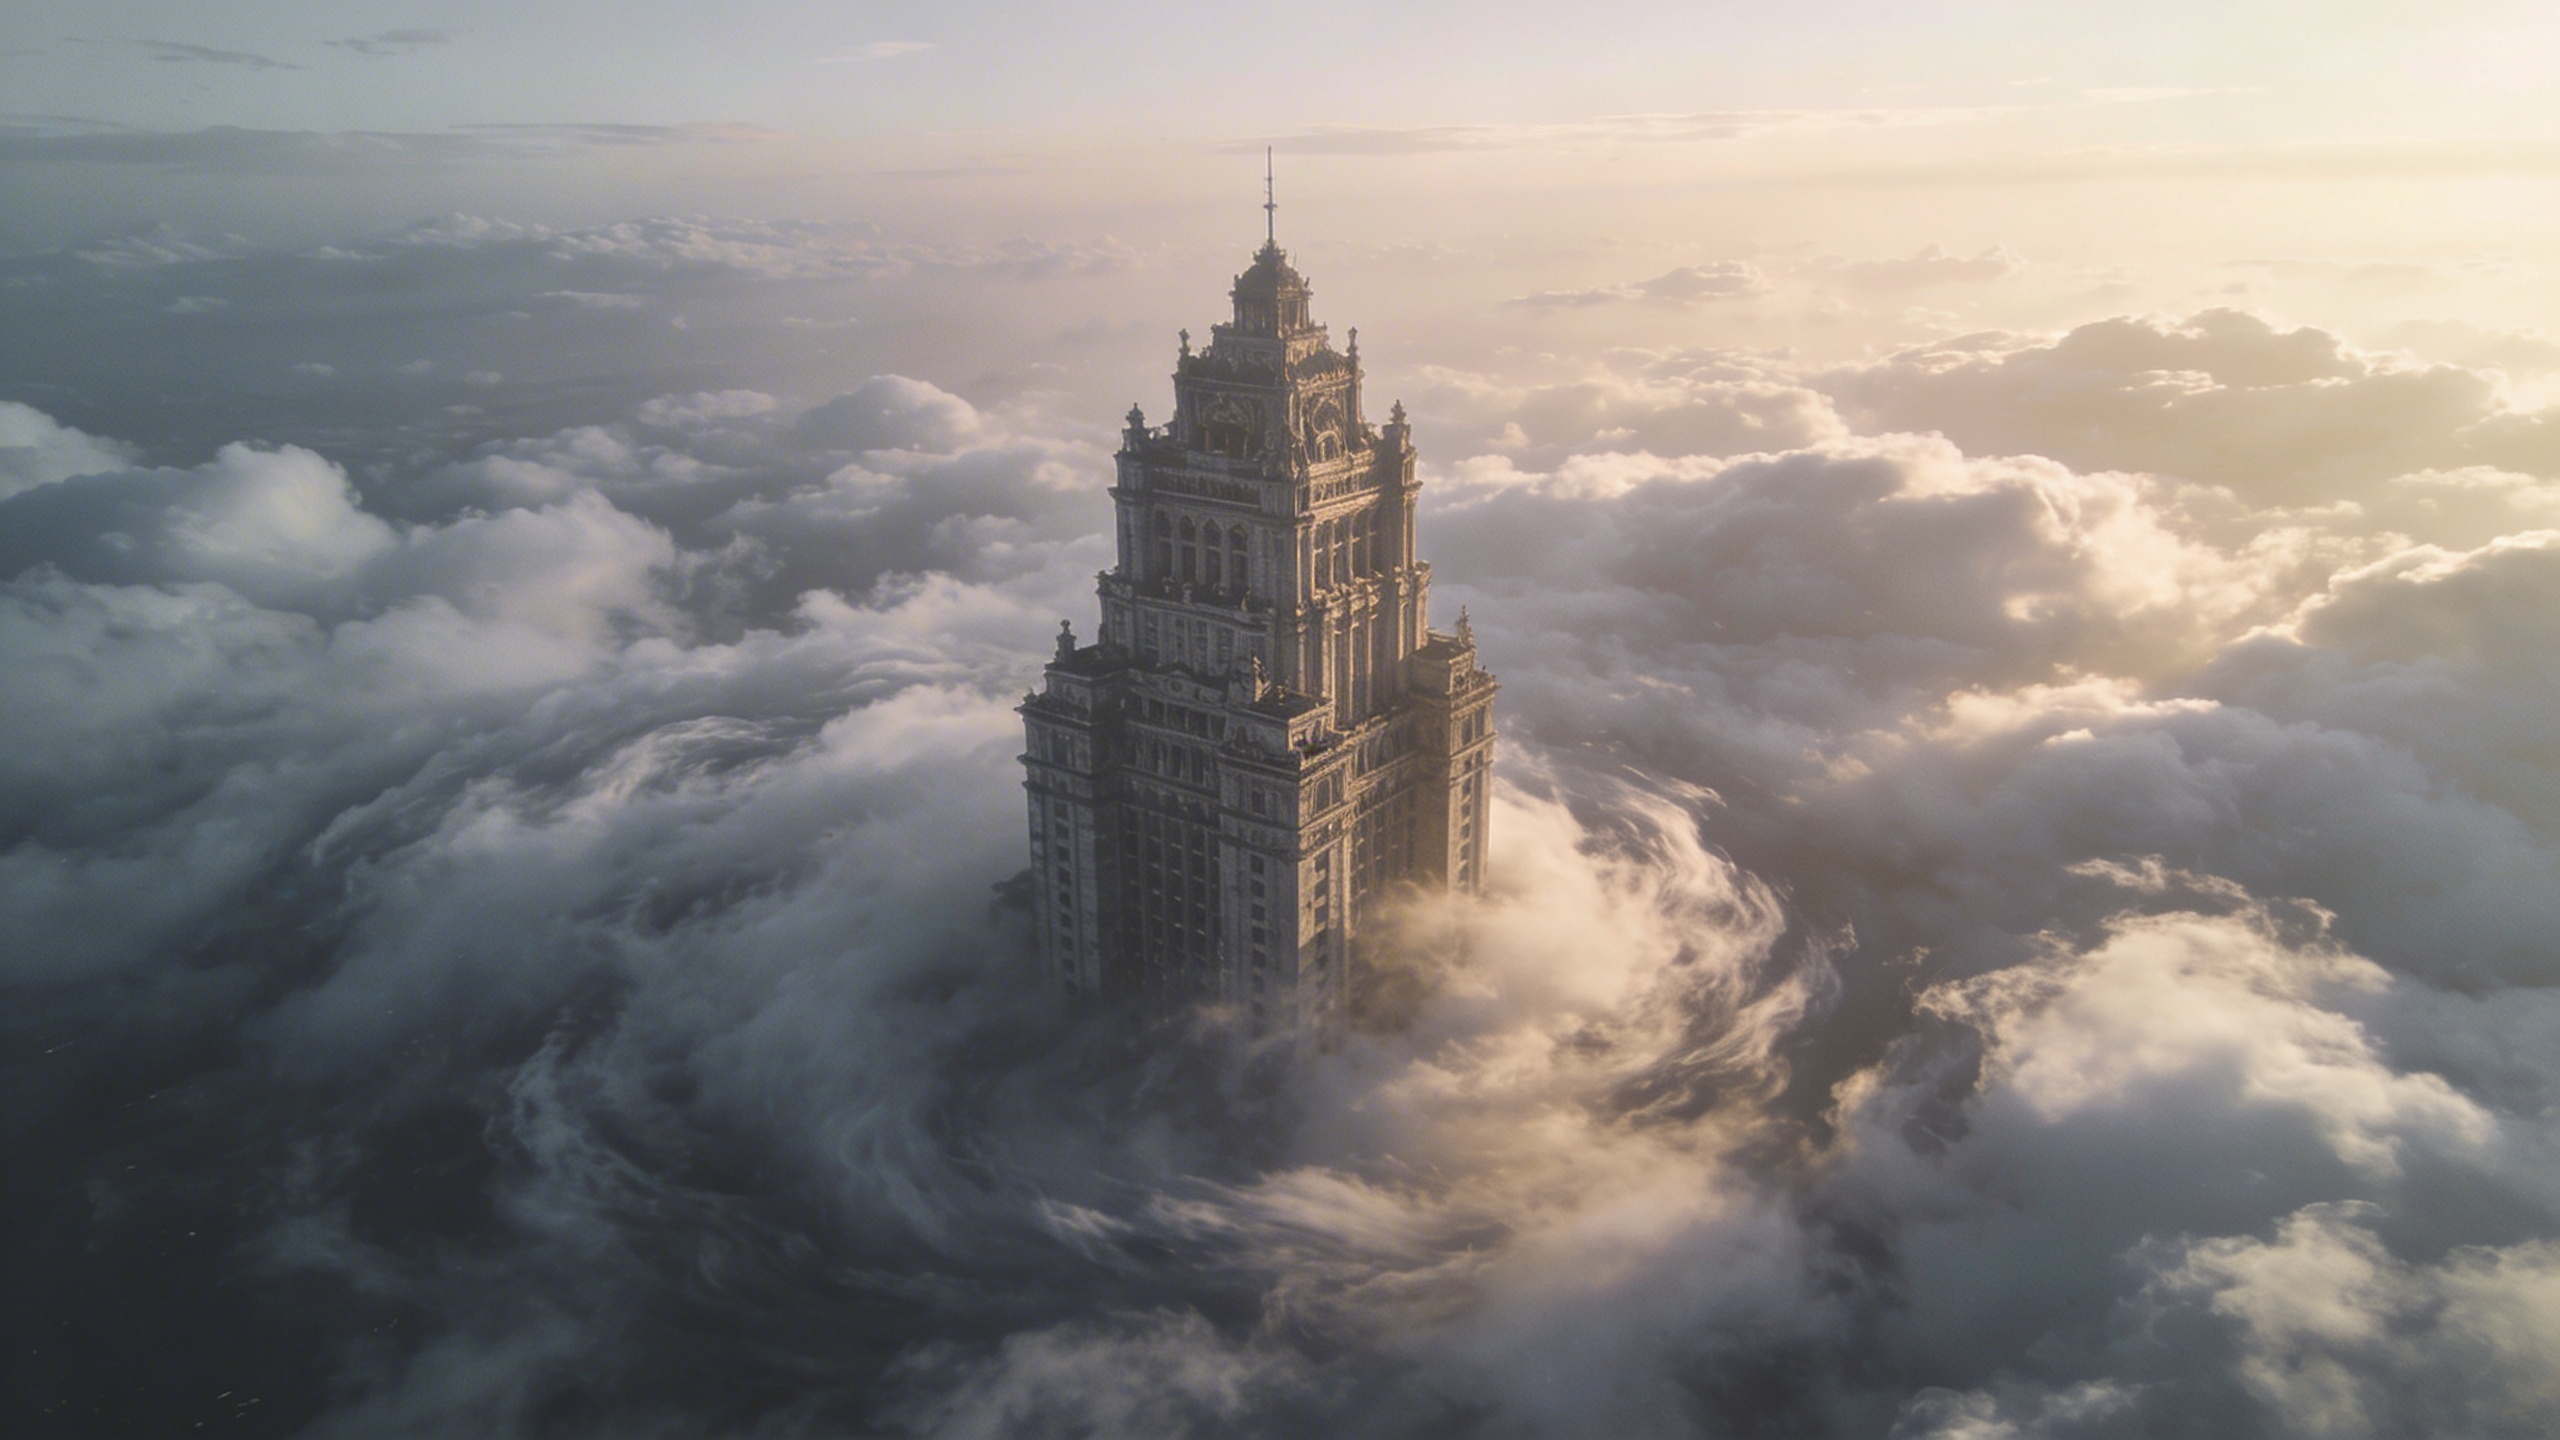
Surreal Cloud Architecture
Create imposing, dreamlike structures piercing through seas of clouds. The prompt is written as surreal architectural photography: a single structure rises majestically out of a dense sea of clouds at colossal scale, with ethereal lighting and a liminal space aesthetic. The result is a highly detailed render that feels both monumental and empty. What you can customize Building Style — the structure itself. The default is a colossal brutalist concrete pyramid; try a glass cathedral, a stepped ziggurat or a lone tower block. Time of Day — the sky and light colour. The default is a vibrant pastel dawn with pink and orange hues; noon, blue hour or a stormy dusk all change the mood. Best for A trending aesthetic that combines liminal spaces with epic architectural scale. Use it for album art, editorial illustration, sci-fi and fantasy concept art, desktop wallpapers and moodboards for large-scale architectural visions. Tips for the best results Give the Building Style a material and a form ("weathered concrete", "pyramid") so the structure has texture against the soft clouds. Describe one structure. Several buildings dilute the sense of scale that makes the image work. Use Time of Day to set the palette; pastel dawns and dusks produce the dreamlike gradients, while flat midday light reads more like a straightforward photograph. Avoid adding people, vehicles or busy detail; the liminal quality depends on stillness and emptiness.
Image
Landscape & Nature
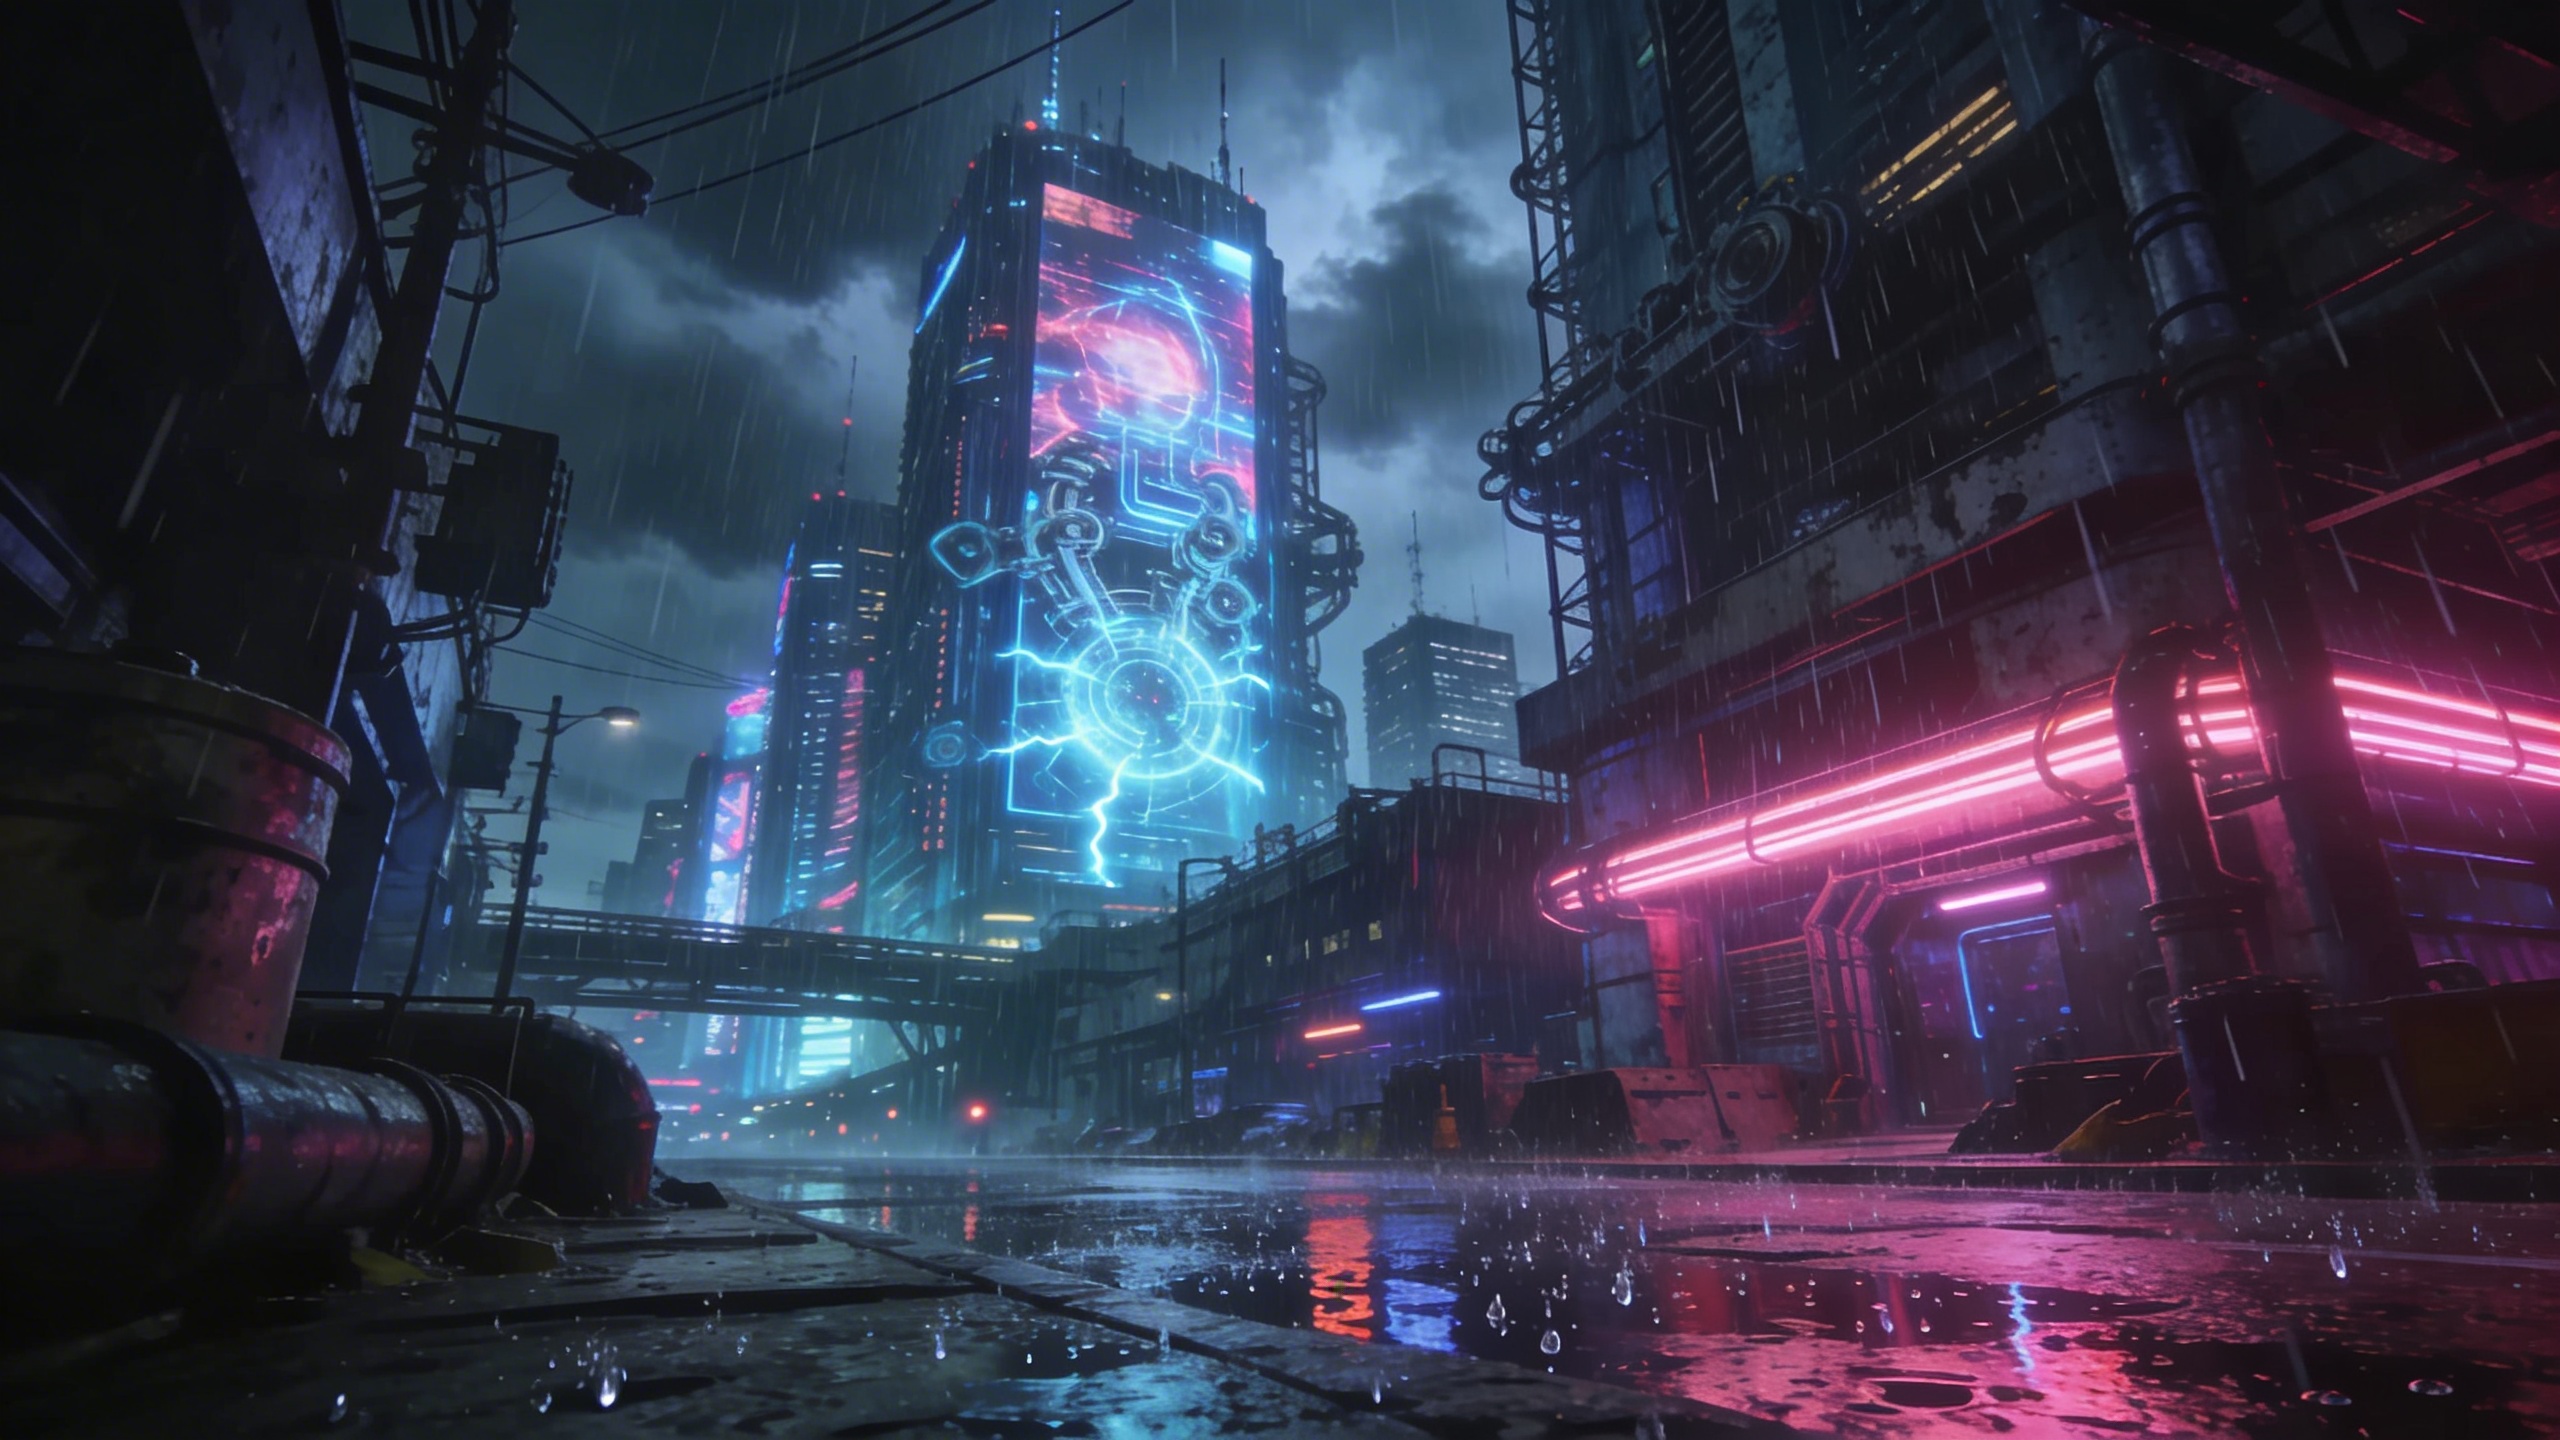
Cyberpunk Cityscape Generator
Create stunning, highly detailed cyberpunk cityscapes with complete control over the theme, lighting colors, and time of day. The prompt renders a city illuminated by neon in your chosen colours and contrasting hues, with heavy rain reflecting off gritty streets. Cinematic composition, hyper-detailed architecture, glowing billboards and a dynamic camera angle are built in. What you can customize City Theme — the defining features of the skyline. The default is towering megastructures and flying cars; try a canal district, a market alley or a rooftop view. Primary Neon Color — the dominant neon palette, such as the default cyan and magenta, red and gold, or green and violet. Time of Day — three options: Midnight, Cyber Dawn or Dusk. This sets the sky and how strongly the neon competes with ambient light. Best for Concept art, backgrounds and sci-fi world-building. It also works for game environment studies, book covers, music visuals and desktop wallpapers. Tips for the best results Name two neon colours at most; the prompt adds contrasting hues on its own, and a longer list turns the palette muddy. Midnight gives the strongest neon-on-wet-asphalt look. Cyber Dawn and Dusk add sky colour that softens the contrast. Use the City Theme to state a vantage point ("street level", "aerial") so the dynamic camera angle has a clear starting position. Avoid asking for clear weather; rain reflections are part of the prompt and removing them flattens the image.
Image
Fantasy & Sci-Fi
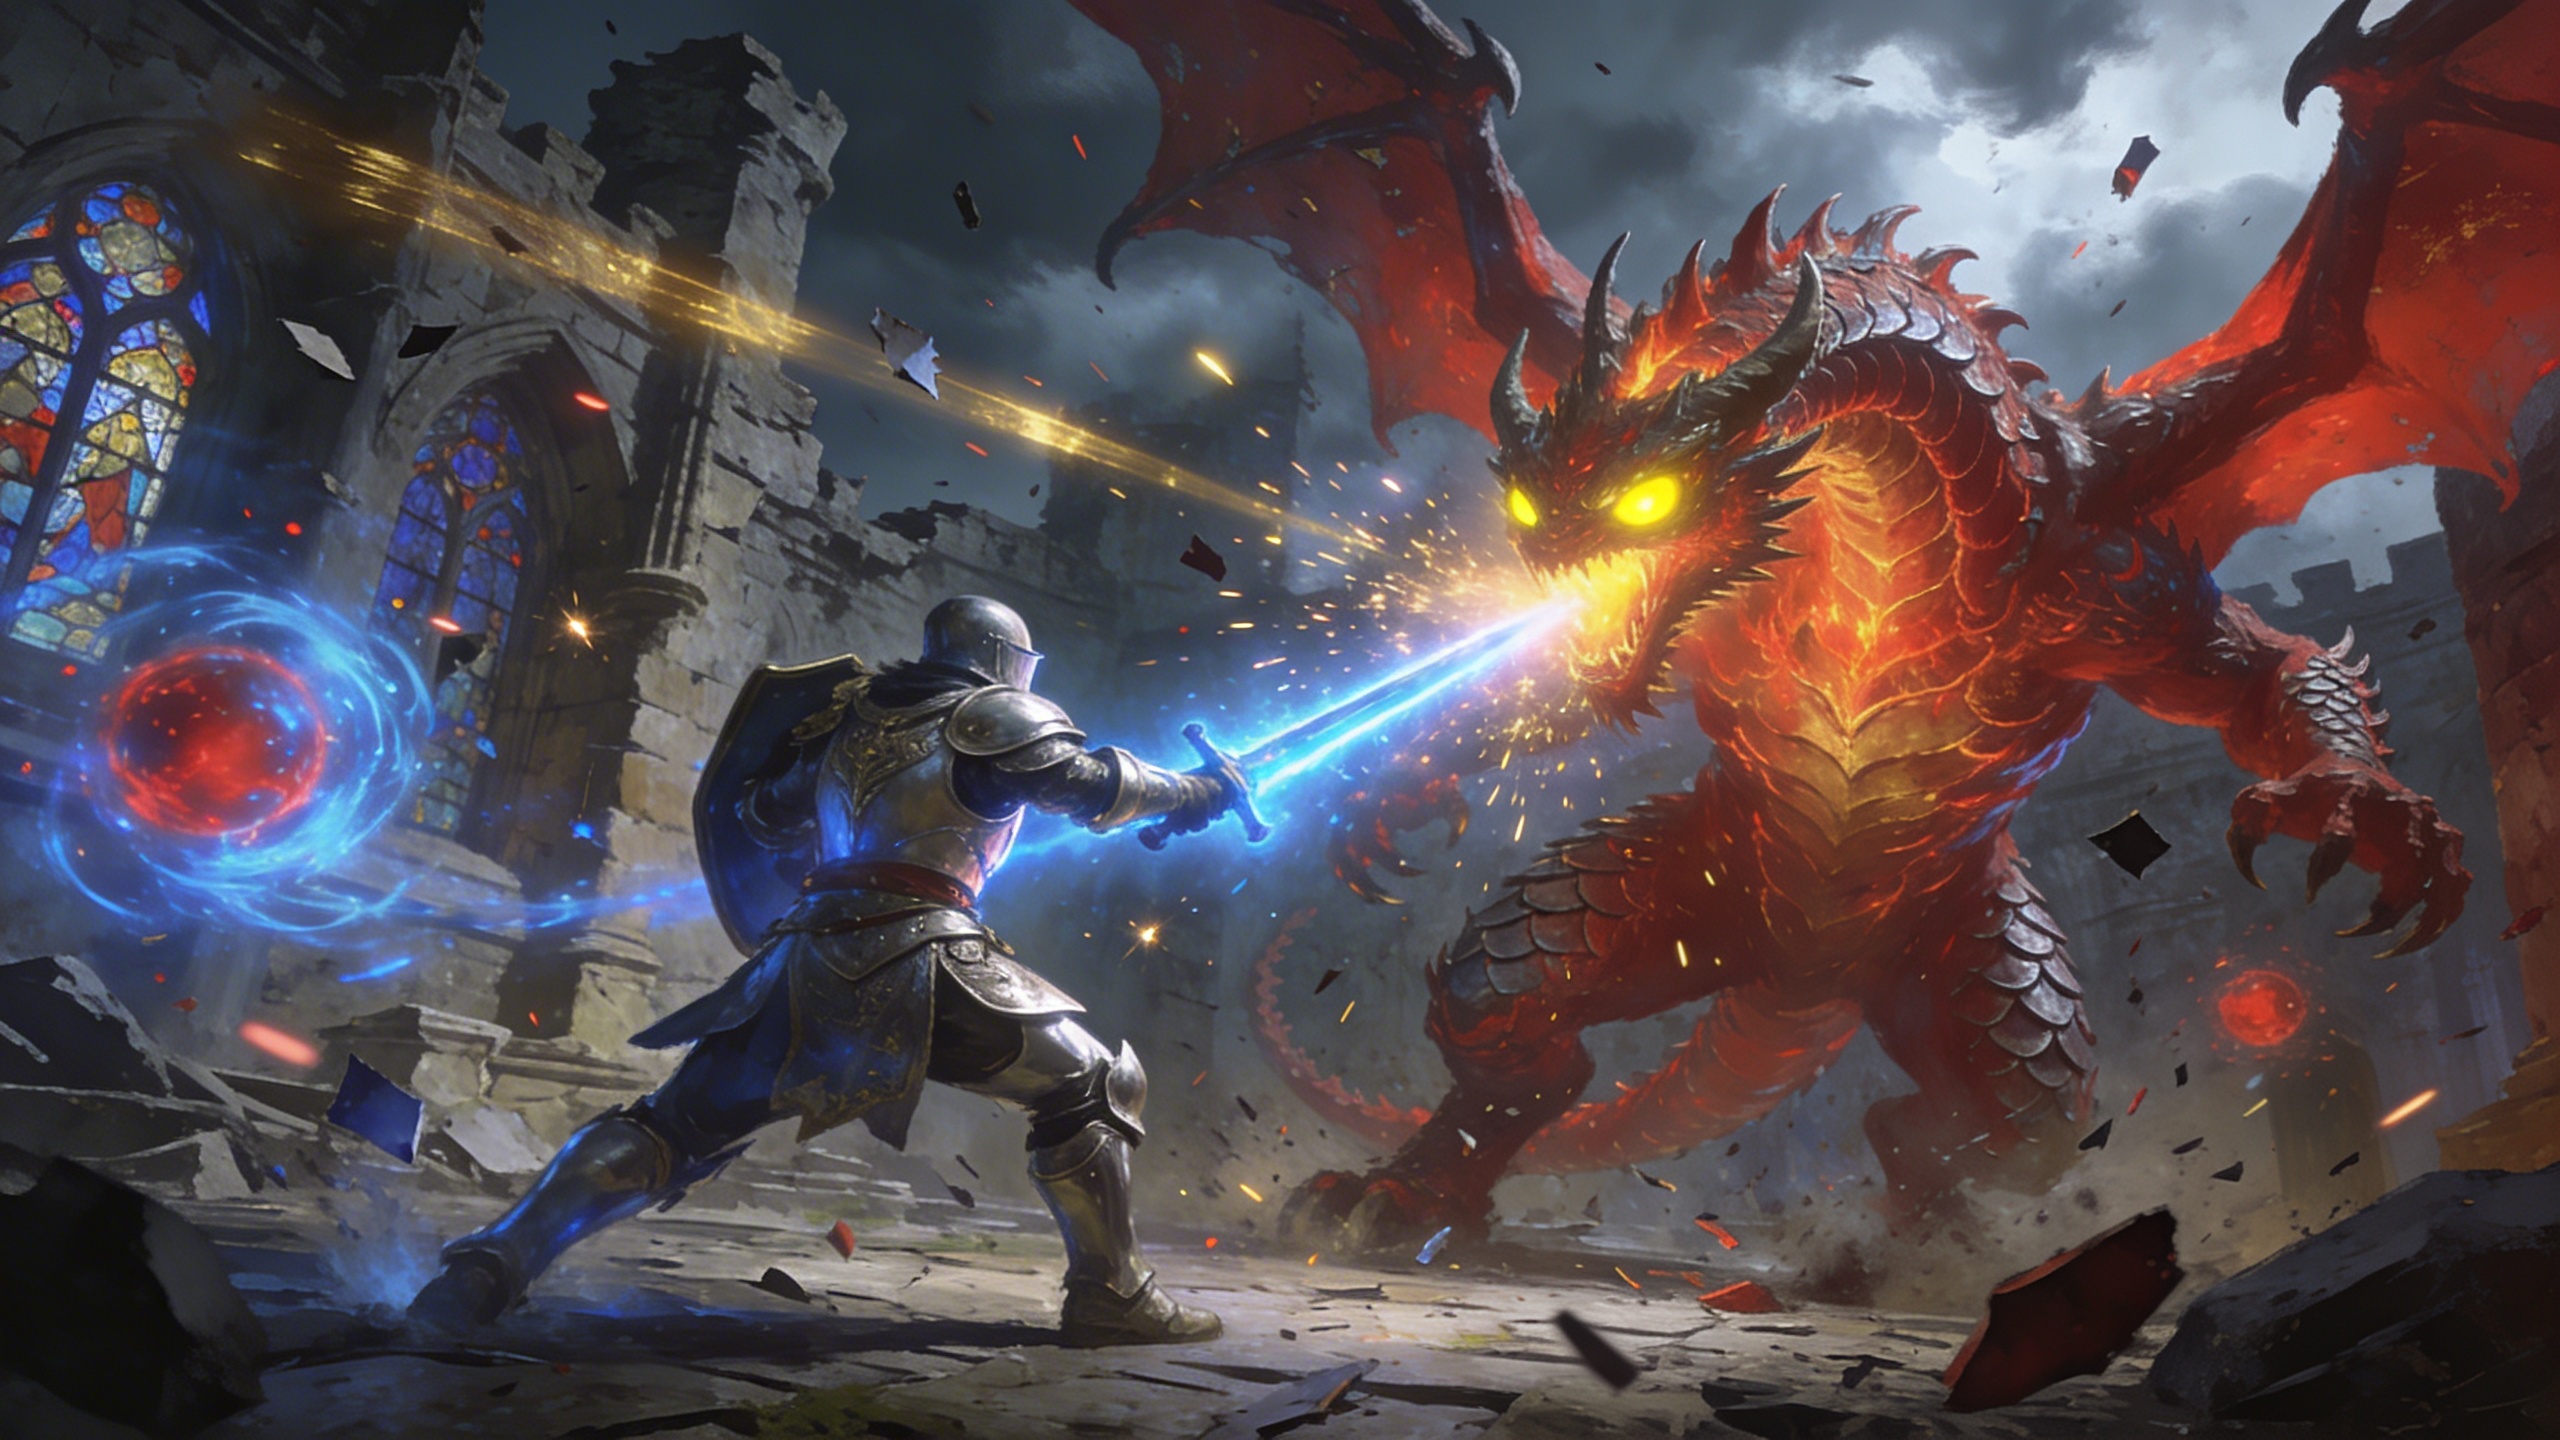
Epic Fantasy Battle
Construct dynamic, explosive fantasy battle scenes. The prompt stages a cinematic fantasy illustration of a hero clashing with an enemy in a setting you define. It calls for a dynamic action pose, intense magical particle effects, dramatic lighting and a sweeping camera angle, rendered as a highly detailed digital painting. What you can customize Hero Description — the protagonist, their armour, weapon and any visible magic. The default is a valiant heavily-armored paladin wielding a glowing golden broadsword. Enemy Description — the opponent. The default is an enormous shadow-demon wreathed in dark purple flames; dragons, liches or rival warriors all work. Battle Environment — where the fight happens. The default is the crumbling ruins of an ancient gothic cathedral during a thunderstorm. Best for D&D campaigns, fantasy novel covers and intense concept art full of magic and action. It also suits character reveal art, TTRPG session recaps and key art for indie games. Tips for the best results Give the hero and enemy contrasting colours, such as gold against purple flame, so the two figures separate clearly in the composition. Include scale cues in the Enemy Description ("enormous", "towering") if you want the hero to look outmatched; the prompt already frames the enemy as imposing. Pick an environment with weather or light of its own, such as a thunderstorm or lava glow, because it feeds the dramatic lighting directly. Describe one hero and one enemy. Crowded armies produce muddled action and lose the clean hero-versus-villain framing.
Image
Fantasy & Sci-Fi
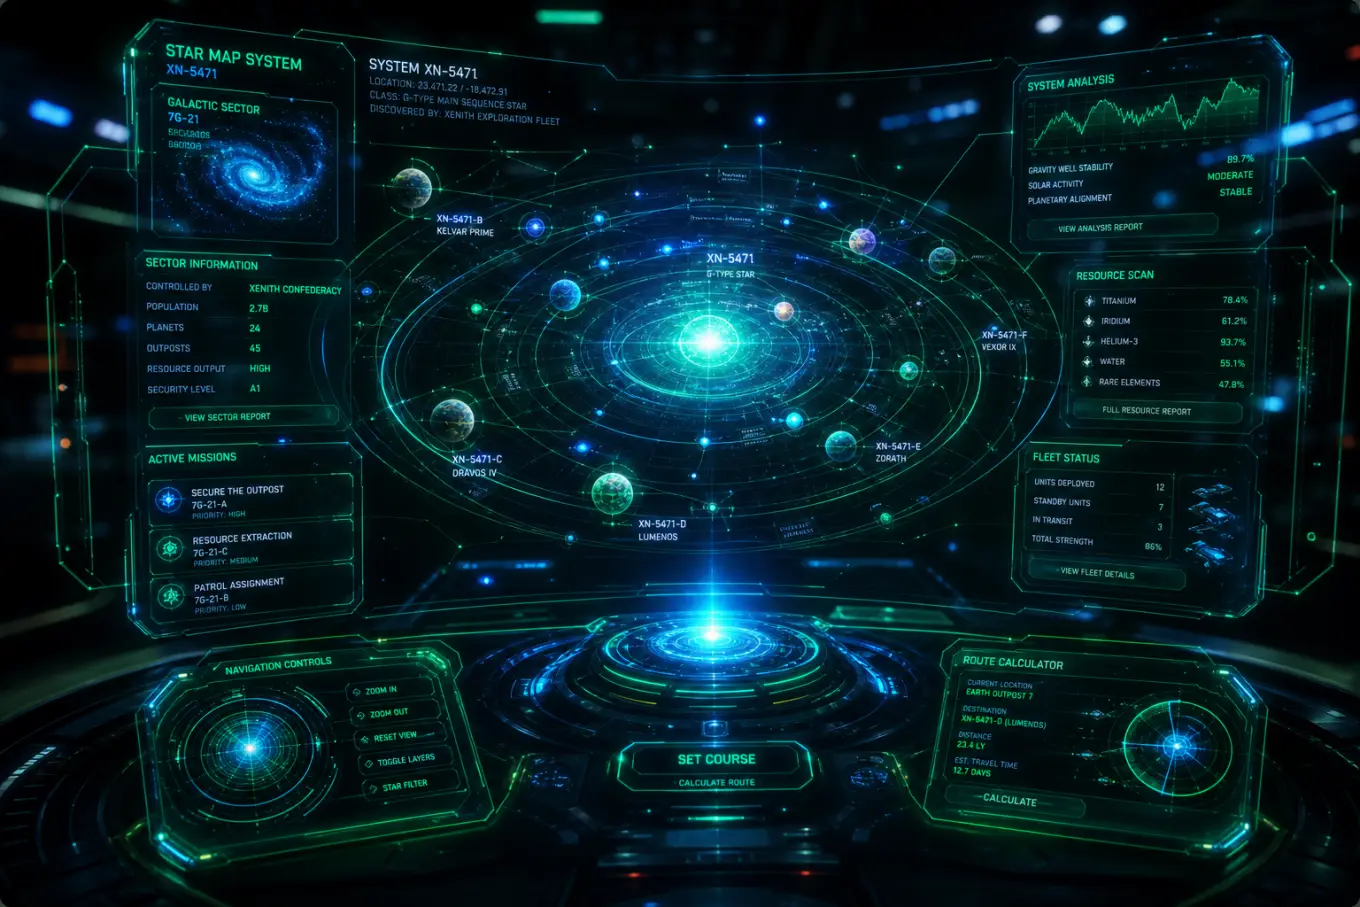
Holographic Tech UI
Generate intricate, glowing heads-up displays and holographic user interfaces. The prompt builds a futuristic holographic UI projection floating in mid-air, with layered translucent panels, data nodes and connection lines, futuristic typography, luminous line graphs and a central focal element such as a 3D map, model or core visualization. Volumetric light, glowing crisp edges, shallow depth of field and a dark cinematic background are rendered at 8k with clean, legible interface text. What you can customize Interface Purpose — what the UI is for, which decides the focal element. The default is navigating an interstellar star map with planets, routes and fleet data; a reactor control room or a genome browser change the whole layout. Base Glow Color — five palettes: Emerald & Electric Blue, Cyan & White, Amber & Orange, Magenta & Purple and Red Alert. UI Style — five aesthetics: Cyberpunk Sci-Fi, Clean Minimal HUD, Military Tactical, Medical / Bio and Iron-Man Style. Best for Sci-fi concept art, film and game pre-visualization, futuristic pitch decks, tech product backdrops and hero images for software landing pages. Tips for the best results Write the purpose as a concrete task with data types; that is what shapes the graphs and the central element. Pair color and style deliberately: Red Alert with Military Tactical, Cyan & White with Clean Minimal HUD. Do not expect readable real words; the prompt asks for legible text, but treat it as decorative. Leave the background dark; adding a bright room defeats the volumetric glow.
Image
Abstract & Artistic
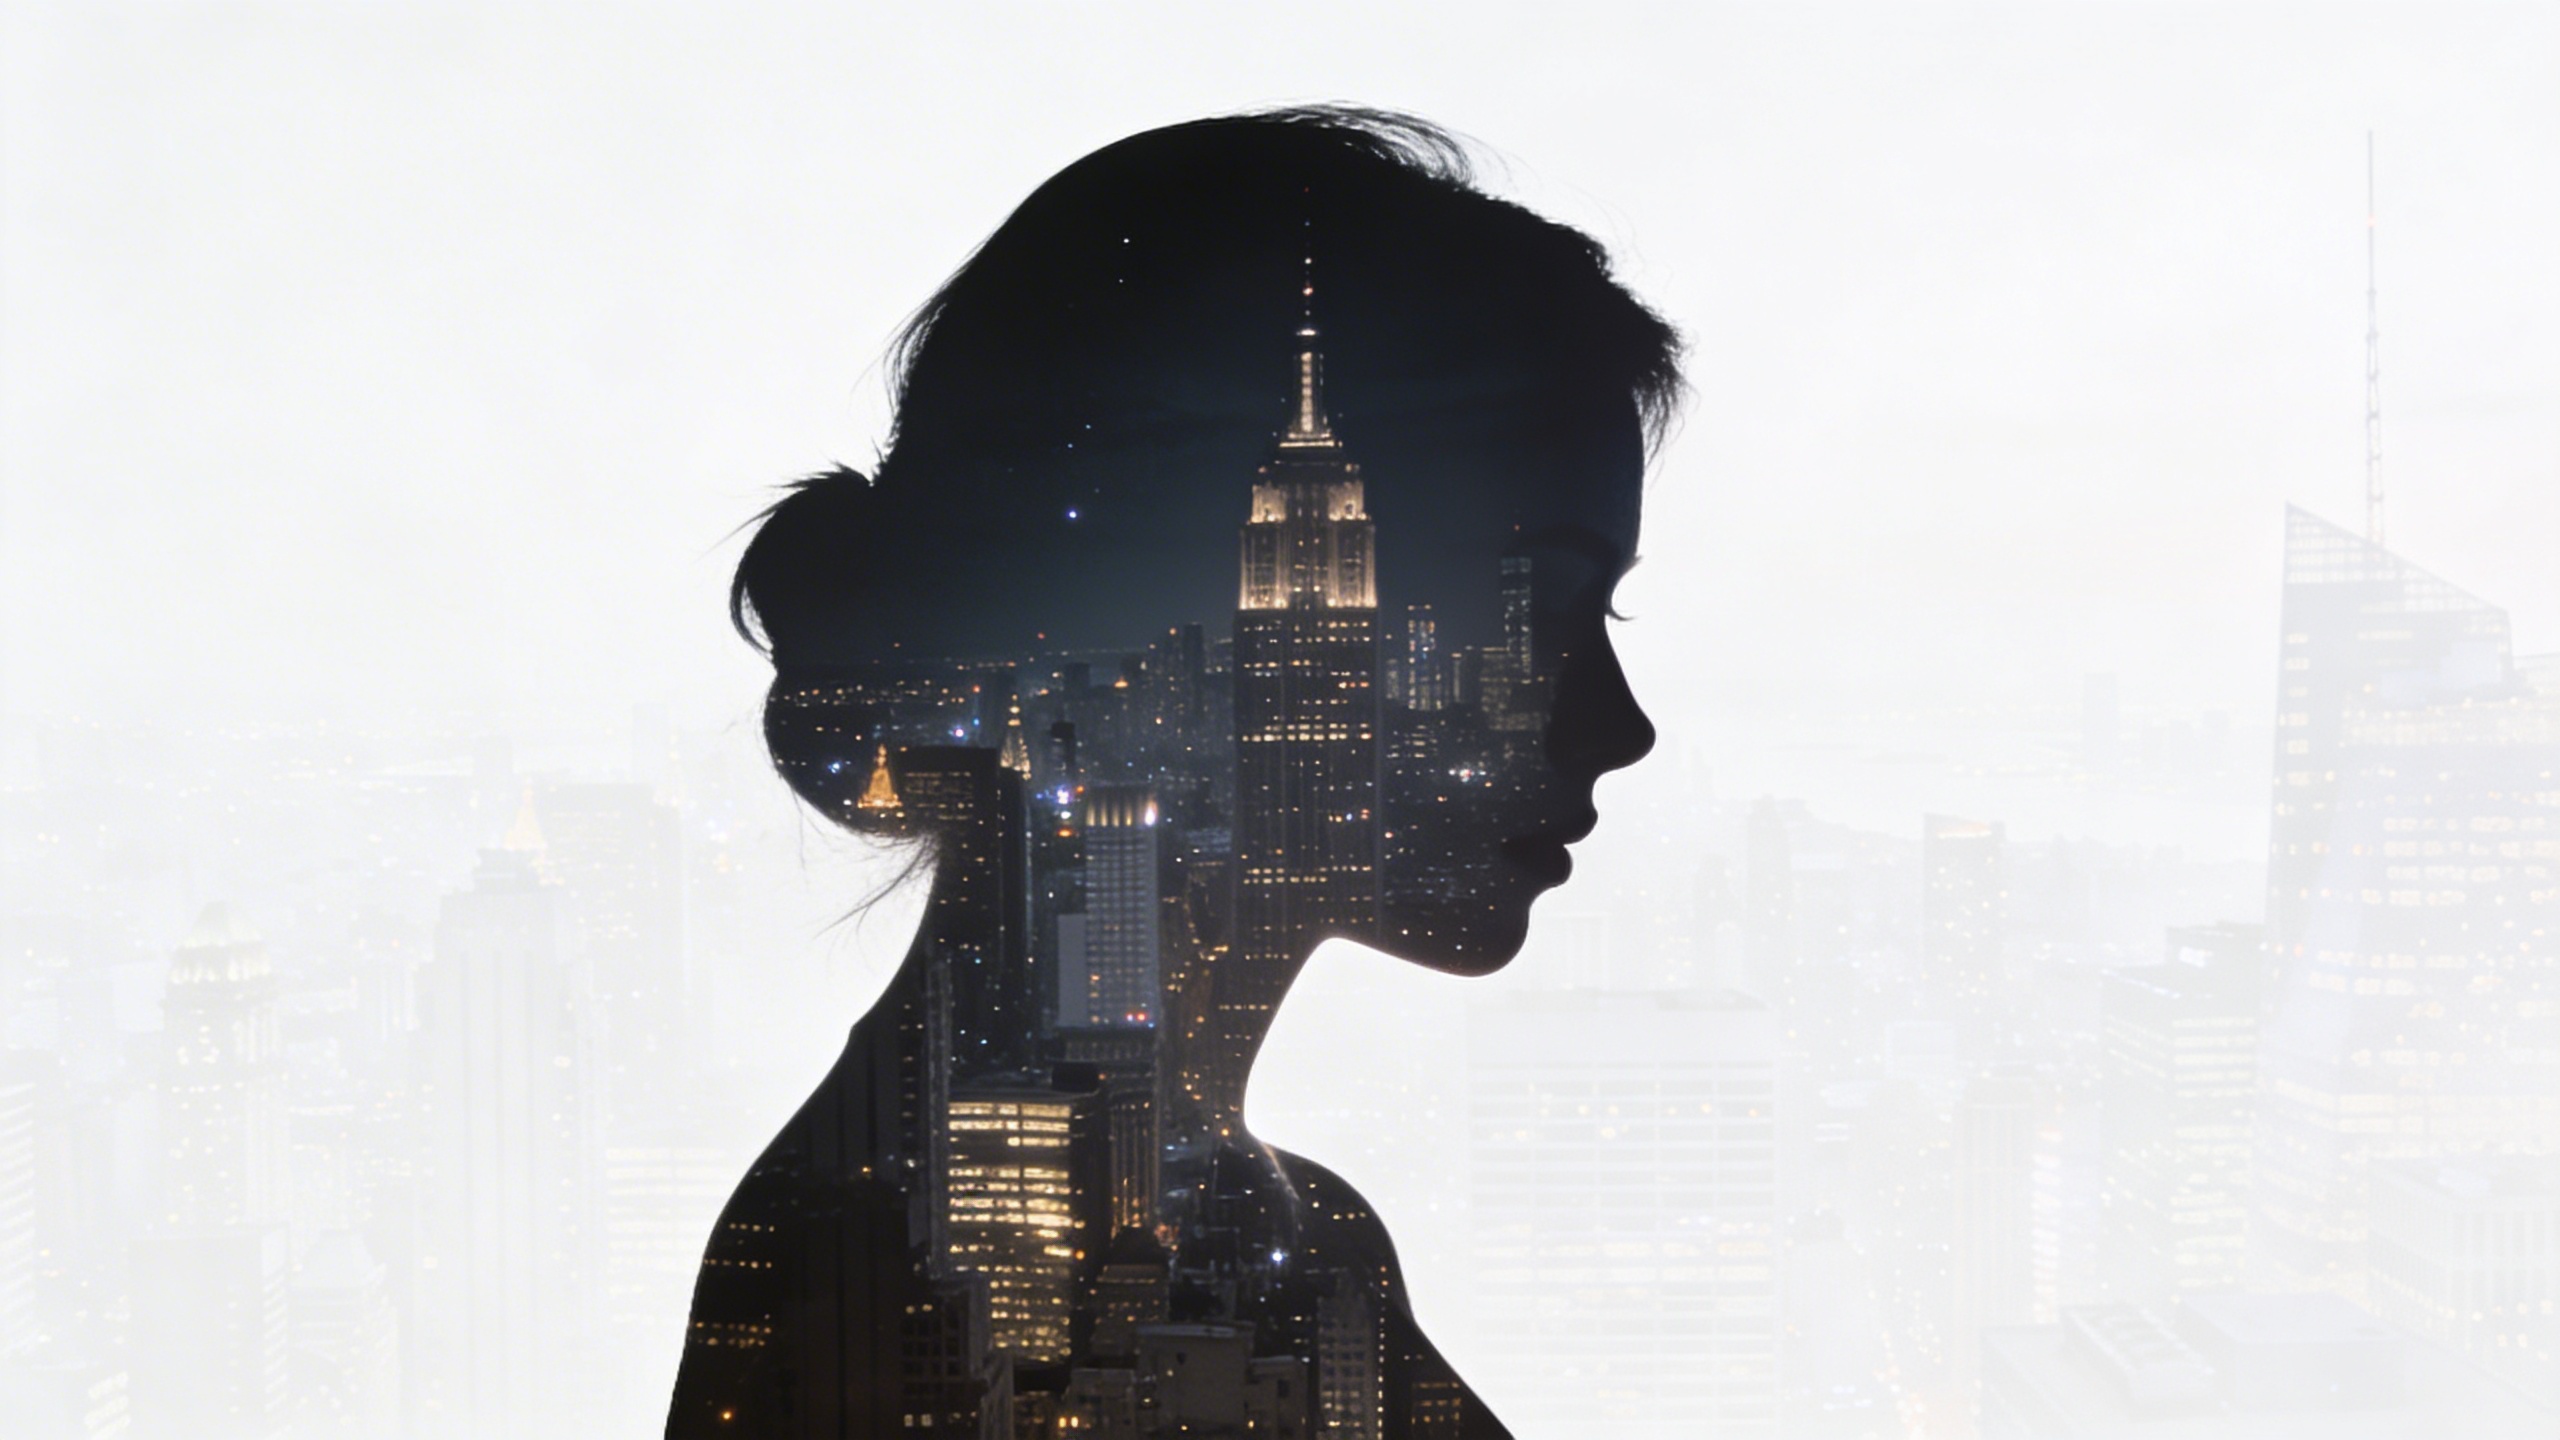
Ethereal Double Exposure
Combine a character silhouette with breathtaking landscapes or scenes using this fine-art double exposure template. The prompt creates a masterful double exposure portrait in which a scene is seamlessly blended inside a primary silhouette. High contrast, a clean white background and an ultra-detailed, poetic and dreamlike finish give it a fine art photography quality that is widely popular for album covers, editorial art and artistic profiles. What you can customize Main Silhouette Subject — the outer shape that frames everything. The default is the profile of a serene woman looking upwards; a stag, a hand or a figure in a hood all give strong outlines. Inner Blended Scene — the landscape or moment inside the silhouette, defaulting to a misty pine forest blending into a starry night sky. Ocean waves, city lights or a desert dune each tell a different story. Best for Album and single artwork, book covers, editorial illustration, artist and musician profile images, poster art and tattoo concept references. Tips for the best results Choose a silhouette with a clear, recognizable profile; busy poses lose their edge against the white background. Pick an inner scene with a natural gradient, like forest into sky, so the blend has somewhere to fade. Keep both fields short and visual; mood words such as misty or starry matter more than plot. Avoid adding a colored or textured background, which undercuts the high-contrast fine art look.
Image
Fantasy & Sci-Fi
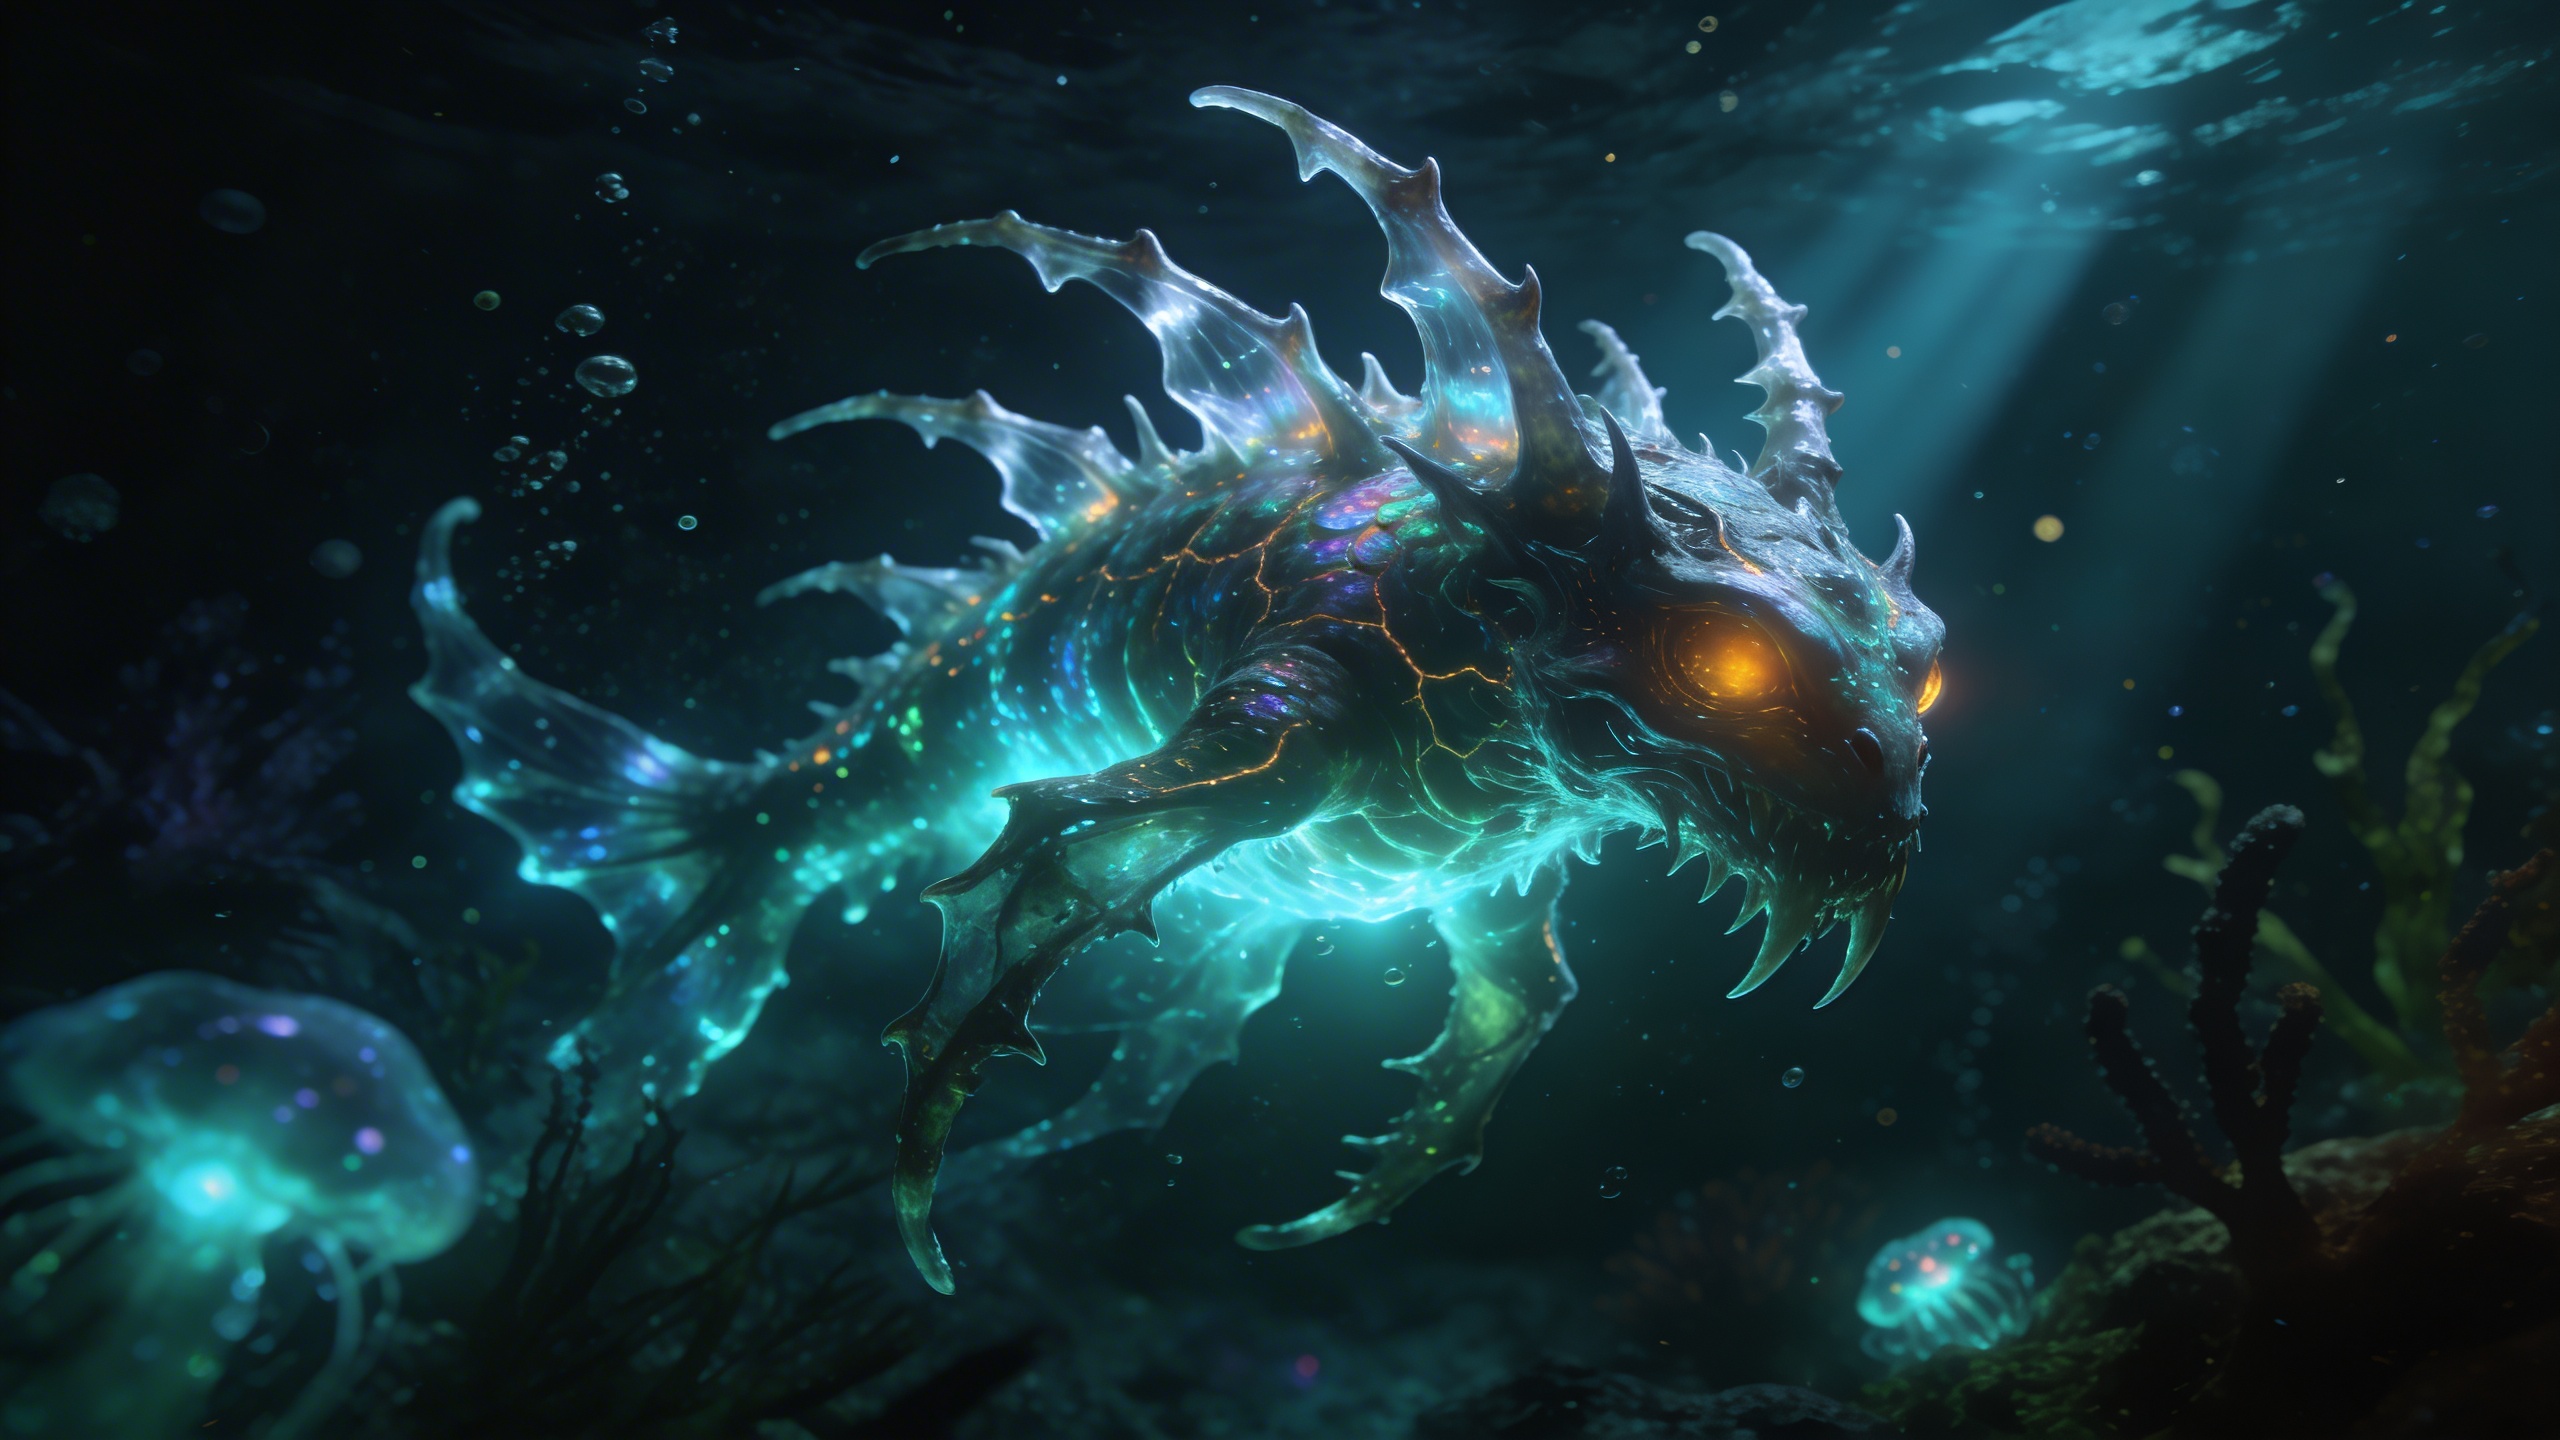
Bioluminescent Deep Sea
Explore the terrifying and beautiful depths of the ocean with this bioluminescent creature generator. The prompt stages an alien deep-sea environment around a beautifully terrifying creature whose glow illuminates the dark, murky water. Floating particles, volumetric light rays and a hyper-realistic 8k finish give it a National Geographic underwater photography feel. What you can customize Creature Type — the anatomy and scale of the animal. The default is a translucent jellyfish-like leviathan with sweeping tentacles; anglerfish hybrids, eel-like serpents or colonial siphonophores all suit the setting. Glow Color — the bioluminescent hue, defaulting to neon cyan and electric purple. Amber, acid green or pale pink change the temperature of the whole scene. Best for Creature design and concept art, sci-fi and horror world-building, immersive aquatic wallpapers, aquarium and museum exhibit visuals, and game environment references. Tips for the best results Describe where the light comes from on the creature (tentacle tips, a lure, ribs) so the glow shapes its body. Use one or two glow colors; more than that flattens the darkness the prompt relies on. Add a scale cue such as a diver or submersible if you want the leviathan to feel enormous. Avoid bright surface water or daylight; the composition depends on murk and volumetric rays.
Image
Architecture & Interior
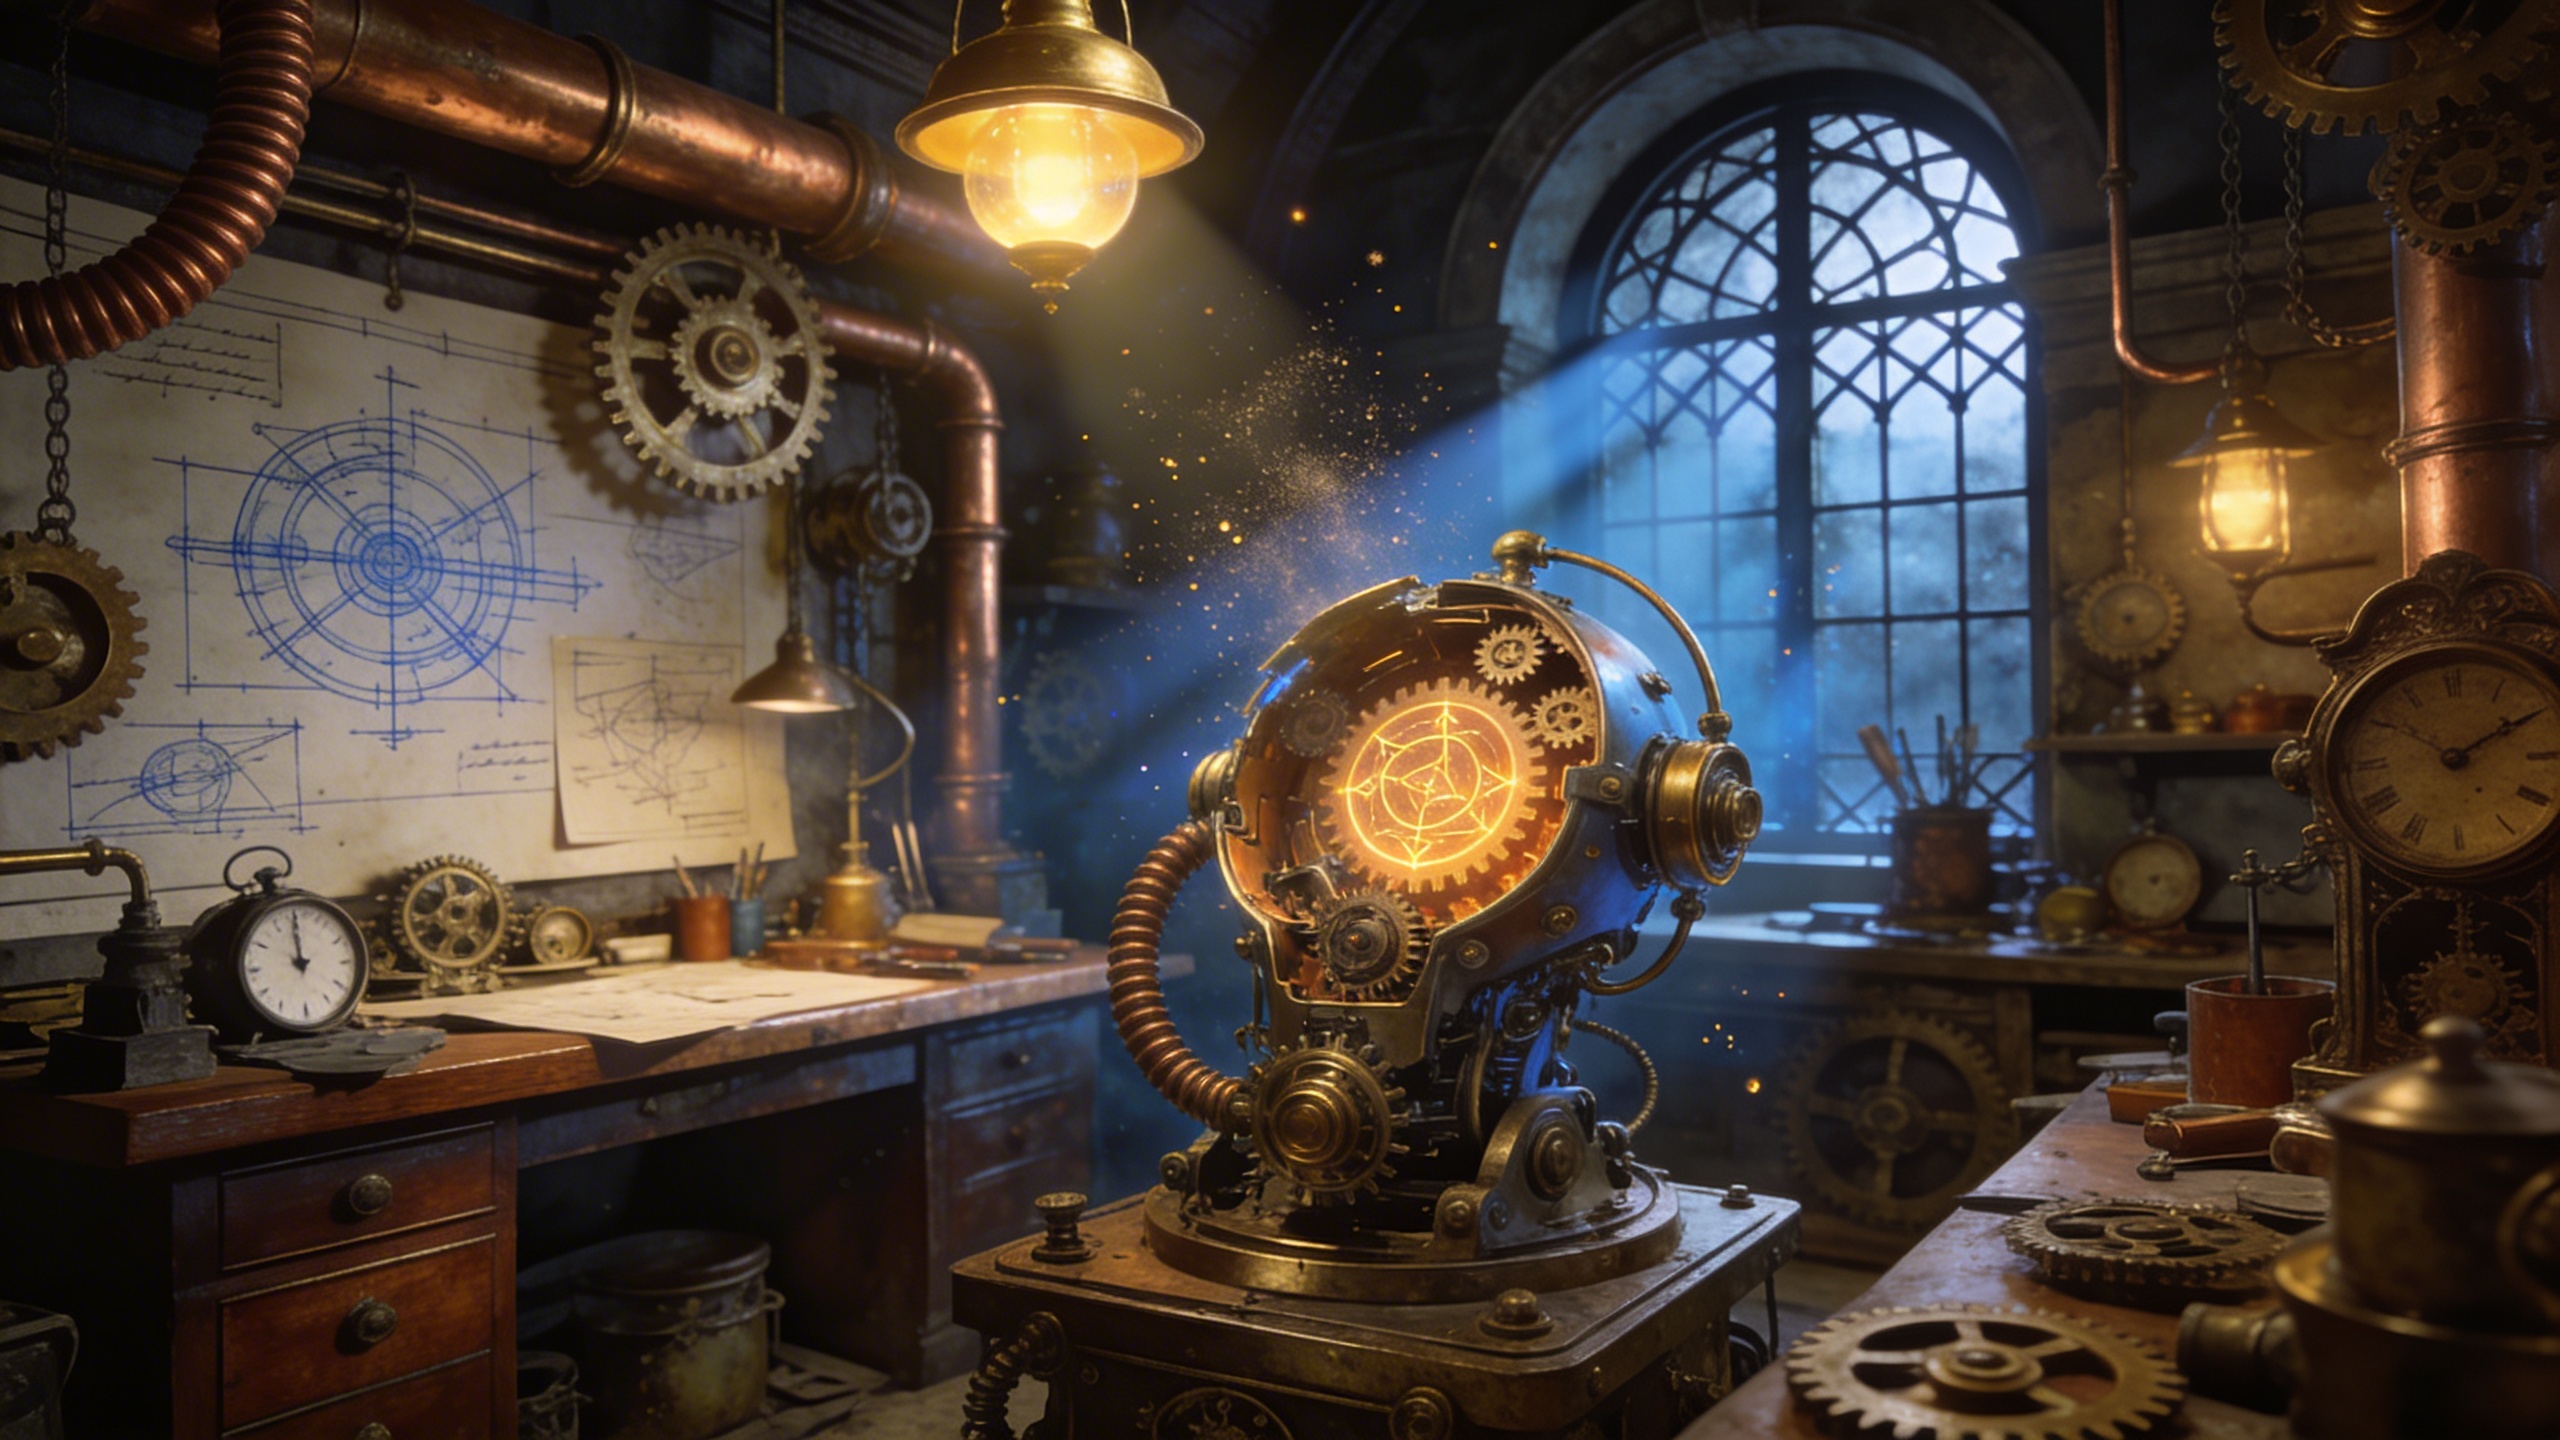
Steampunk Inventor's Workshop
Design intricate, cluttered, and fascinating steampunk interiors. The prompt renders the interior of a steampunk inventor's workshop: brass gears, copper pipes, blueprints pinned to the walls and Victorian architecture, with volumetric dust particles hanging in the light. It is written as hyper-detailed fantasy concept art, so the result reads as a finished environment painting rather than a photograph. What you can customize Workshop Focus — the centrepiece of the room. The default is a massive half-built brass mechanical owl on a large wooden workbench; swap in any contraption, machine or character you want the eye to land on. Lighting — how the room is illuminated. The default is warm sunlight streaming through a dirty gothic arched window; gas lamps, furnace glow or cold moonlight each change the mood entirely. Best for Fantasy world-building, game backgrounds and architectural concept art. It also suits book illustration, tabletop campaign handouts and mood boards for steampunk-themed sets or events. Tips for the best results The Workshop Focus carries the image. Describe one clear object with material and scale ("half-built", "brass", "massive") rather than listing several inventions. Lighting drives the atmosphere; name a source and a quality, such as "amber gaslight from a single lamp", so the volumetric dust has something to catch. Avoid asking for a tidy room. The prompt is built around clutter, and fighting it produces a weaker, generic interior. Keep the focus and lighting consistent with each other; a delicate clockwork bird under harsh industrial floodlights will look mismatched.
Image
Portrait & Character
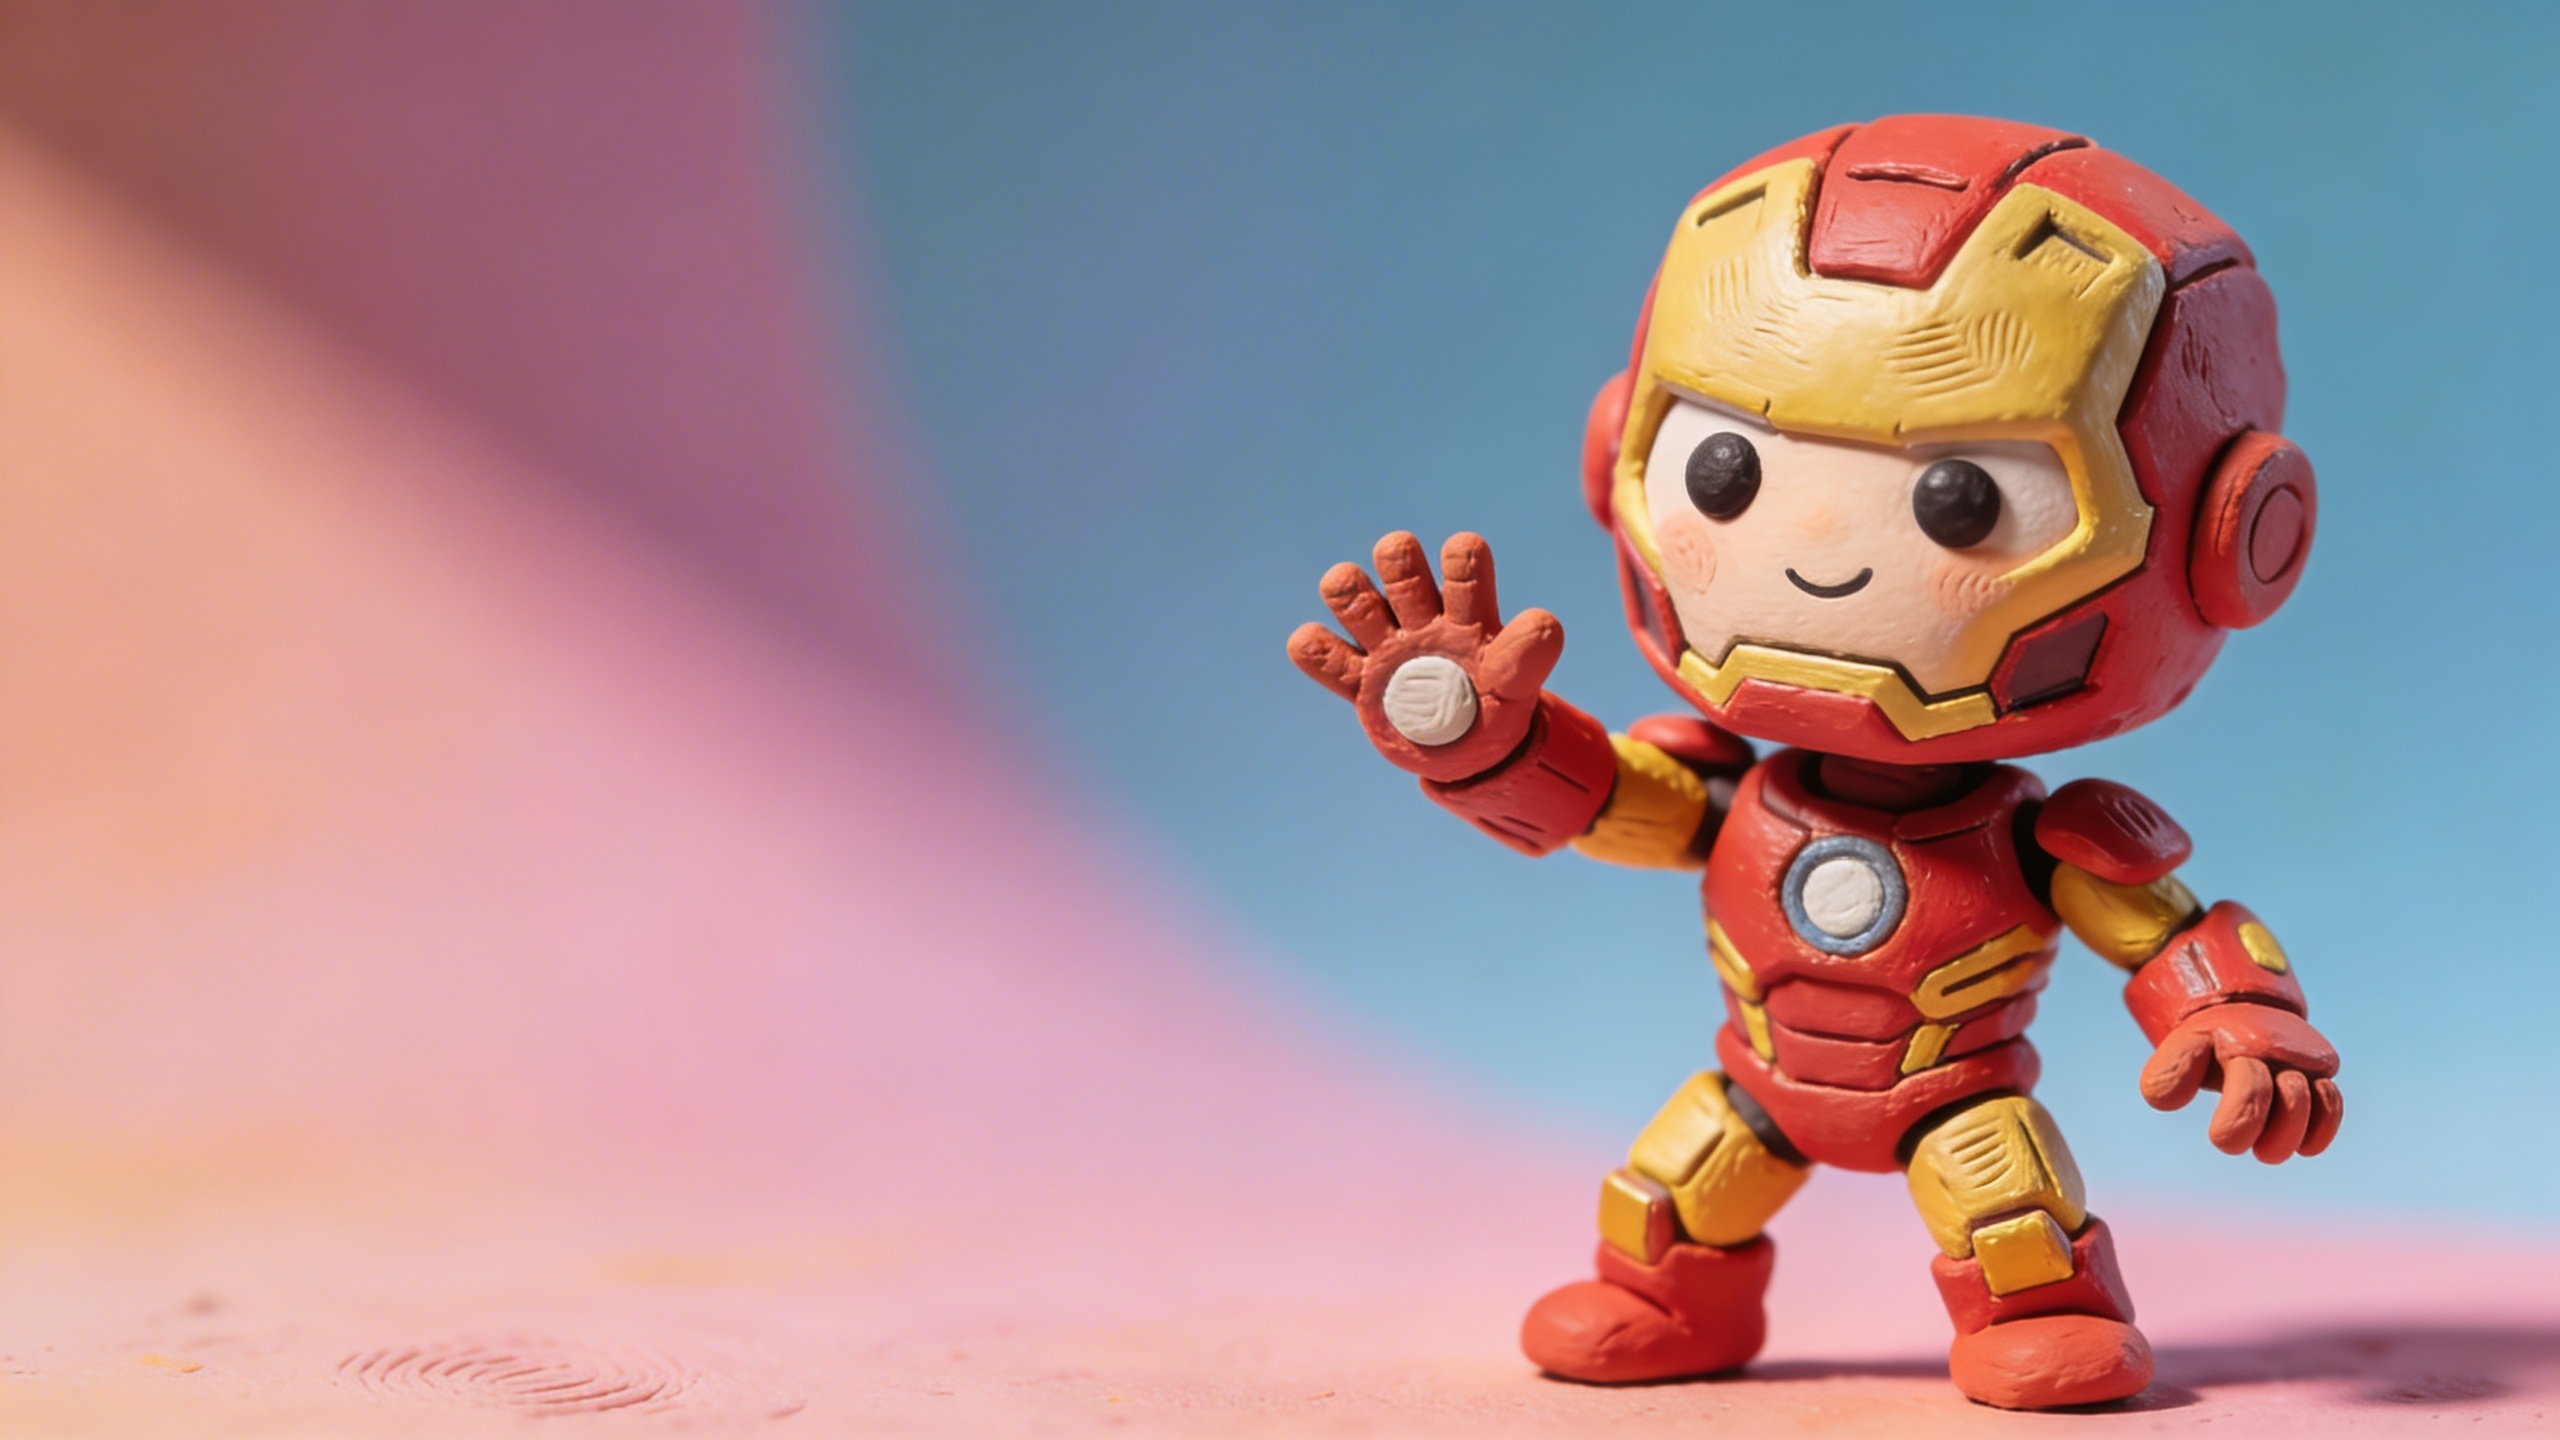
Claymation Character Creator
Bring your character ideas to life in a charming stop-motion claymation style. The prompt produces a lovable 3D claymation character with a hand-sculpted clay texture and visible thumbprints, in a stop-motion animation style. Studio lighting with soft shadows, vibrant colors and a solid pastel background keep the figure isolated and easy to cut out. What you can customize Character Description — who the character is, their species, expression and props. The default is a grumpy but cute little frog wizard holding a glowing staff; a sleepy cat barista or a nervous robot chef work just as well. Outfit — what they wear, which adds most of the color. The default is a starry purple robe and an oversized pointy hat. Best for Avatars and profile pictures, children's book illustrations, playful branding and mascots, sticker packs, and character sheets for a stop-motion or animated project. Tips for the best results Give the character one clear emotion and one prop; that combination sells personality in clay. Keep the outfit to two or three colors so the pastel background still reads cleanly behind it. Describe size cues such as chubby, tiny or lanky, since claymation exaggerates proportions well. Avoid fine details like small text or thin jewelry, which do not survive the chunky clay texture.
Image
Abstract & Artistic
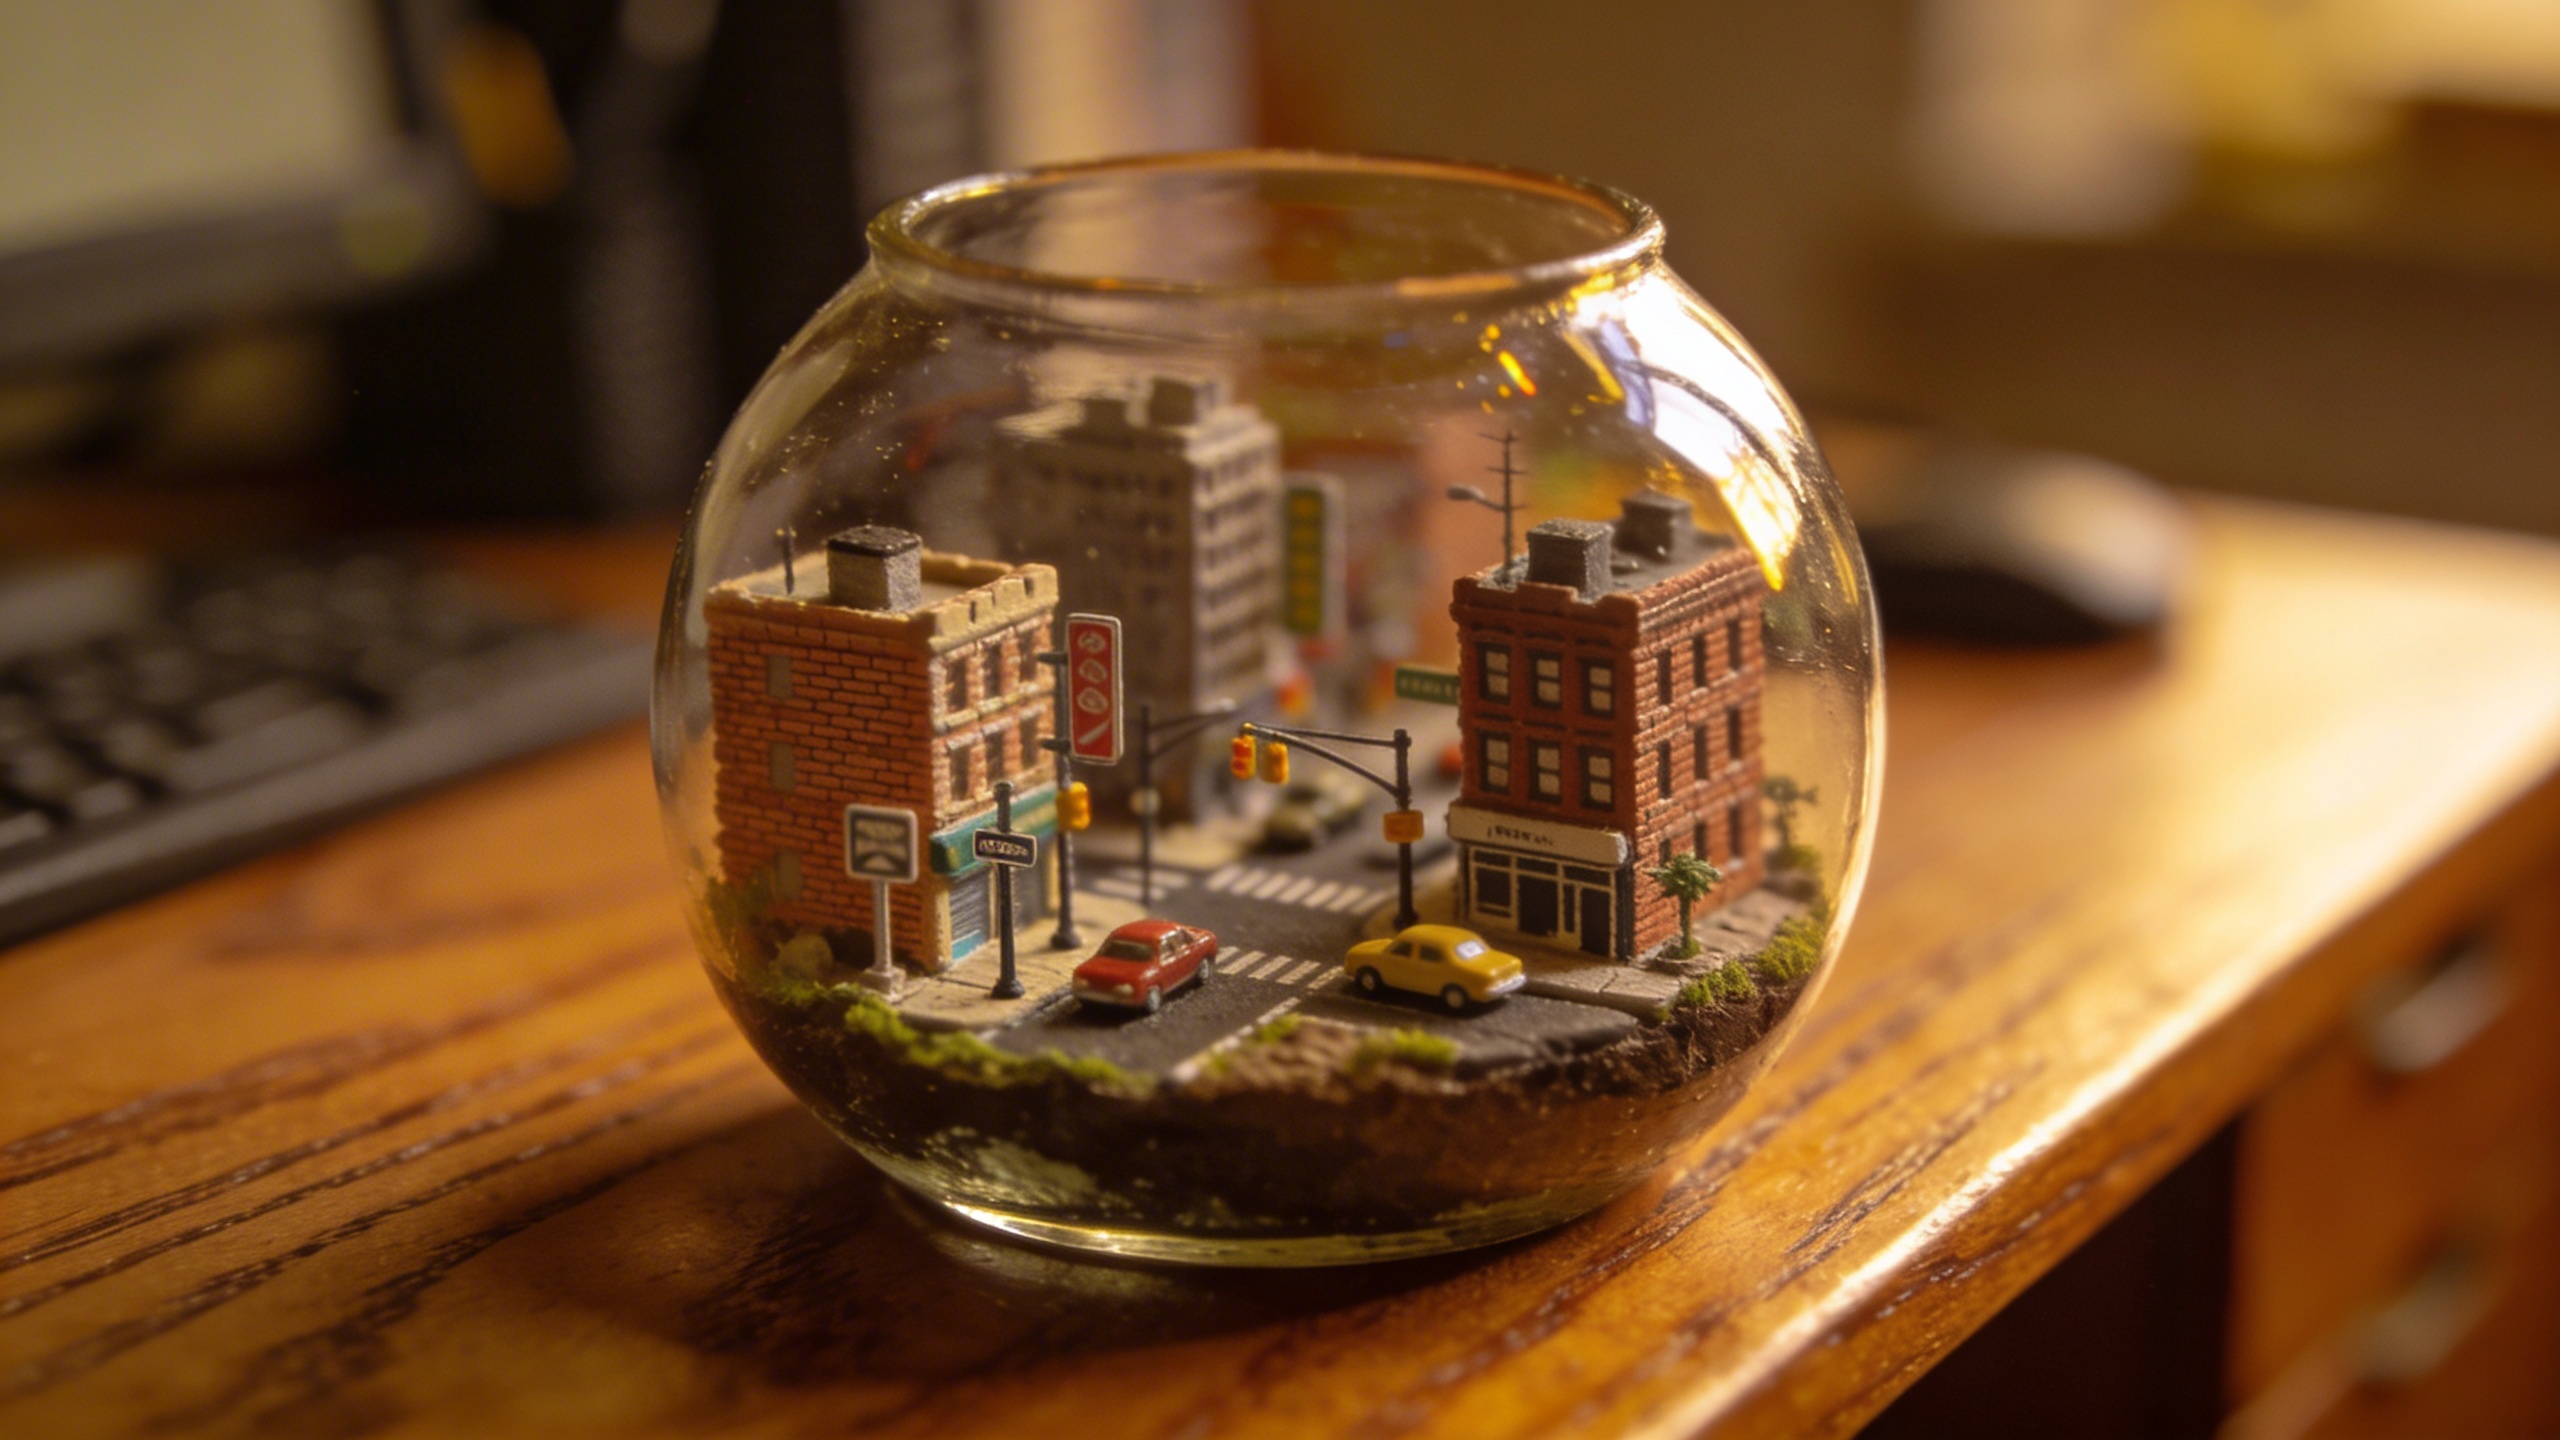
Miniature Diorama World
Generate adorable and incredibly detailed tilt-shift miniature dioramas. The prompt frames a macro photograph of a tiny diorama sealed inside a small glass terrarium resting on a wooden desk. Shallow depth of field, a tilt-shift effect and photorealistic miniature textures make the scene read as a real handcrafted model rather than a digital painting. What you can customize Diorama Subject — what the tiny world depicts. The default is a cozy autumn cabin with tiny glowing windows nestled in mossy hills; any landscape, village or scene can be shrunk into the terrarium. Atmosphere / Lighting — the light falling on the scene, from warm golden hour (the default) to overcast, moonlit or neon. Best for Crafting unique 3D-looking environments enclosed in tiny imaginative spaces. Use it for whimsical social posts, storybook illustration, product-style renders of model kits, or concept art for games with a miniature aesthetic. Tips for the best results Write the Diorama Subject as a compact scene with two or three elements, such as a building, terrain and one detail like glowing windows; sprawling descriptions lose the intimate scale. Small light sources within the scene, such as lit windows or lanterns, sell the miniature effect because they contrast with the room-scale lighting outside the glass. Keep the Atmosphere field short and photographic ("soft overcast daylight") rather than emotional; it maps directly onto the lighting line of the prompt. Avoid subjects that depend on wide horizons or vast distance; the terrarium enclosure works best when everything fits inside the glass.
Image
Product & Commercial
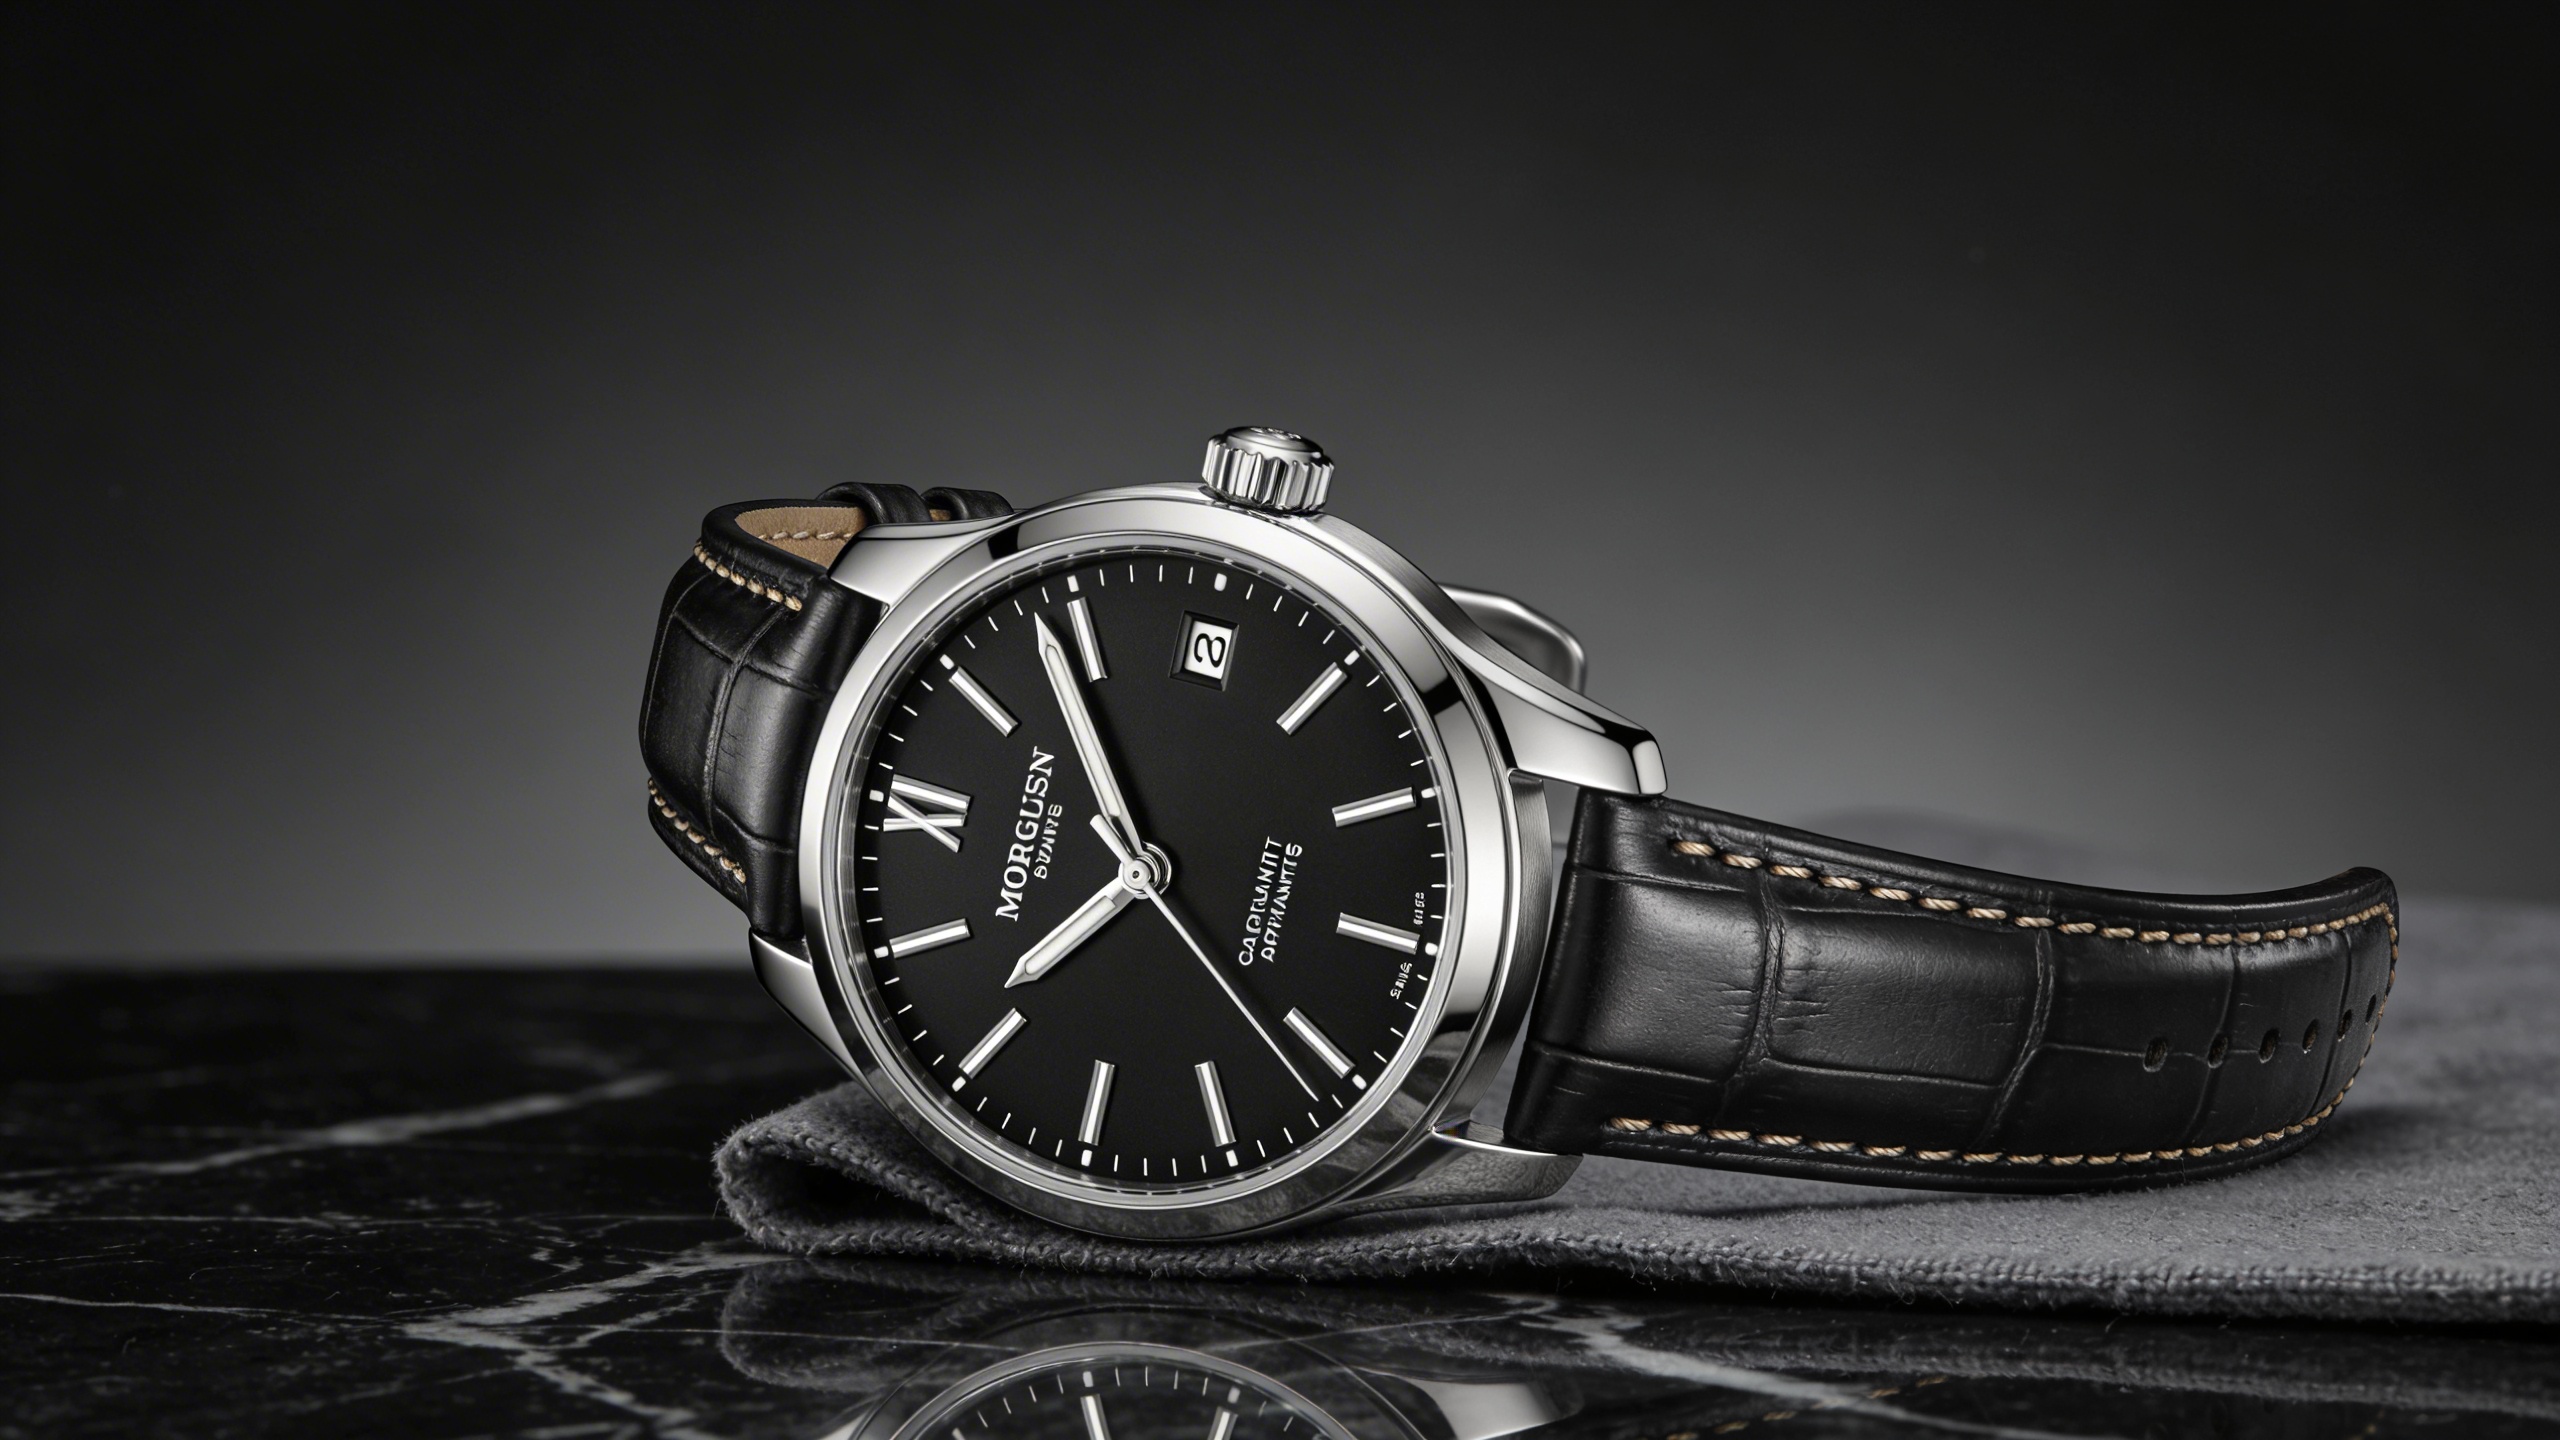
Ultra-Sleek Product Mockup
Generate pristine, commercial-grade product photography mockups. The prompt produces a high-end commercial product shot with studio lighting, sharp focus, glossy reflections and an elegant, minimalist composition, rendered photorealistically at 8k. It is perfect for visualizing industrial design, cosmetics packaging or tech gadgets in sleek environments before a physical sample exists. What you can customize Product Description — the object, its materials and finish. The default is a minimalist matte-black perfume bottle with gold accents; a brushed-aluminum speaker or a frosted glass serum dropper work just as well. Background Setting — the surface and environment. The default places the product on a dark marble pedestal with shallow water ripples; pale concrete, silk or a sunlit windowsill change the mood entirely. Best for E-commerce hero images, packaging and industrial design pitches, crowdfunding pages, ad creative for cosmetics and gadgets, and portfolio mockups for product designers. Tips for the best results Name the material and finish precisely (matte, glossy, brushed, frosted); reflections depend on it. Keep the setting to one surface and one atmospheric element so the product stays the hero. Describe accents like caps, labels and trim by color and material rather than by brand. Avoid requesting legible label text; add typography in post for accuracy.
Image
Food & Culinary
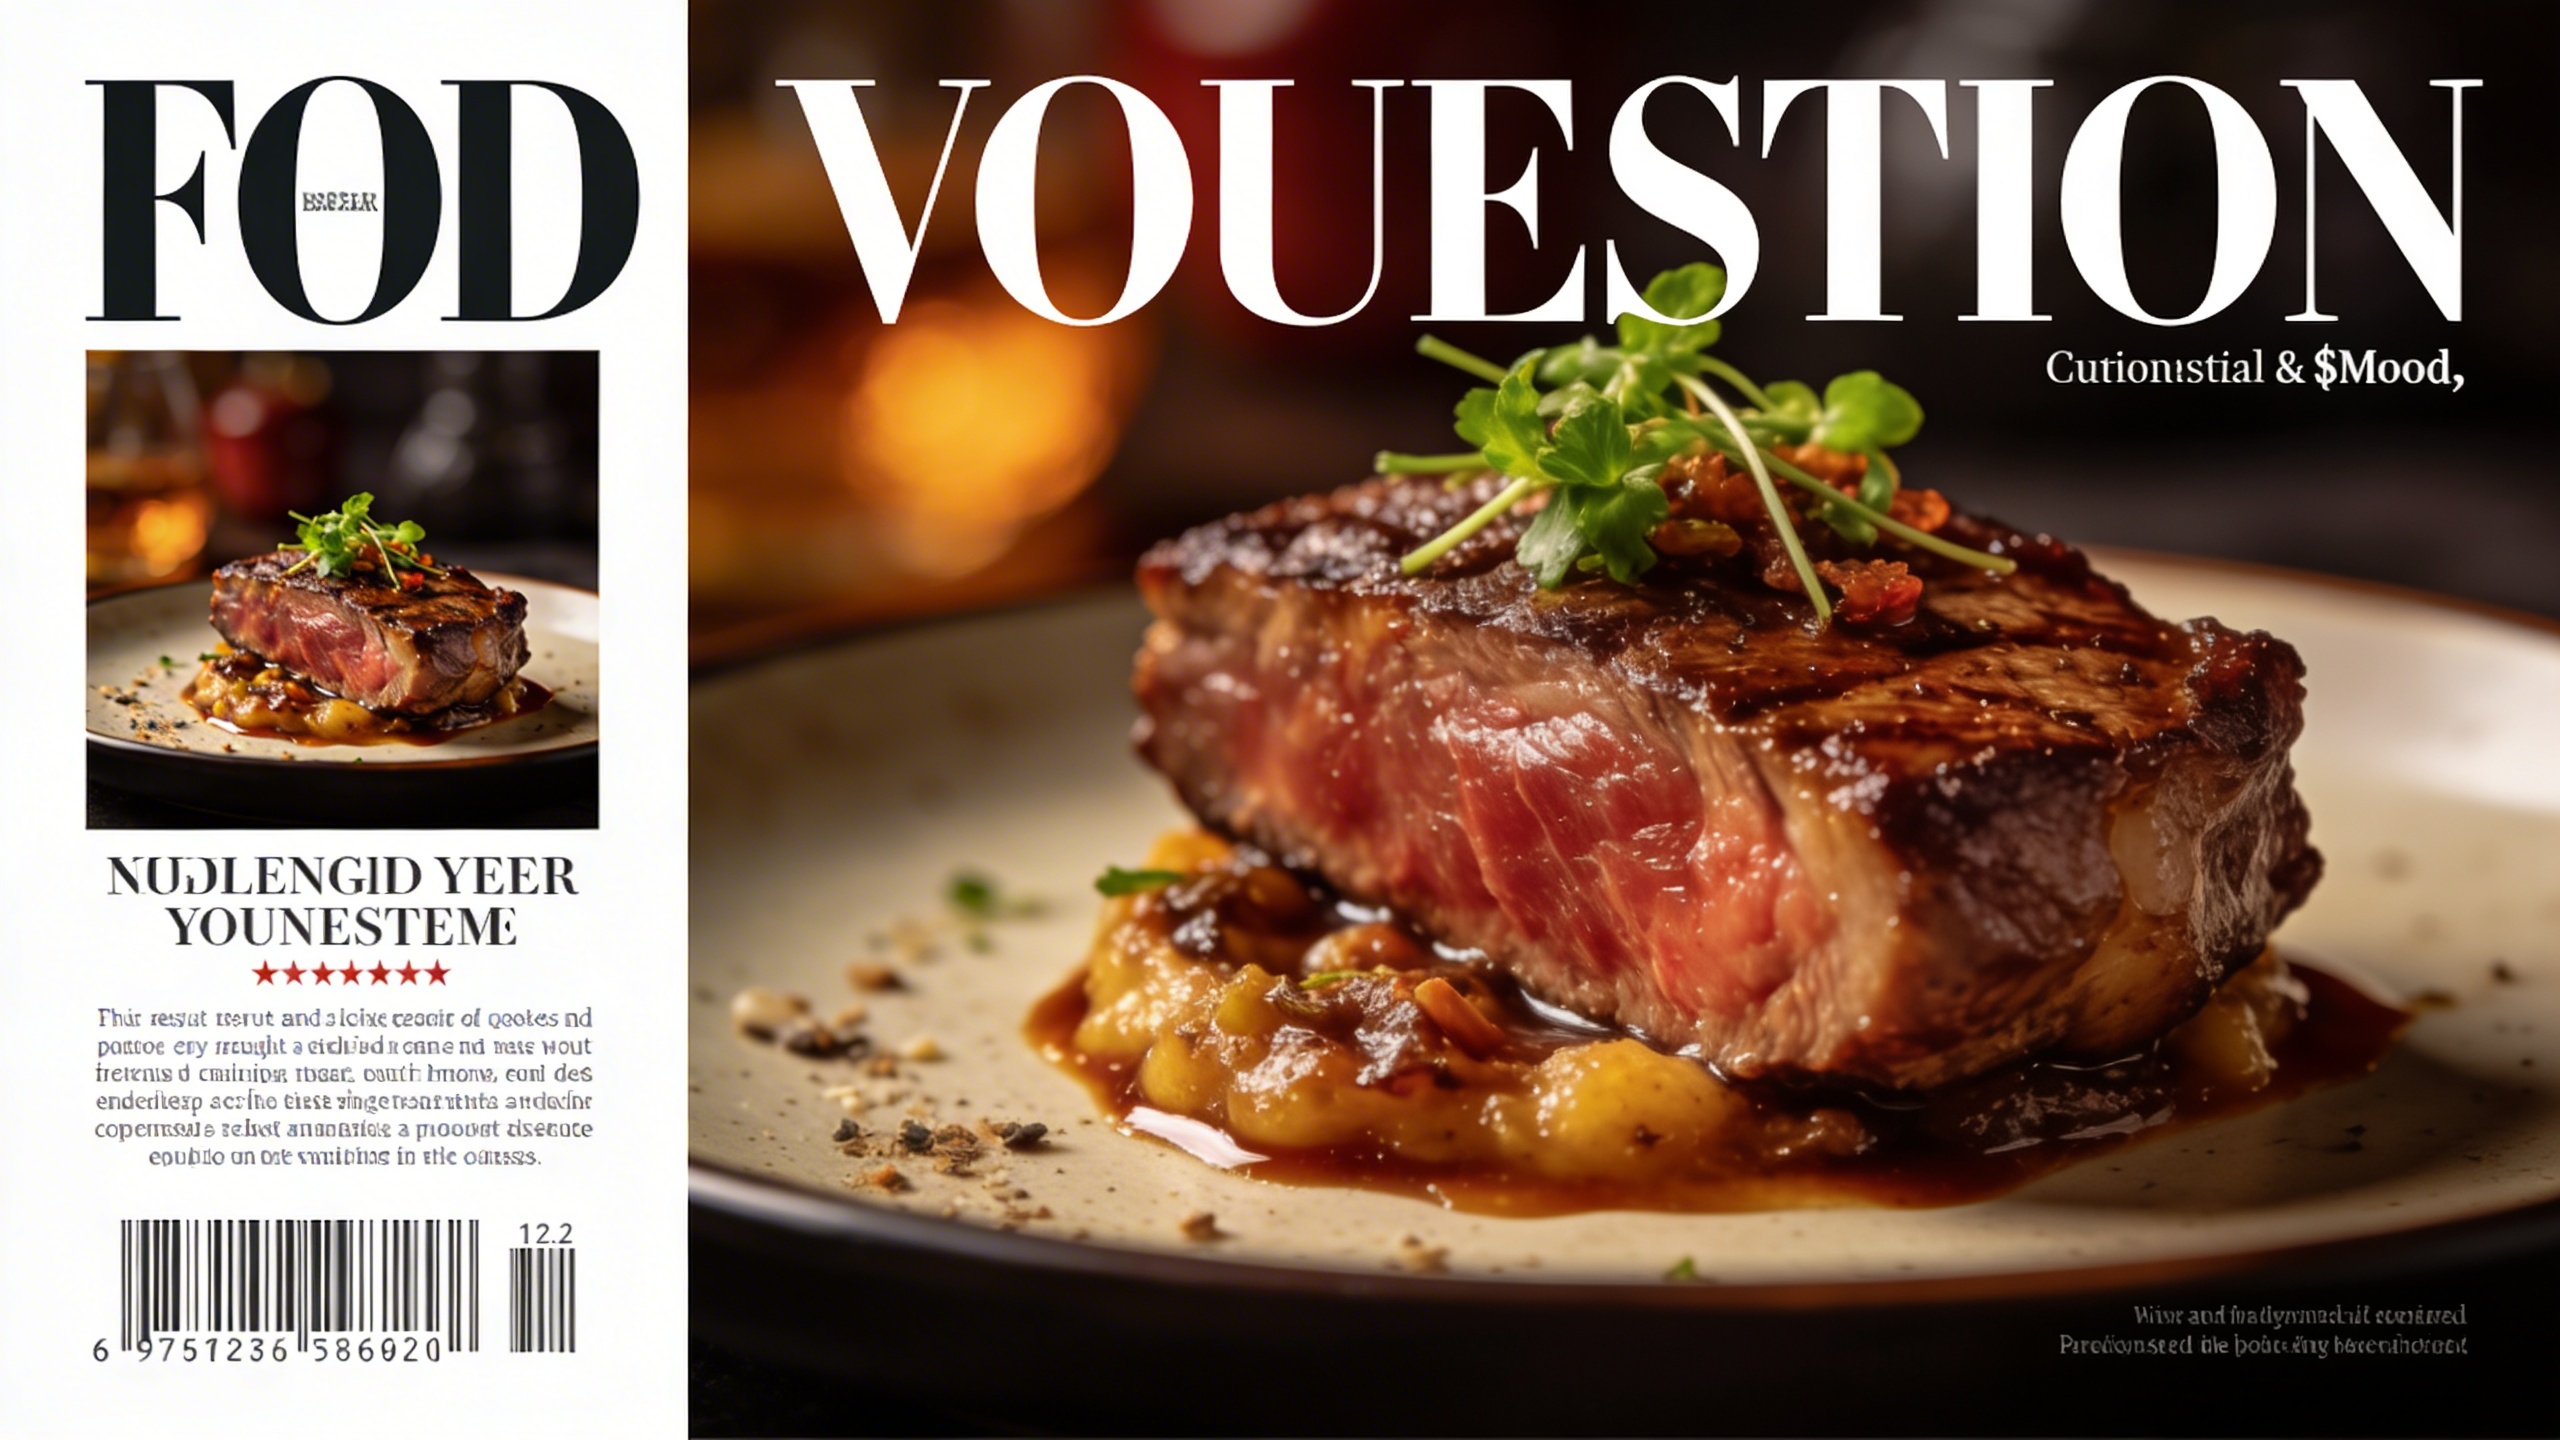
Macro Food Photography
Produce irresistible, high-resolution food photography. The prompt produces a macro shot of a beautifully plated dish with extremely sharp focus on the food, a soft bokeh background and highly detailed textures, styled like a culinary magazine cover. Garnish and mood are controlled separately, so the same dish can be shot several ways. What you can customize Dish Name / Description — what is on the plate. The default is a decadent multi-layered chocolate truffle cake with a gooey centre; savoury dishes, drinks and desserts all work. Garnish / Toppings — the finishing details, such as the default dusting of gold leaf and fresh raspberries. Mood / Aesthetic — three options: Dark and Moody, Bright and Airy, or Rustic. This sets the overall lighting and styling of the shot. Best for Menu design, culinary blogs and showcasing delicious meals with stunning depth of field. It also suits restaurant social feeds, recipe cards, delivery-app listings and packaging mockups. Tips for the best results Describe texture in the dish field ("gooey centre", "crisp crust", "glossy glaze"); macro photography lives on surface detail. Match the mood to the dish: Dark and Moody flatters chocolate and roasted meats, Bright and Airy suits salads and pastries, Rustic works for breads and stews. Keep the garnish to one or two elements so the sharp focus stays on the food rather than a cluttered plate. Avoid describing the full table setting; the shallow depth of field will blur it anyway and it competes with the hero dish.